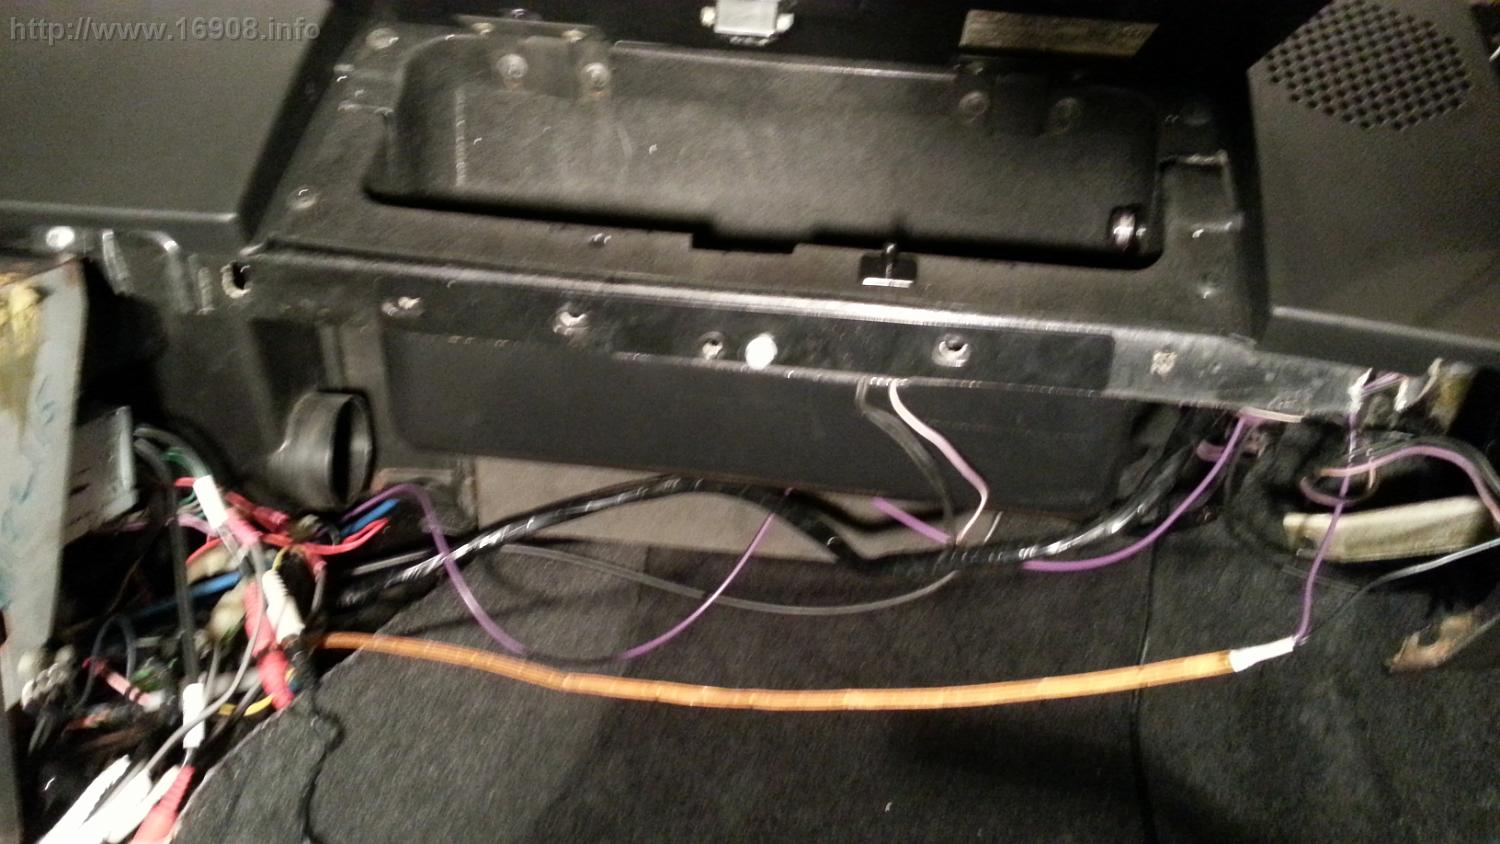
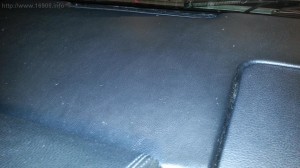
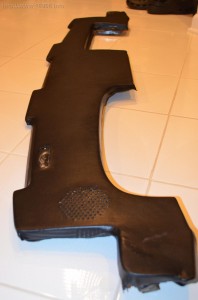
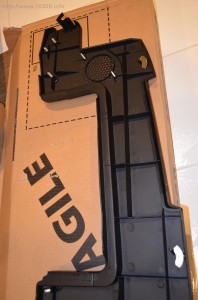
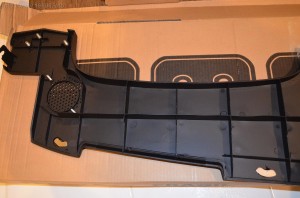
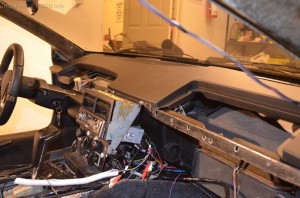
My previous owner had the dash recovered in the wrong vinyl, and the look was beginning to bother me. The dash has a “puffy” look when it’s recovered, and my defroster vents look like they’re being swallowed. Also, the edges didn’t fit together perfectly. I finally decided to buy a new reproduction dash.

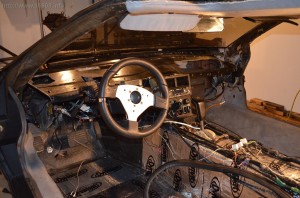
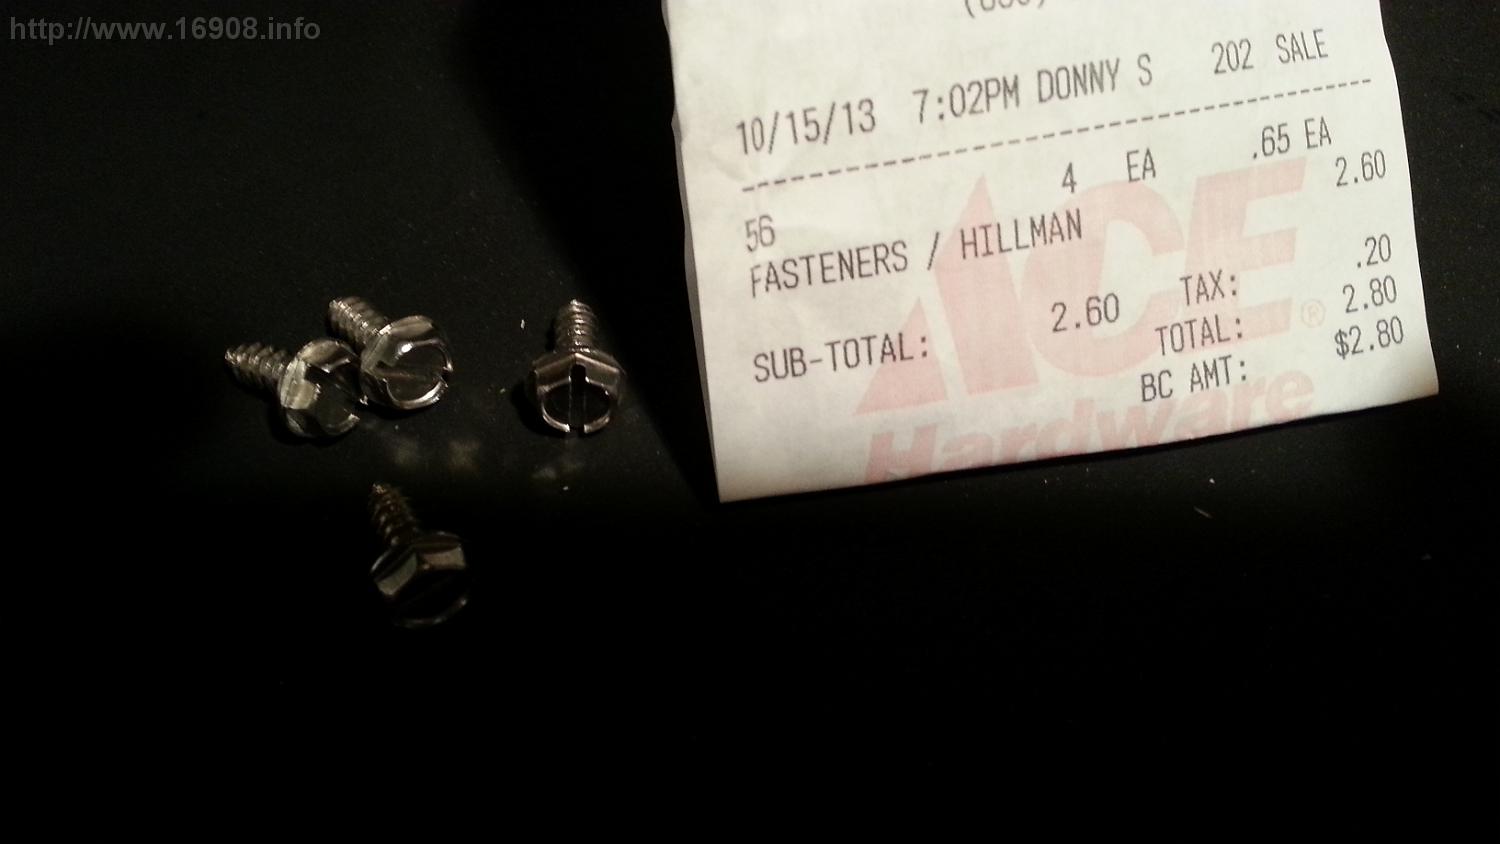
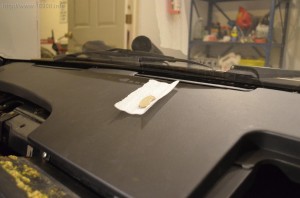
The defroster vents also developed a bow from the slightly oversized dash. I wanted them straight and flush up against the new dash, which meant I had to bend them back into shape. The screws used to hold them in ran up right against the windshield. Removing the screws was a delicate process. I had to put some fabric over the windshield to protect it from screws and my screwdriver. If you ever attempt this, stuff some rags in the vents so you don’t drop screws down them. Removing the defroster vents also allowed me to clean the vents, and vacuum some crud from beneath them. I also went the extra length of painting the new vent screws black.

I used a heat gun to warm the defroster vents, and straighten them. The new, painted short screws made the vents easy to reinstall.
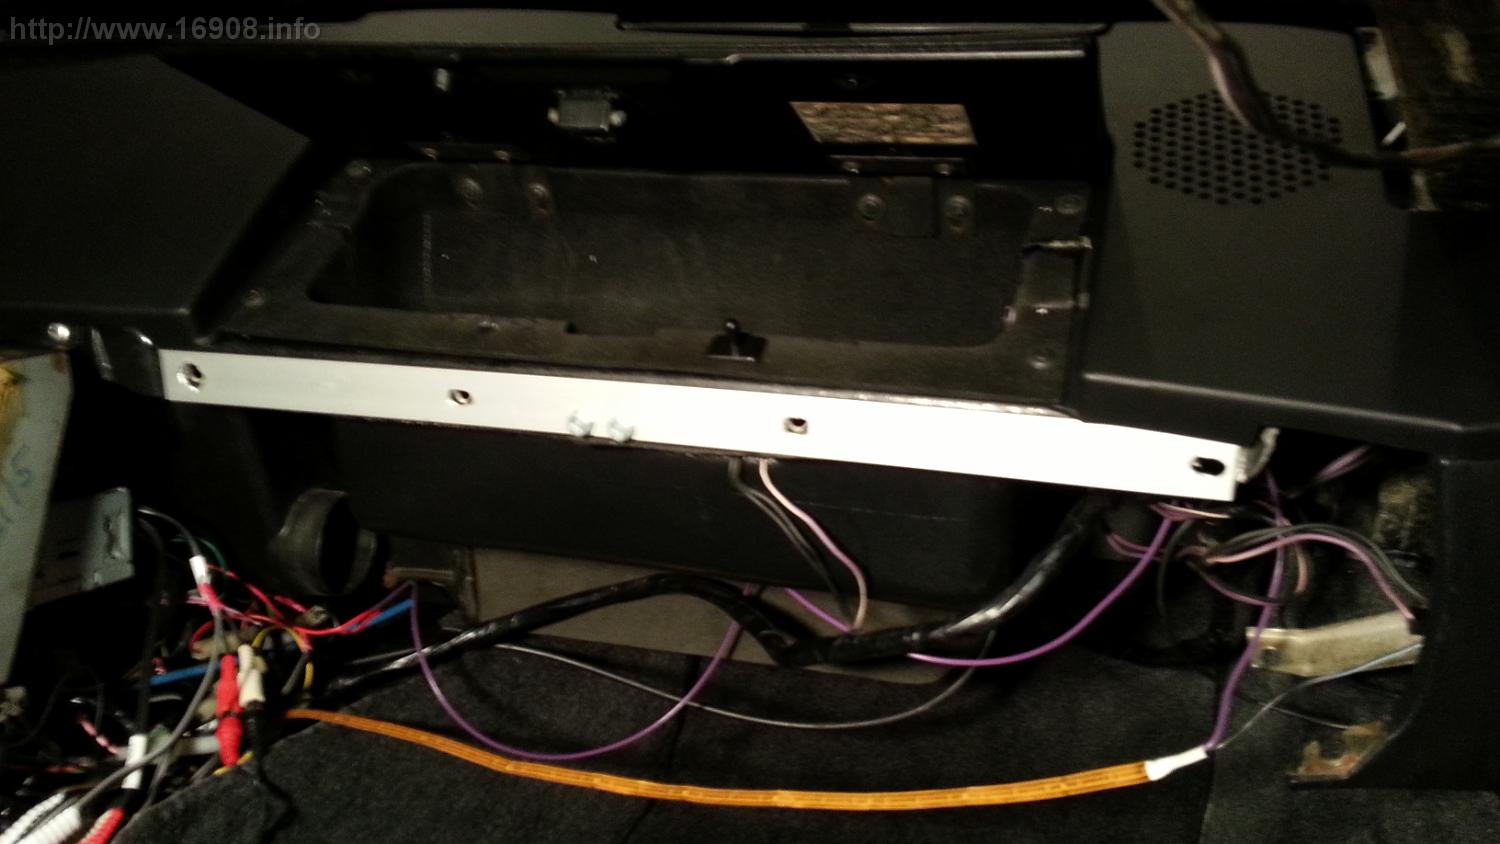
The mounting holes for the passenger knee pad were broken. There’s already a steel reinforcing plate right below the glove box lid. I removed it, and added a longer one I made from aluminum.


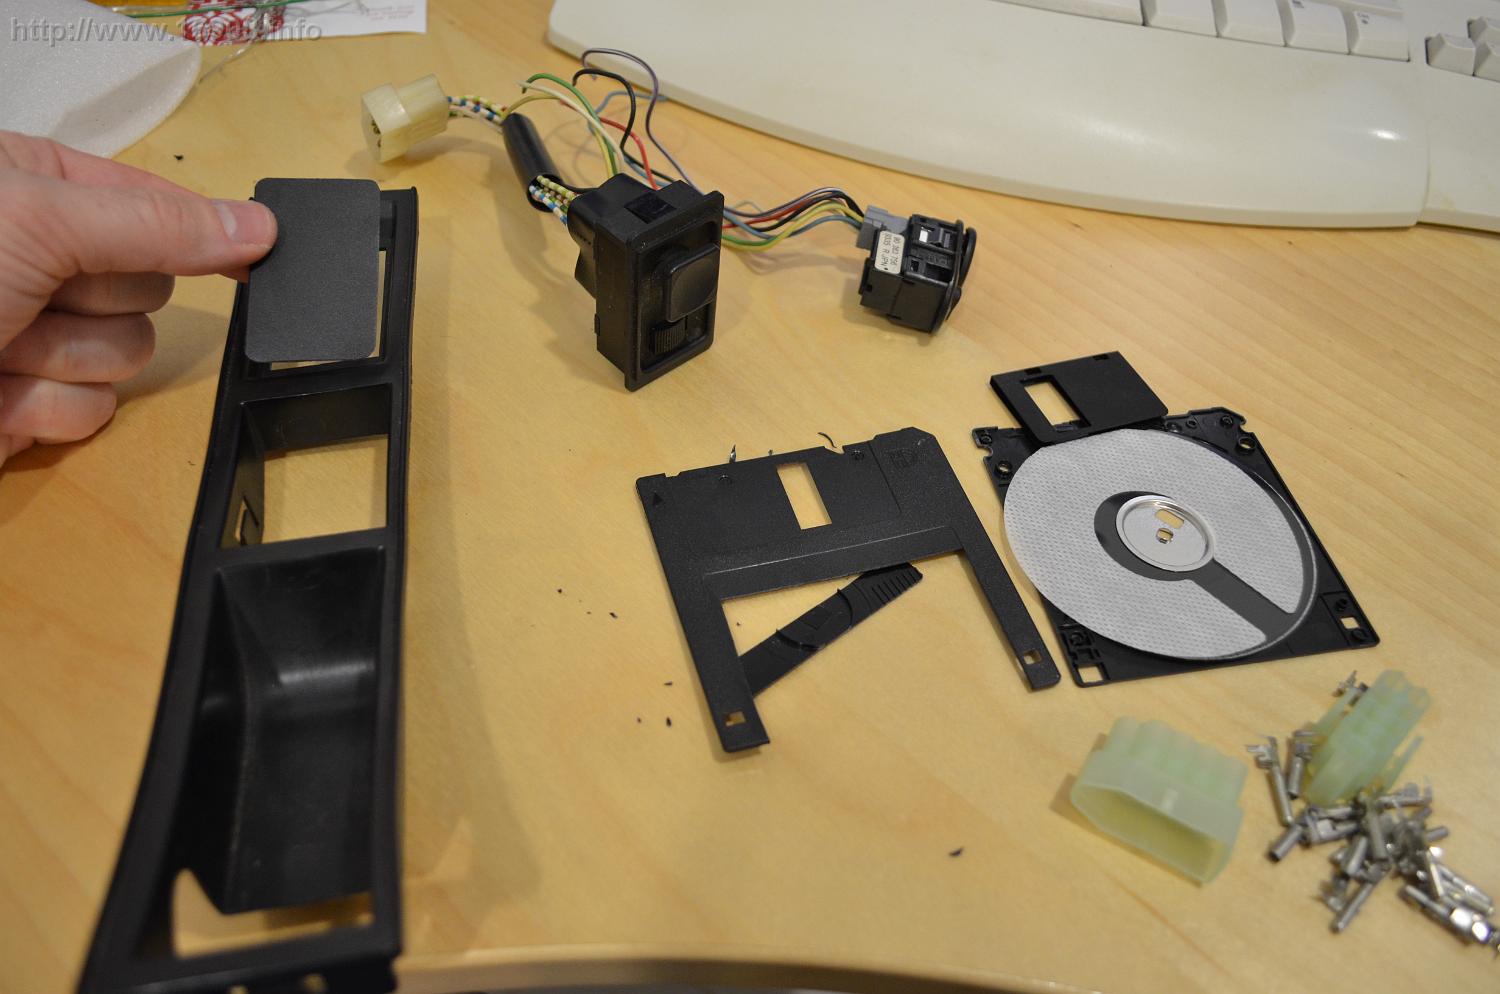
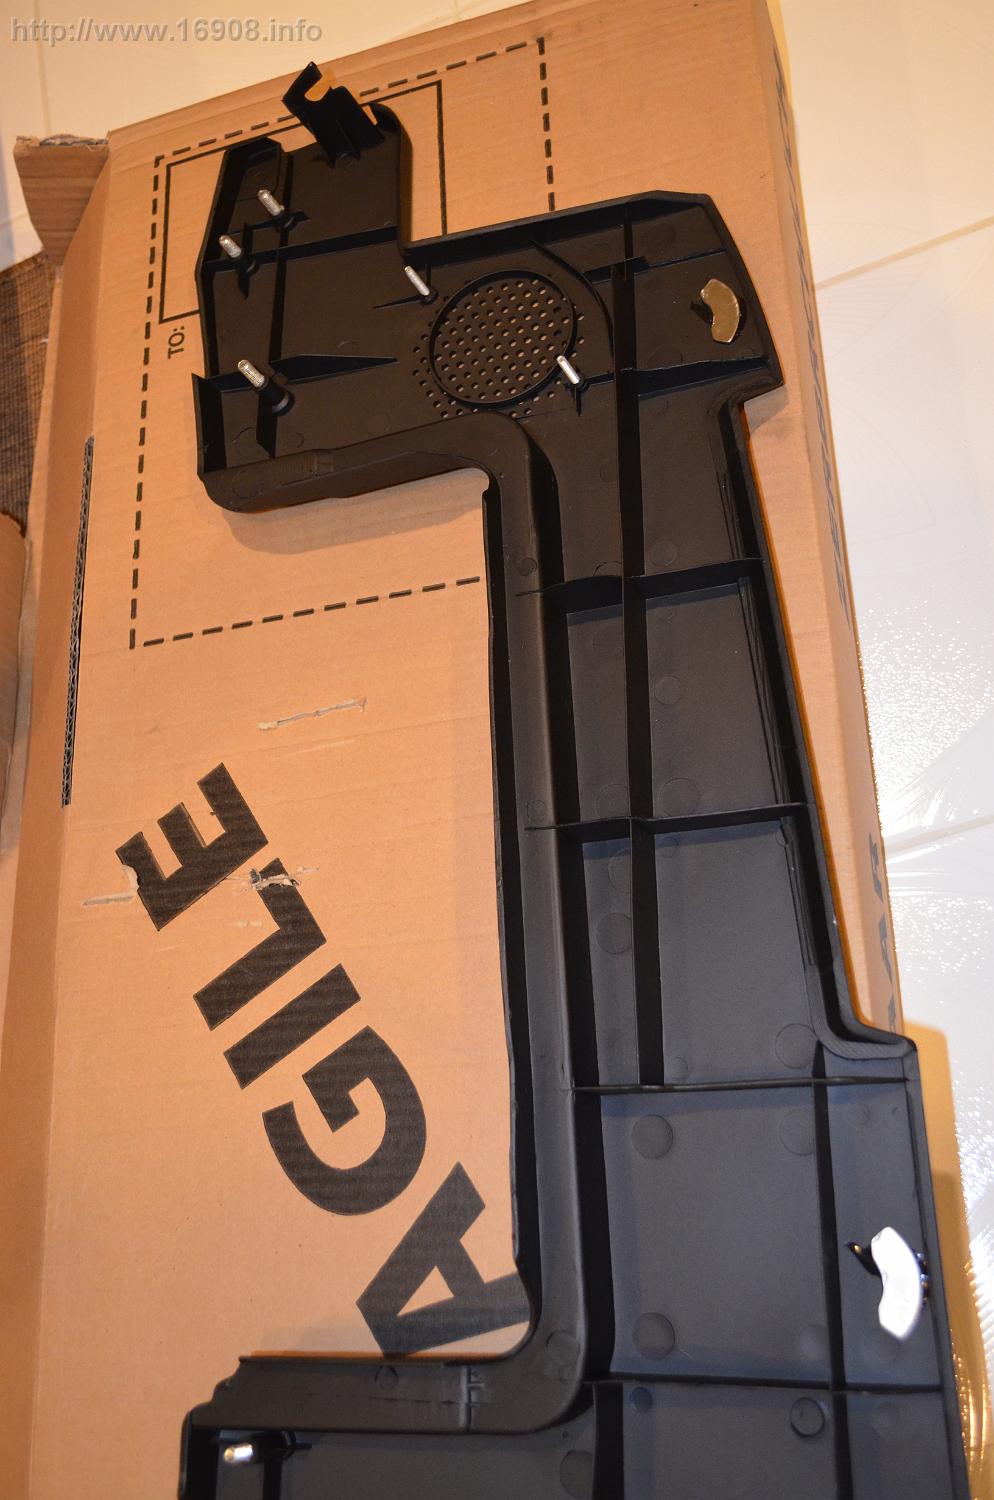
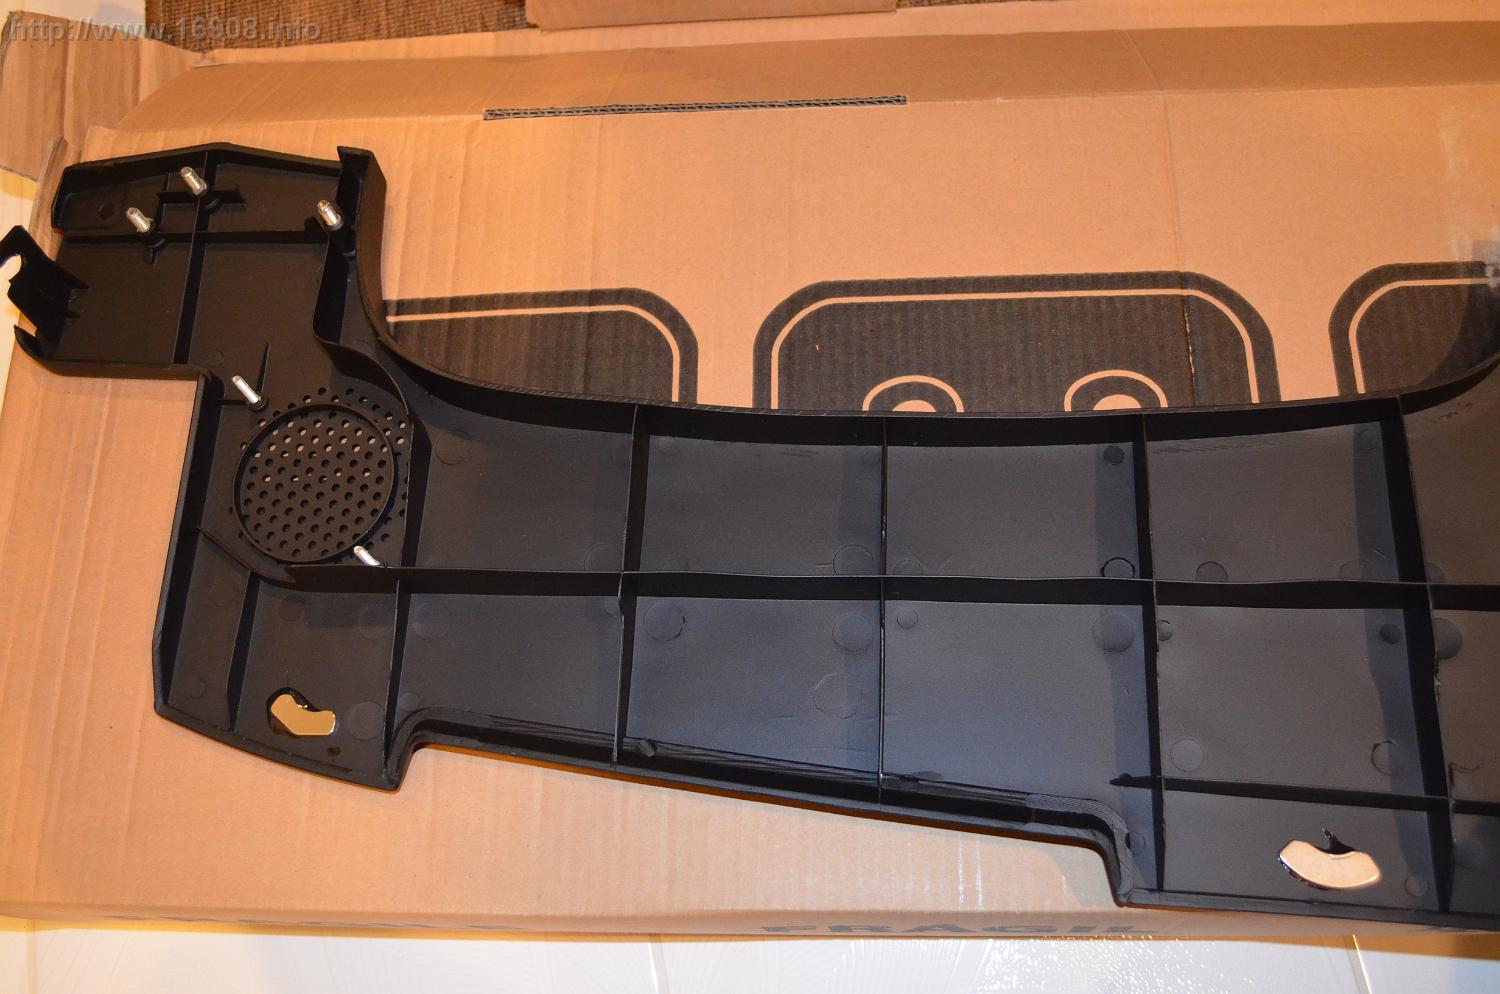
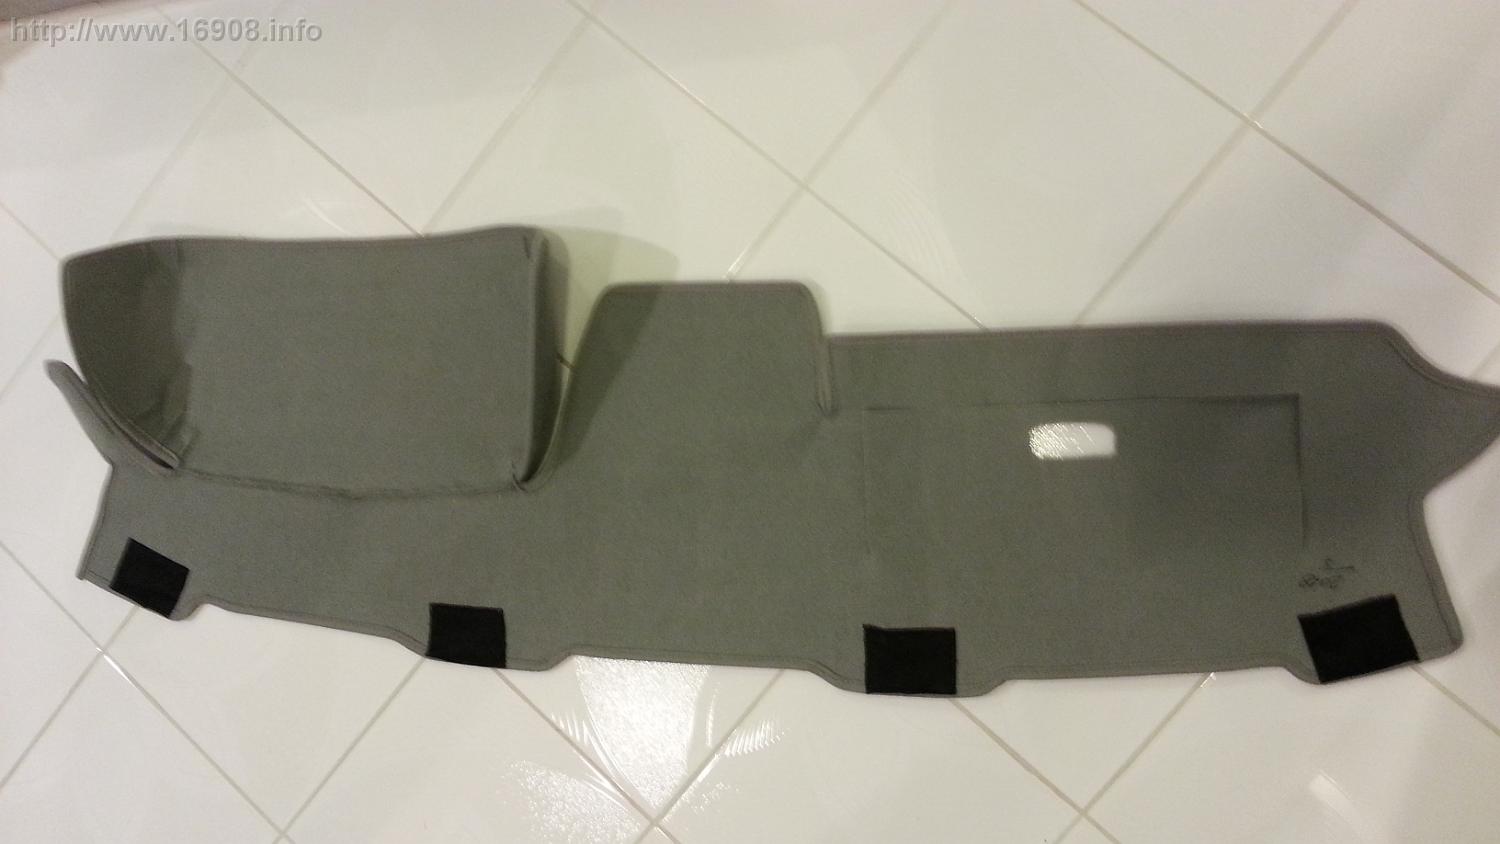
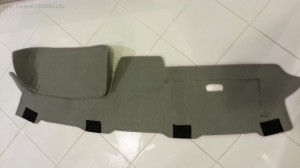
I never found a method I liked to attach my dash mat to the dash. I didn’t want to damage the dash with glue or adhesive. I got an idea to use magnets. The reproduction dash is hollow underneath. I salvaged some magnets from some old mechanical hard drives, and epoxied them under the dash.
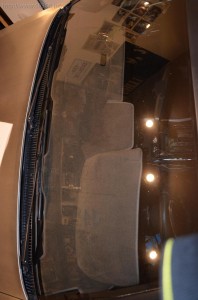
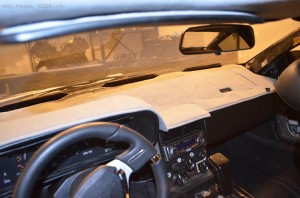
Once I installed the dash, I protected it with wax paper, and put magnets on top of the dash. I carefully spread some epoxy on top of the magnets, and laid down the dash mat. After the epoxy cured, I removed the dash mat with its magnets.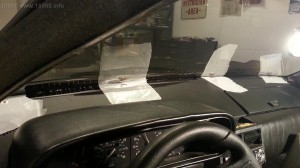
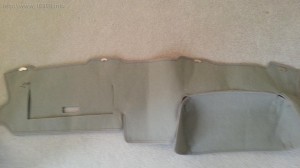
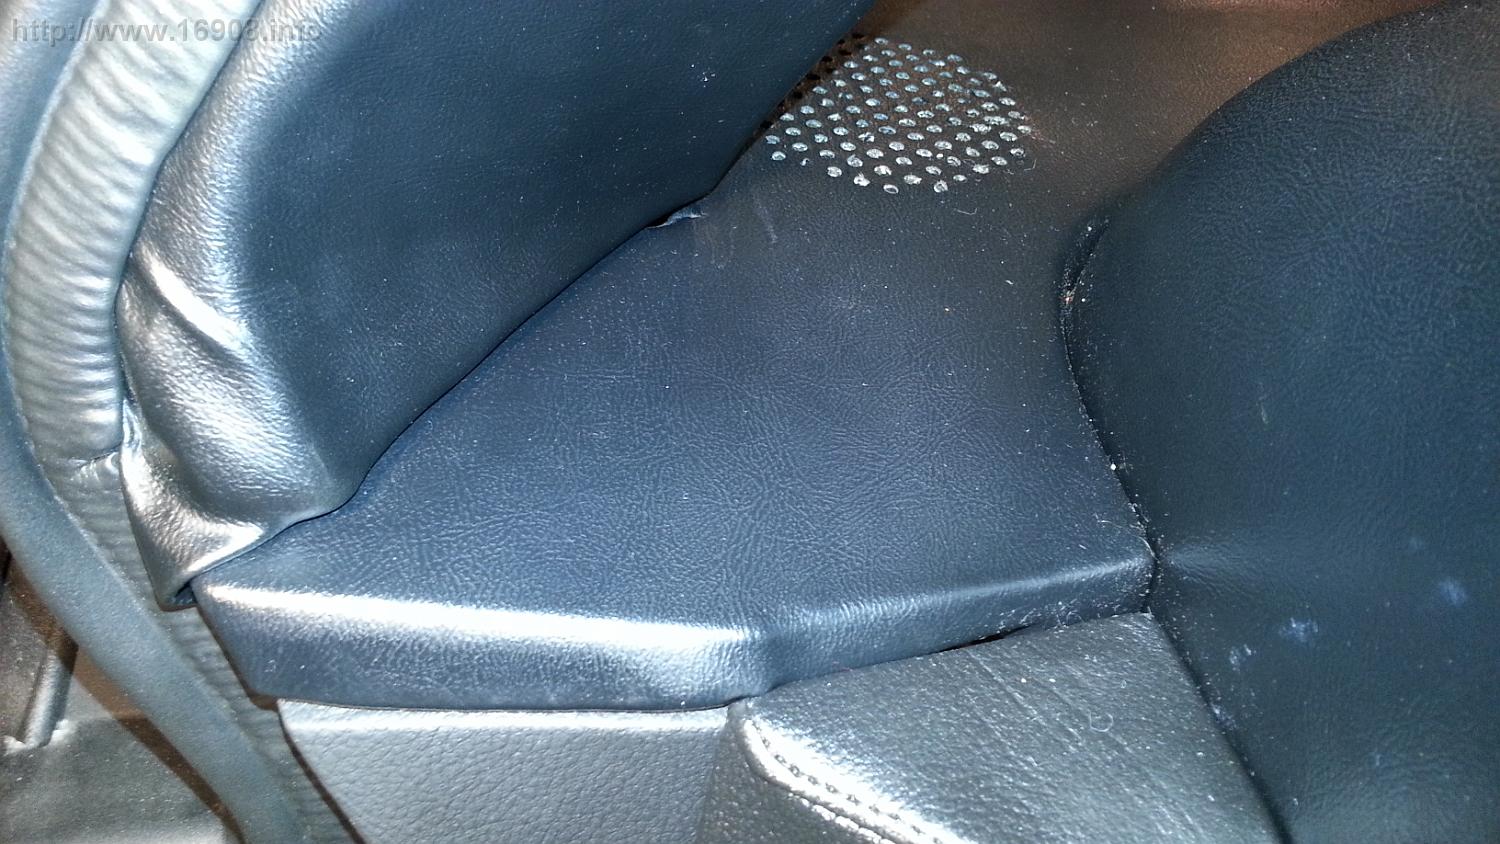
I had some felt sewn (Thanks Mom!) over the magnets, so dash won’t be scratches by the magnets. The stitching is visible on top of the dash mat, but I don’t mind. I use the mat to keep the cabin cool during drives, and to protect the dash from sun damage. Otherwise I remove it when displaying the car at shows. The dash mat now snaps right into place when you lay it out.
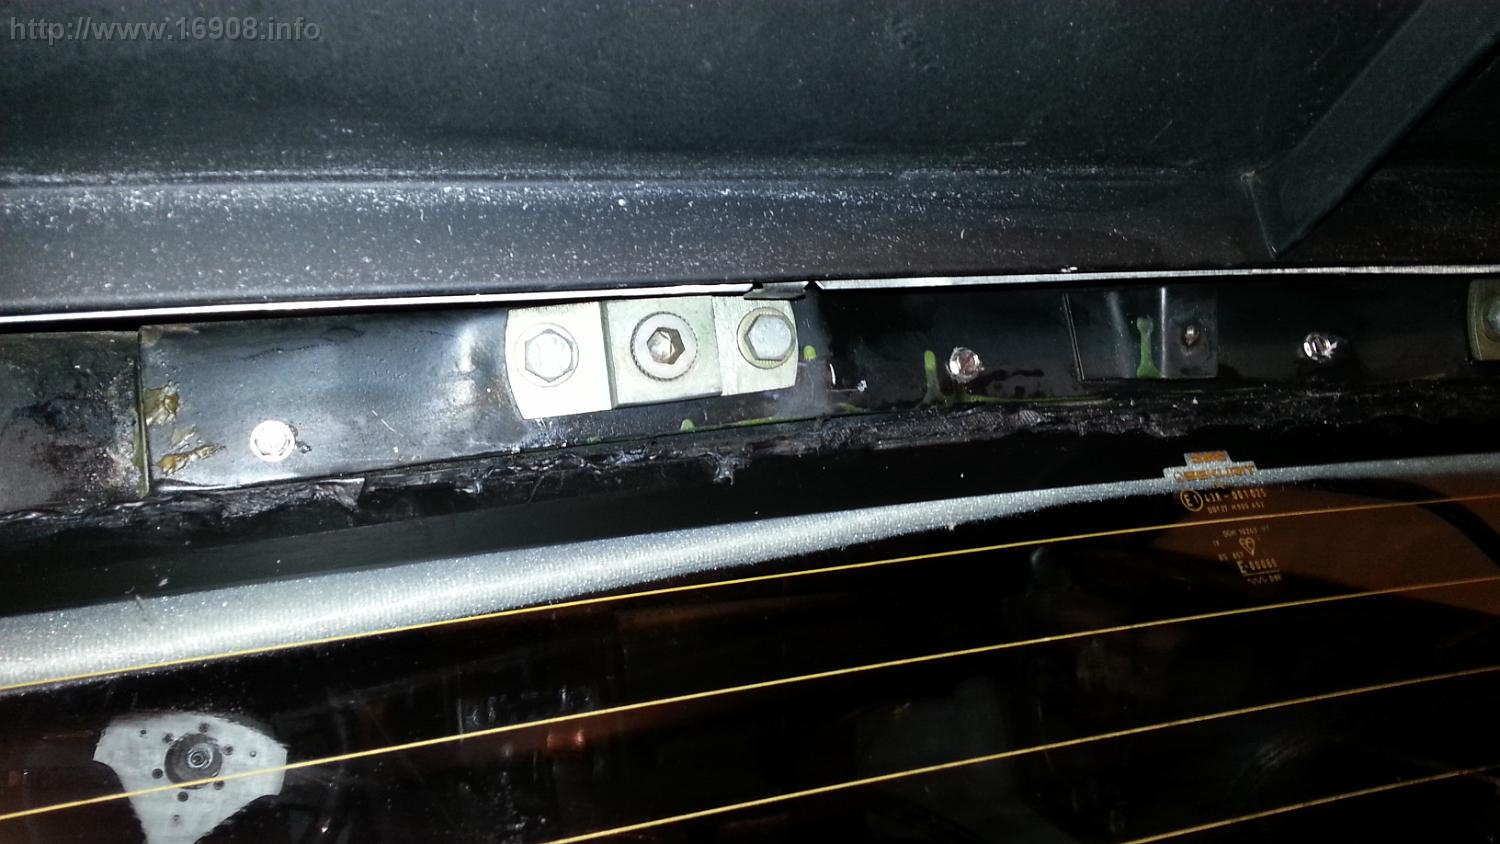
Here’s a tip: When installing the dash, adding a washer and threading on a nut under the dash can be tricky with little room for your fingers. Use a strong magnet on top of the dash right over the stud (remember to also protect the dash from magnet scratches). The washer will jump up in place, and stay put while you struggle to get the nuts on.

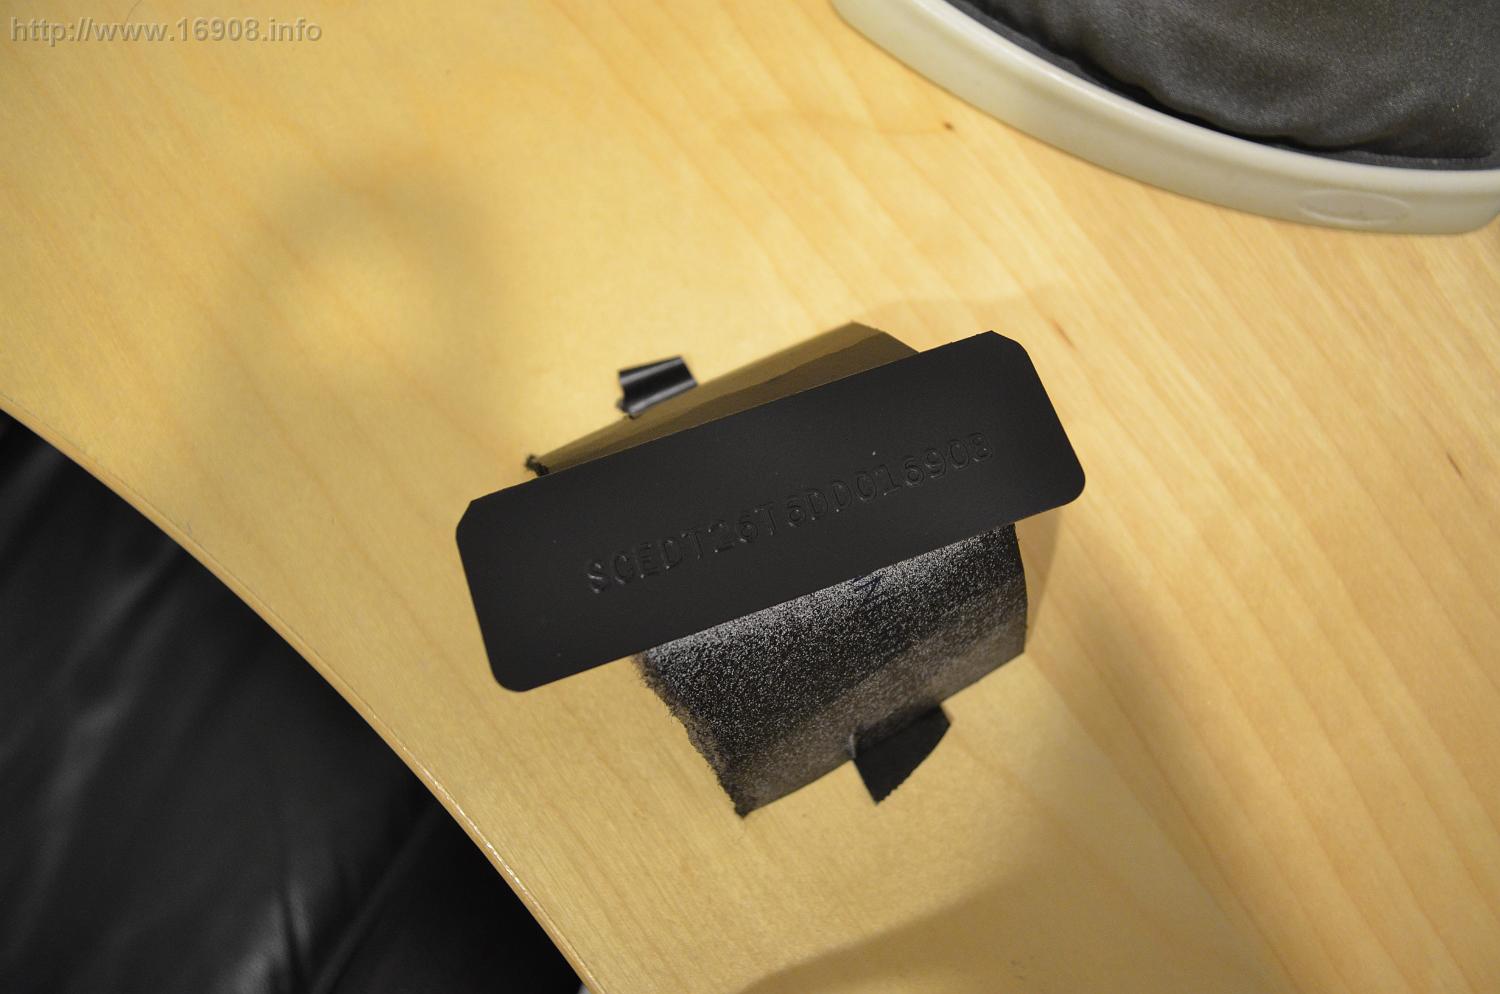
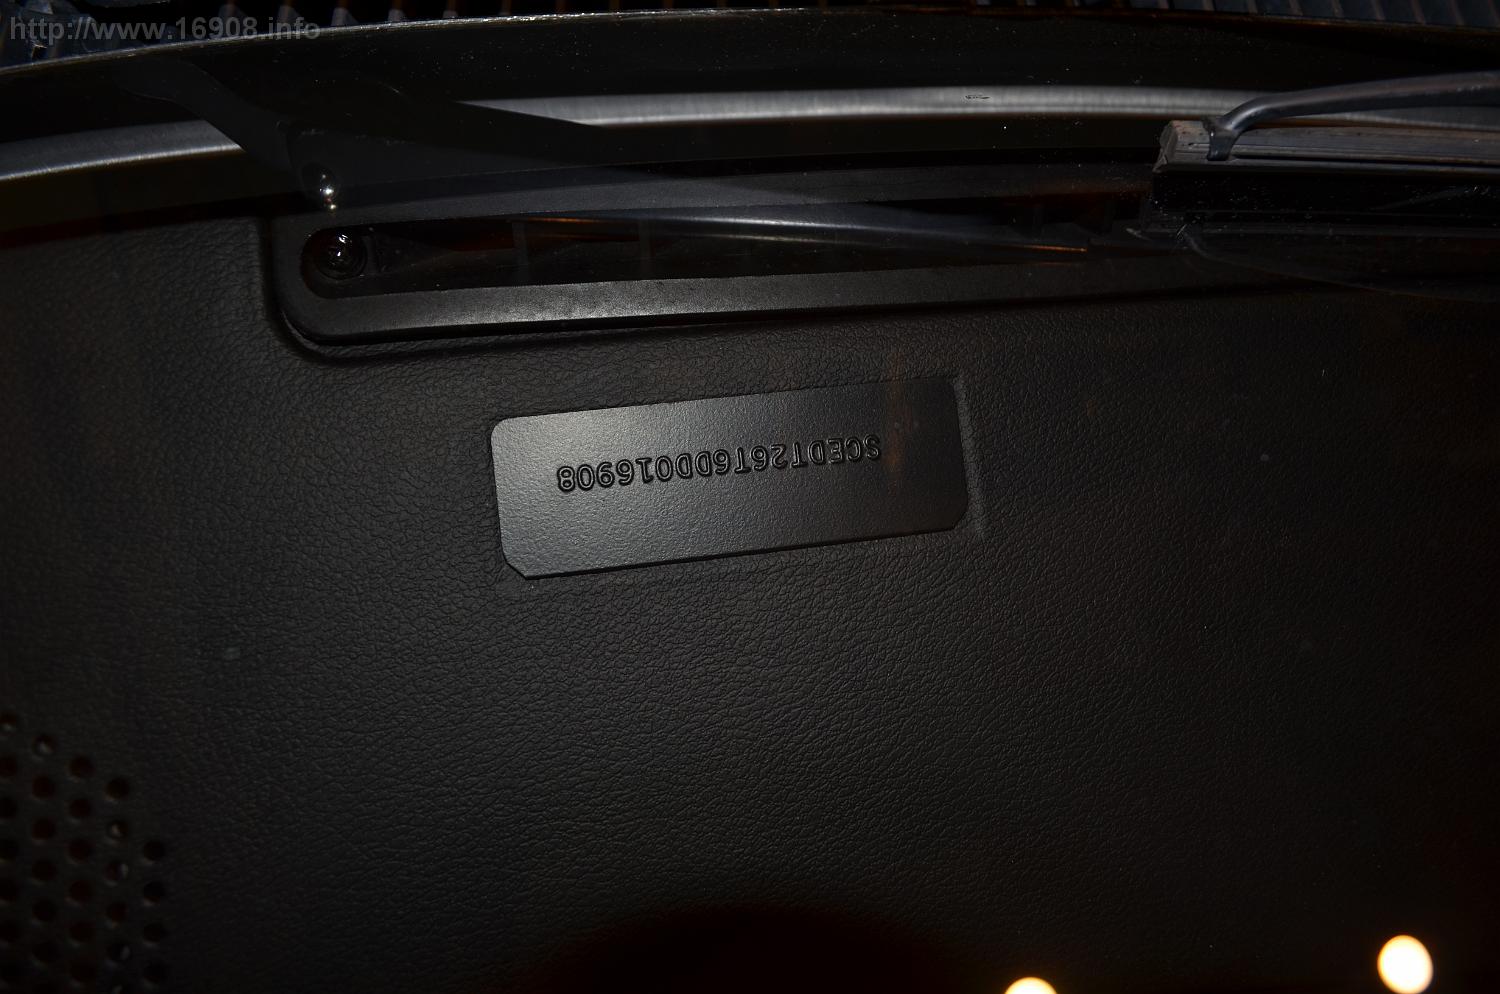
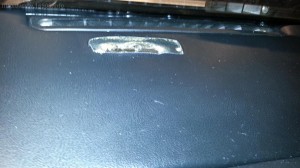
My 1983 Delorean was originally intended to be a 1982 model, and originally had a VIN plate riveted to the dash. However it was re-VIN’d as an ’83, the riveted VIN plate was removed, and a glued VIN plate was installed. The glued VIN plate was transferred to the recovered dash, and eventually fell off a few years back. I cleaned the paint off with steel wool and acetone. After a quick paint job with SEM trim black, it’s secured back in place with some 3M molding tape. I’ve happy to finally have this small detail done.


Costs:
| Item |
Vendor |
Quantity
|
Unit Cost
|
Cost
|
Tax
|
Shipping
|
Total
|
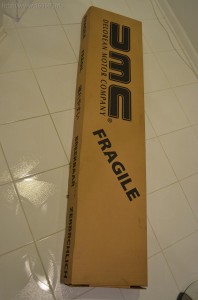
| Dash Pad Black |
DMC Midwest |
1
|
$ 299.00
|
$ 299.00
|
$ 23.17
|
$ –
|
$ 322.17
|
| Screws for defroster vents |
Ace Hardware |
6
|
$ 0.11
|
$ 0.66
|
$ 0.01
|
$ –
|
$ 0.67
|
| 1″ X 3′ Aluminum Stock |
Menards |
1
|
$ 9.99
|
$ 9.99
|
$ 0.85
|
$ –
|
$ 10.84
|
|
|
|
|
|
|
|
$ 333.68
|