Tightened Fuel pump boot cover

I’d been getting a gasoline smell in the car when I would fill up. Someone suggested it could be the clamp on the fuel pump boot cover. I’d never accessed this area, so I read up on it, and went for it.

You can still see some residue around the boot. I’ll check it again in the future.

The fuel was around the boot cover, and not the fuel level sender. The boot and cover seems like a terrible design. The hose clamp can easily slide off the boot cover, which I think is what happened. I cleaned off the top of the tank, repositioned the boot cover, and clamp, and tightened it back down.

I’m proud to say I filled up with gas over the weekend, and I couldn’t smell any gas in the cabin.

Trailing Arm Shield came off, coolant leak

So while I’m doing my oil change, I look back at the rear wheels, and am horrified to see this:

It appears the passenger side trailing arm shield came loose, and was wrenched down under the axle (I never heard or felt it). Probably when that happened the axle boot came off. I tried forcing the shield back into position, but couldn’t do it easily.

I just had rebuilt axles installed mid-last year. The car has only driven a few hundred miles since I last looked under the car at the tech session this fall. I’m guessing it hasn’t been long since the CV boot has been off.

So I had some questions about if I should rebuild the axle and replace the boot, and how can I secure the trailing arm shield better. I was relieved to find out I could reattach the boot, and secure it. I removed the clamps, put the boot back in place, and secured it with zip ties. Sadly, the boot has a small puncture, and should be replaced. I’ll think about doing this next winter, and I’ll keep an eye on the zip ties in the meantime.

I took the trailing arm shield off, and examined the clips. They’re corroded and kind of bent up. I don’t have a part number for them, but I’ll try to find some replacements. Since I had one trailing arm shield off, I decided to examine the TAB. After looking over the process for inspecting the TABS, I invested in a floor jack, and some jack stands. With the car jacked up, I tried wiggling the rear wheels, but they were secure. I can see the shims on my passenger side, and I can conclude I’m not missing any on the driver’s side. Someday I’ll check the bolts, but for now I’m satisfied.

I also bought a torque wrench for future TAB replacement, and other projects. So far I can’t figure it out.

While under the car, I also noticed a small coolant leak coming from the hose joint below the tank. The hose clamp looks corroded, so I ordered a new hose with clamps.

Good thing I do my own oil changes!

Out of Storage, Oil Change

I went and picked up the D last Thursday. I had charged the battery the previous night in my daily driver. The D started right up, and I drove it home without any problems. Or so I thought… more on that in the next blog post.

I drove the car up on my ramps, drained the oil. After installing a new oil filter, I emptied the last of the Castrol 20w 50 in one of my gallon containers, and started another. After I finished that gallon container, I realized I just dumped in a four quarts of 10w 40. $h1t. I bought the wrong oil. So I decided I didn’t care, added more 10w 40 and finished off with more 20w 50. Both are acceptable oils for the D.

Supplies used:

5 Quarts Castrol GTX 10w 40
2 Quarts Castrol GTX 20w 50
Bosch Oil Filter
Copper Crush Washer

Toby TABs, Alignment shims

I’m planning on replacing the Trailing Arm Bolts since the stock bolts are prone to bending, and eventually breaking. DeLorean Parts Northwest has replacement bolts made of inconel steel. Basically, this is aircraft grade steel that will never bend. They’re expensive, but well worth it.

This is a relatively easy job if you have the proper tools, and a manual transmission. With my larger automatic transmission, there isn’t enough room to slide the driver’s side bolt out. The old bolt now has to get cut with a saw, and the replacement inserted backwards. You could insert the replacement bolt correctly if the transmission was lowered, or removed from the car. Oh how I wish these were replaced when my car was being refurbished….

So this is going to be a huge job. I don’t have all the tools, but at least I have the bolts.

I also bought some shims for when I finally get a four wheel alignment. I’m told DeLorean shims are a little different than normal shims, so I bought 6.


Costs

K1000DP – Toby TAB Custom Trailing Arm Bolt Kit from DeLorean Parts Northwest – $74.95 plus $4.60 shipping

(6) DeLorean Shims @ $2.46 from DMC Midwest, $14.76 plus $8.13 shipping


The List

My list is forever changing. Stuff gets done, maintenance stuff pops up, and I dream up more stuff. Here’s what I’m currently working with:

Next year:
4 Wheel Alignment
Buy and install shock tower strut bar
Buy and install upgraded headlights
Left turn signal indicator in binnacle isn’t lighting up
Driver’s side window rattles when rolled down
Blend some scratches out of the stainless
Paint black areas on hood emblem
Fix warped headliners
LED Console lights
Correct Steering Wheel position
Replace Trailing Arm Bolts
Third Brake Light

Someday:
Install Coolant Self Bleeder
Replace dome lights (LED?)
Subwoofer in storage compartment behind drivers seat
Repaint Rear Louvers
Fixed warped Rear Fascia
Dynamat sound insulation
Black Side Stripe Decal
Recover or replace steering wheel
Learn how to remove and clean fuel injectors

Winter Storage

Last weekend I put the D in storage. I live in the Midwest, and don’t plan to drive the car in the winter. The car got put away on November 18th, and I don’t plan to take it out until maybe the St. Patrick’s Day parade. So it will be in storage for right around four months.

My townhouse only has a single car garage which the D resides in. Since I don’t plant to drive the D in the winter, I wanted to free up the garage for my daily driver. A family friend had an extra spot in their garage that they’ve rented to a corvette owner before, so I decided to store the D with them.

There are many thoughts on how a car should be stored. This topic always comes up on the DML and DMCTalk.com. Most recently, I got some information from this thread. The thought of draining the fuel tank was something I wanted to do, but I didn’t have the tools or the time. So opted to buy some fuel stabilizer. The bottle said it treated up to 25 gallons, and I think the D’s tank is 13 gallons. Regular dosage lasts 12 months, and doubling the dosage makes the gas 24 months, so I just added the whole bottle, and filled up the tank with fresh gas. This should prevent anything in the fuel system from drying out.

I didn’t put the D on jack stands. I’m hoping to maybe drive it once midway through the months I plan to store it. This should eliminate the possibility of flat spots on the tires, and circulate the fluids. I removed the battery, and will keep it in my basement (If my daily driver’s battery ever dies, I’ve got a spare!).

The garage it’s being stored in is crammed with junk… makes me a little nervous. I don’t have a cover for it right now, but I plan to buy one, and also put some padding over it. Lastly, the owner of the garage says mice and other vermin are a common problem. I bought a box of moth balls and placed four plastic plates of them under the car. I also put moth balls in the trunk, and left the open box on the center console. Even if the smell fills the garage, and sticks with the car, it’s better than mice making a home in my car and chewing up the wires.

I still need to call my insurance company and see if I can suspend coverage, but keep some kind of storage insurance on the car. It might be easier to just leave everything as is.

That’s it. Sleep well, D.


Costs:

Sta-bil fuel stabilizer: $5? at Target
Moth Balls: $4? at Home Depot

Breakdown #3

I can’t remember what I said exactly, but to paraphrase: “We’ve been driving around all morning, and it hasn’t broken down!” These words would soon haunt me.

On Saturday, September 15th, my fiancé and I were driving around scoping out venues for our wedding reception. The car was performing great. After I dropped her off at home, the car began to sputter. Quickly realizing what was happening, I pulled off to a side street before it stalled. Not again!

So I instantly thought that the problem from Breakdown #2 had not been resolved. During the last troubleshooting session, I had swapped out the RPM (Fuel Pump) relay, which had no effect. I also had my RPM Relay replaced after the June Maintenance-Fest. More on that later.

So I let the car cool down, and was able to drive it back to my parent’s house. After that, it didn’t want to start at all. I called Ken K to do some troubleshooting. Got out the Volt/Ohm meter, and began testing all things electrical, and it all looked good. So I took off the air box, and dumped some fuel down the intake. The car started for a second or two. So we guessed it was a fuel problem. Since the accumulator was the only part of the fuel system that had not been replaced during the refurbish, we suspected it to be the problem. The symptoms seemed correct. Replacing this thing wasn’t going to be easy for me…

After a few hours of sitting on my parents couch, I thought “if it’s a fuel issue, why not try swapping the RPM Relay?” I swapped it out with my spare, and the car started right up. Arghhh!

So take a look at the burn mark on the old relay:


Ken K advised me to clean out the female spade connections for the relay, and if any looked bent, to bend them back. The burned prong’s matching connection looked like it could be loose. I cleaned it with some sandpaper, and crimped it to be a tighter connection. I got some Dielectric grease since it’s highly recommended for the DeLorean’s electrical connections. It supposedly fills in the gaps in electrical connections. It does NOT conduct electricity, but rather is an insulator. This insulating effect causes electric to not arc out thereby preventing heat and eventually a fire hazard or at least a bad/burnt connection. So I smeared some of the grease on the female spade connectors, and the relay prongs. Hopefully this won’t be a problem in the future.

Two bad RPM Relays in only a few months. I bought my spare RPM Relay at SpecialTAuto.com. For my next RPM Relay, I’ll probably use a different vendor.

Costs:

RPM Relay from SpecialTAuto.com: $29.95 plus shipping
Dielectric Grease from Murray’s Auto Supply: $8 or $9?

New suspension components

It’s been over a month since I got the new suspension installed. The stock shocks were 25 years old, and felt rough. I felt the stock springs appear to make the car sit too high – because the originally designed springs were shorter. Early 1980’s bumper height regulations forced an increase in the ride height before the car was debuted, and taller springs were a last minute change. However, DMC (Houston) now offers springs that return the car’s height to the original design specification. I chose to buy new shocks from midstatedmc.com and Eibach springs from DMC (Midwest).

I was lucky enough to have all of the work completed at the Delorean Midwest Connection’s Fall Tech Session. The designer of the shocks that I bought was there to deliver them to me, and help me for most of the day with their installation in my car. I was extremely grateful for this, since I don’t know what to do, but wanted to learn. Also, I was advised to buy new lower ball joint rubber covers in case we damaged them. However everything came apart nicely. I did end up using the rubber boots on my tie-rod ends, which I am proud to say I replaced mostly by myself.

Before:


Installation:


New Shocks:


old springs compressed

old front spring left, new right:


New front left spring and shock


The hub is lift up, out of the way:


Rear:


What the reverse side of my tires looks like. I’m glad the white letters face this way.


Done! So I waited about 5 weeks to get some good after pictures. I still don’t know if the front end has settled as far as it can, compared to pictures of other cars with the same springs. However, I’m very pleased with the results thus far:


Front:


Front:


Rear:


Right about now, most Delorean owners are asking “How does it handle?!!!” The truth is: I’m not too sure. I have only driven one other DeLorean which had the hard-riding stock shocks. My daily driver is a 2004 sports coupe, and I have driven many other modern cars. I know my new shocks ride softer than the stock shocks. This was apparent when I first drove the car away from the event. Compared to modern cars: I think it’s still kinda harsh. Here’s what the shock designer originally sent to me:

“I call this a “sport” kit because the upgraded performance shocks we are using from KYB do have a little stiffer ride quality to them then the old “touring” setup we had. This new “sport” kit is still softer then the Eibachs from DMC Houston and ton’s better then the original Girlings. They do an excellent job of working with the D’s suspension and give the car a very controlled, well balanced feeling. I have driven my D with these shocks on it down to DMCH open hose events twice, which is 2000 miles at a time, and the car handles and drives great, on the road as well as the track time we’ve had down there. One of the other D owners who is running this KYB setup was making trips back and forth to Colorado every other week for almost a year and loves the way they handle. He says it’s the best setup he’s ever had on a Delorean, and he’s had more then a few over the years. Anyway, when it comes to shocks and ride quality a lot of it comes down to personal preference and what kind of ride you are looking for. This KYB setup makes the Delorean handle and ride like the sports car it’s supposed to be.”

I’m pleased with the softer ride, and think the setup looks great. I still think the ride height in the front needs to sink another half inch or more. I drove the car with about 120lbs of weights in the front for awhile, but that didn’t seem to do much. I don’t want to drive much more before getting an alignment done. But I don’t want to get an alignment until the height settled completely.

The shocks that DMC (Houston) sells with the Eibach springs cost considerably more than Mid-State’s shocks, so my wallet is also pleased. Overall, I’d recommend these shocks and springs to any DeLorean owner.

Costs (discounts not included):

“Sport” Shock Kit from www.midstatedmc.com: $340
Eibach Spring Kit from DMC (Midwest): $399 plus tax
2 Lower Ball Joint Boots from DMC (Midwest) $9.74 plus tax
Labor: Free! Thanks MM!

Breakdown #2

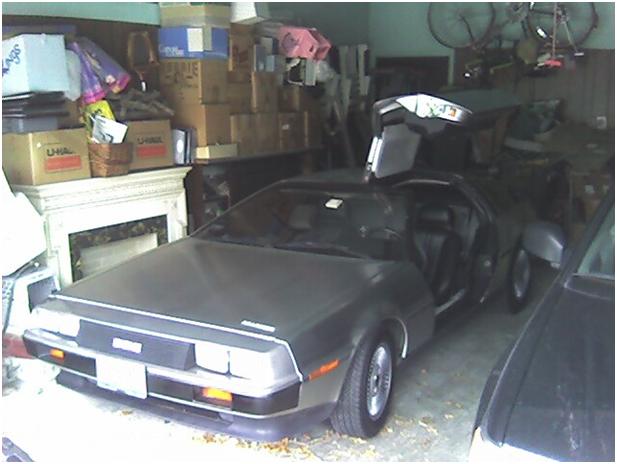
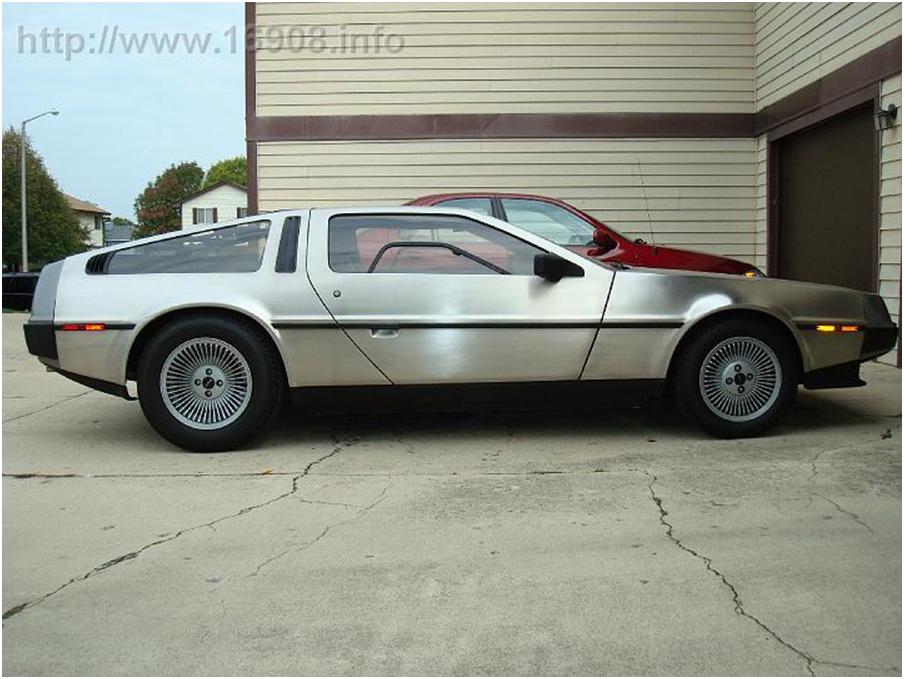
Friday August 17th, I drove the D to work. Around 1:00pm, I left work to go run an errand. Little did I know, I wouldn’t return until over 4 hours later.

On this particular day, I was driving the tollway fairly confident – speeding. While driving to my errand, I felt the car sputter a little. Is this the transmission? Great more problems. While pulling into my destination, I felt the gas go flat, and the brake pedal stiffen up. The car stalled. Lovely. I restarted it, drove it around the parking lot, and parked it. Later, after leaving, I drove down a narrow curved road with no shoulder, and it stalled again. I couldn’t get it started, so I tried pushing it up the road. I could only imagine what people were thinking as they drove past a young male trying to push and steer his DeLorean up a road. I couldn’t do it, so I tried starting again. It fired, so I drove it up the road, made another turn onto a busy street, where it stalled again. I managed to get off the road, so I could pull over to see what was up.

I didn’t panic this time. I called work to let them know I was not going to make it back to the office. Then I called Ken K, where he had me make sure the electrical connections were secure. When checking the ignition coil, I noticed it was hot. Ken said it should only be warm, and not hot. Well the coil looked original, and Ken said this might be the cause of my problems. The good news is that I’m in the city that I grew up in, and live not too far away. I used my toolkit to un-mount the coil, and walked to the local auto parts store. Now it’s almost 80 degrees, and I’m in business casual. By the time I got to the local auto parts store I was drenched in sweat. The store – I’ll call it Shmautosone – the clerk couldn’t find DeLorean in their database, and looked at me like I was crazy. The part number on the coil was barely visible, but I couldn’t read it. So I left Shmautosone, and had my brother come pick me up.

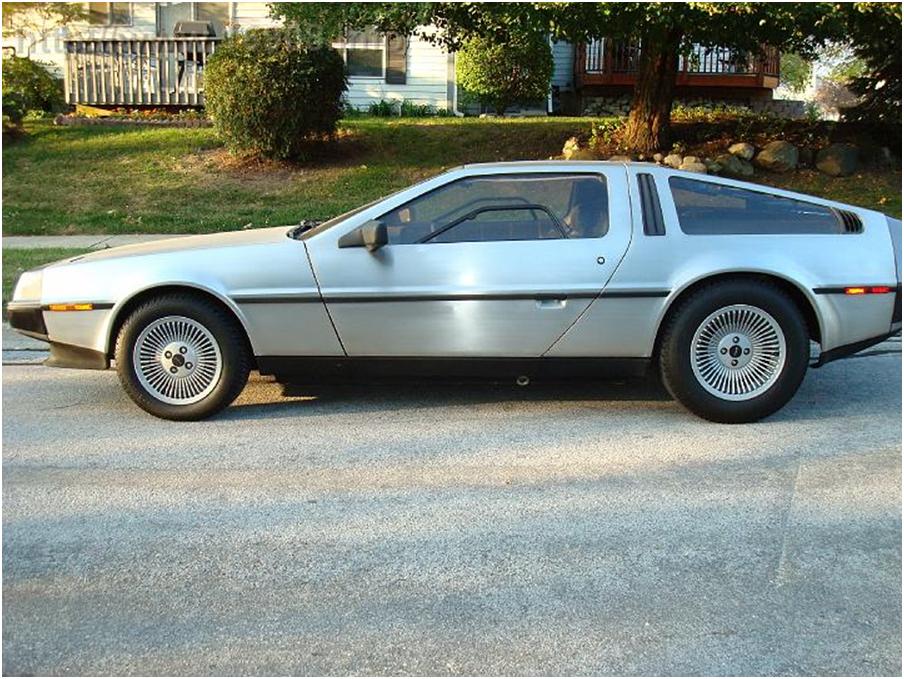
I visited another auto parts store – I’ll call it Schmadvance Puto Aarts – and they found a cross reference, but would have to order it. I decided against this part in favor of a part offered by one of the DeLorean vendors. So I returned to the D, reinstalled the old coil, and the car fired up. I drove it around the neighborhood before it could get too warm. I left it to cool again, and later drove about 2 miles to my parent’s house. On Sunday morning, I drove it about 5 miles to my house.

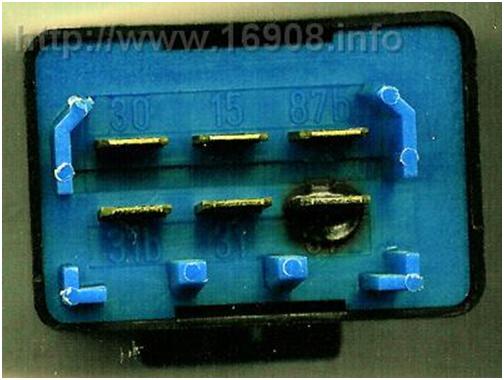
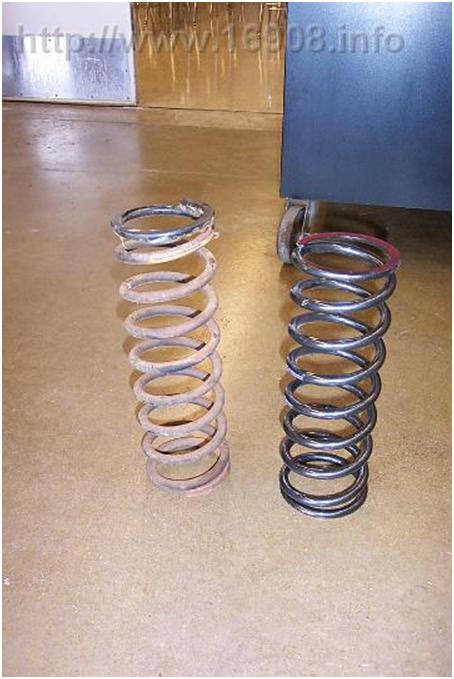
So the D runs good when the engine is cold. Ken K said if it’s the coil, it would work again when it cooled off. So I ordered a new one:

Can you guess which coil it the old coil? Even if the coil isn’t the problem, I’d still rather have a new coil for any performance improvements, and to improve aesthetics.

I installed the coil last night, and drove around the neighborhood for about 25 minutes. The engine was definitely warmed up, and there were no problems. And the coil was hot <shrugs>. Now I know some people reading this can point out I don’t know what I’m doing, or they would do things differently, or they would use a different coil, or they would use a different supplier, or I paid too much, etc. So what? I liked the idea of using a new exact replacement Bosch coil, and not 25 year old NOS. Besides, I’m young, and I’m learning.

Note to self: Get a Voltmeter/Ohmmeter, and learn how to use it.

Costs:


Stock Bosch Ignition Coil – $59.95 plus shipping at SpecialTAuto.com

Door Pull Strap Repair

My driver’s side door pull strap came apart where the loop is sewn together. My 83′ model has the straps incorporated into the door panel. Since I already had the door apart for the door launchers, and to adjust the linkage, the break happened at a good time. The strap looks original, and is made from leather that is folded a couple times. Needless to say, I couldn’t repair it myself.

At the suggestion of my mom, I went to a local shoe repair store. The clerk wanted to know what it was, and I explained it was the pull strap for the door in my DeLorean. He was really nice, and didn’t make any jokes or stupid comments. He explained the stitching would probably give out again after some use. He sewed several rows of stitches back into the strap, which seems a lot better than what was there. Best of all, it took less than 10 minutes, and didn’t cost a fortune. I’ll definitely go back there if I ever need my shoes repaired.

Leather Pull Strap repair stitching – $5 at Woodridge Shoe Repair

(Sorry, no pics)