Seat Repair

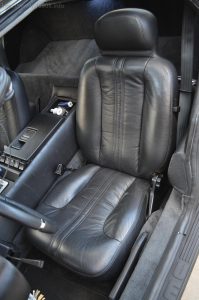
My driver’s seat was needing repair. I previously had the bottoms repaired

https://16908.info/?p=1221

and had built new seatbacks:

https://16908.info/?p=2330

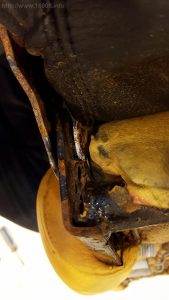
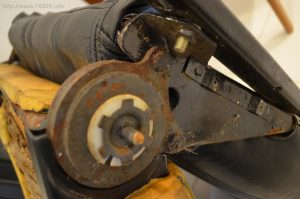
At some point in the car’s life, the cabin was exposed to elements, and most of the metal on the seat rusted.

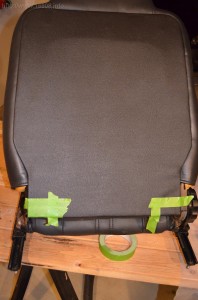
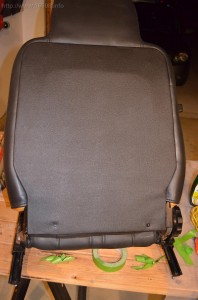
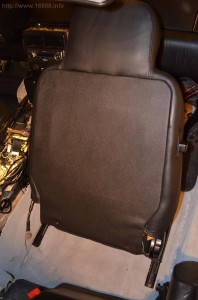
Seat 10 Seat 12Seat 25

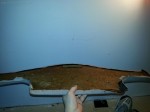
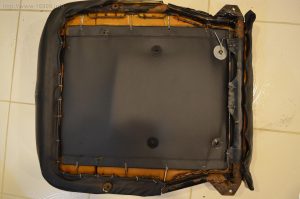
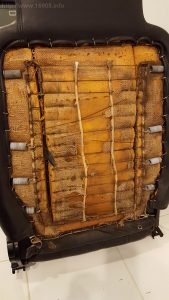
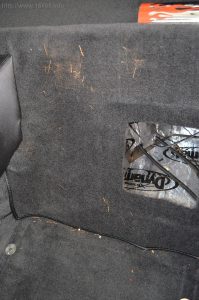
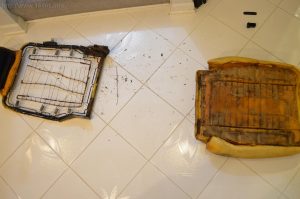
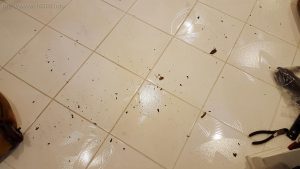
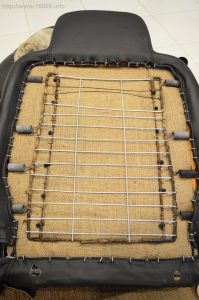
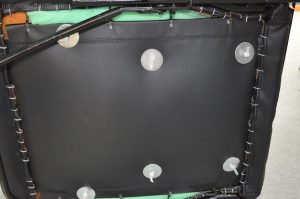
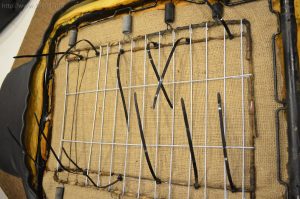
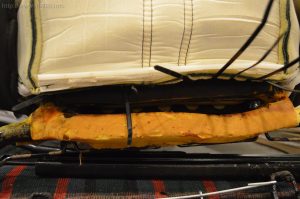
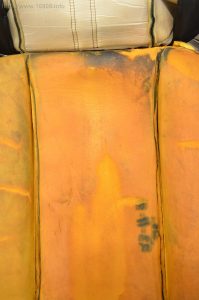
The thin wires on the seatback rusted through, and the burlap had deteriorated. The seat back kept popping off, and the foam was pushing through because the foam didn’t have any support. All this was leaving crud all over my interior carpet:

Seat 15Seat 16

Finally, the neck area of the seat cover wasn’t secured properly.

I decided to tackle these jobs myself this time, with a complete disassemble and refurbish.

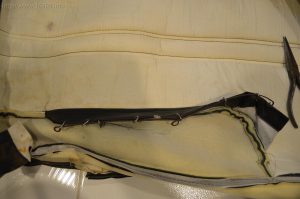
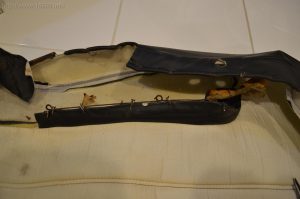
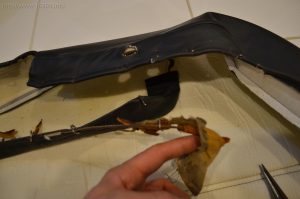
Seat covers came off. I found the seat cover ribs weren’t even in their slots, rather clipped onto the seat cover with hog rings. Even worse, it looks like some of the car’s original, deteriorated seat covers were still attached:

Seat 20 Seat 21 Seat 22

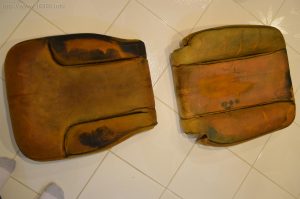
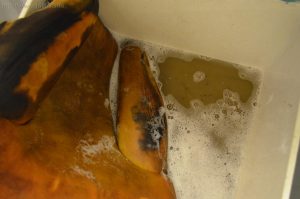
The foam came out. I washed the foam, and after several rinses, the wash water finally came clean. This will help remove any “old” smell that the seat was holding.

Seat 30 Seat 31 Seat 40 Seat 45

I painted the seat frames with rustoleum gloss black paint. (Sorry, no pictures)

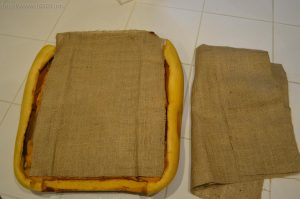
I rebuilt the seatback with coat hanger wires (hah!) and new burlap. Very strong.

Seat 50 Seat 80

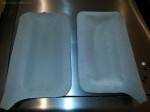
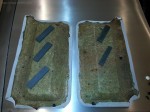
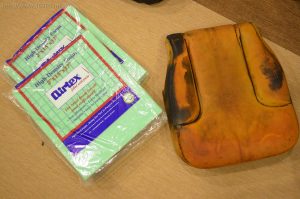
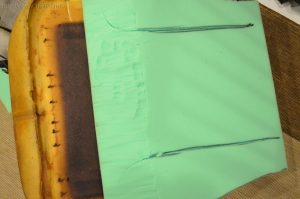
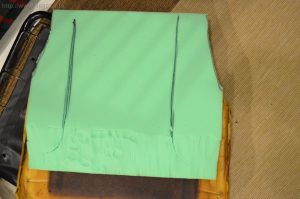
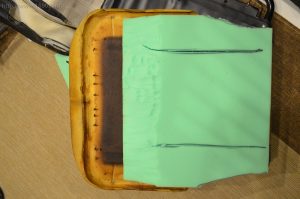
I felt the driver seat bottom needed more support, and the leather was still bunching up after the seat’s previous rebuilt. I decided to add some seat foam. The picture shows two pieces, but I only used one.

Seat 51 Seat 52 Seat 53 Seat 54

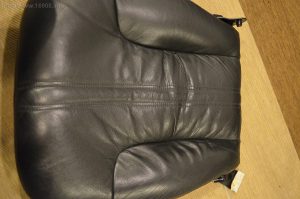
I put the seat cover back on with new hog rings, and was able to properly secure the “neck” area with many zip ties. Zip ties also were used to attach the ribs to the frame.

Seat 55 Seat 56 Seat 81 Seat 61Seat 60

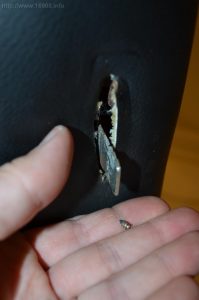
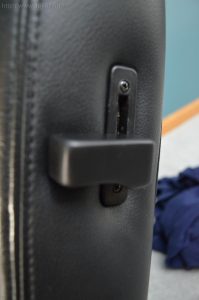
New screws replaced the rusted ones on the trim. A broken screw was stuck in the frame, which I forgot to remove before I recovered the seat. Luckily I was able to get it out without taking the cover off again. I even sanded stone scuff marks off the reclining lever. I then coated it with some spare SEM Landau Black Color Coat I had leftover from my previous interior work.

Seat 76 Seat 77

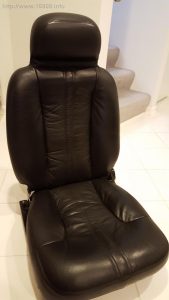
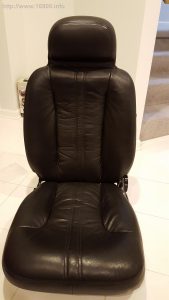
It still isn’t perfect, but it looks, feels, and works a lot better.

seat 100 seat 1001 Seat 101

Costs:

Item Vendor

Quantity

Unit Cost

Cost

Tax

Total

14″ Zip Ties 10 Pack Home Depot

1

$ 1.99

$ 1.99

$ 0.15

$ 2.14

8″ Zip Ties 100 Pack Harbor Freight

1

$ 3.99

$ 3.99

$ 0.33

$ 4.32

Washers Ace Hardware

6

$ 0.39

$ 2.34

$ –

$ 2.34

1 Yard Burlap JoAnn Fabrics

1

$ 1.99

$ 1.99

$ 0.16

$ 2.15

2″ X 15″ X 17″ High Density Foam JoAnn Fabrics

1

$ 7.99

$ 7.99

$ 0.67

$ 8.66

Hog Ring Pliers with 200 Hog Rings eBay

1

$ 15.98

$ 15.98

$ –

$ 15.98

Trim Screws Ace Hardware

4

$ 0.31

$ 1.24

$ 0.10

$ 1.34


Total

$ 36.94

Auto Shifter Plate

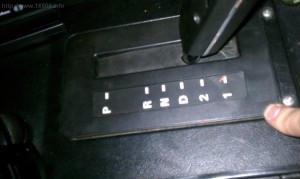
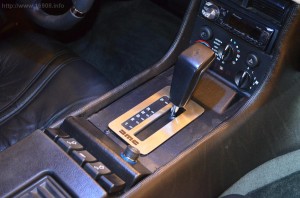
I purchased this new in 2012, and only just now installed it. Not only is it aesthetically pleasing, it helps keep everything in place. My plastic shifter plate was warped after many years in the sun, and this metal plate reinforces the plastic, keeping it flat.

Before:

IMAG0583

After:

DSC_0271

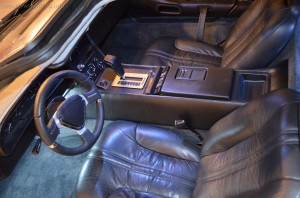
I think it works well with the new steering wheel:

DSC_0269

 Costs:

Item Vendor

Quantity

Unit Cost

Cost

Shipping

Tax

Total

Auto Trans Plate DMOCO.com

1

$ 59.95 $ 59.95 $ 7.50 $ – $ 67.45
Trim Screws with finish washers Ace Hardware

2

$ 0.57 $ 1.23 $ – $ 0.09 $ 1.23

Total:

$ 68.68

New Pull Straps

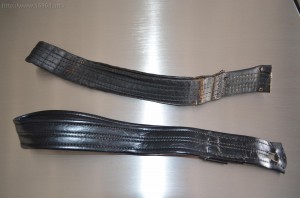
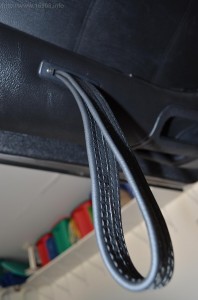
My pull straps had seen better days. They didn’t even match – one is leather, the other is vinyl: DSC_0226

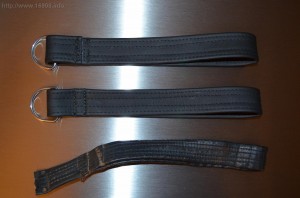
Vendors were out of stock for many months. I finally found someone that had them made, albeit the “early style” with the ring:
DSC_0173

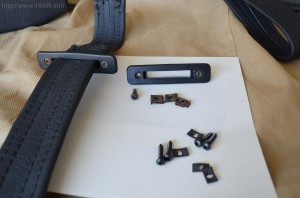
I took the time to replace some rusty screws and speed nuts. I also needed new bolts to hold them to the door:
DSC_0195

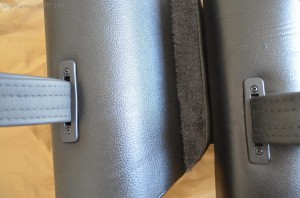
I cut them apart, and squeezed them into my “late style” trim:
DSC_0196

Done:
DSC_0227

Costs:

Item Vendor

Quantity

Unit Cost

Cost

Shipping

Tax

Total

Black Pull straps DMCTalk Member

1

$69.99

$69.99

$0.00

$0.00

$69.99

Metric bolts to hold straps Ace Hardware

4

$0.39

$1.56

$0.00

$0.12

$1.68

Screws Ace Hardware

4

?

?

?

$0.00

$2.28

Speed Nuts Ace Hardware

4

?

?

?

0

Total

$73.95

New Power Outlets

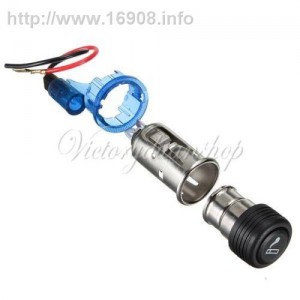
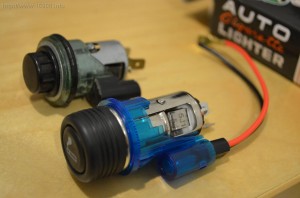
My cigarette lighter was broken, and the power outlet’s green plastic was cracked. I found an excellent replacement on ebay for $5.29 shipped: http://www.ebay.com/itm/360678268535
attachment DSC_0209

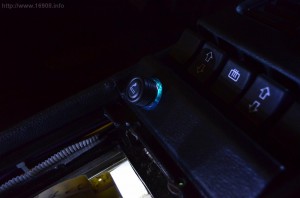
I knew that even if it didn’t fit, for that price I would make it fit. But yes, it fits perfectly. It’s a little more modern looking, and it’s blue! I measured the lighter drawing under 7.5 amps, and the lamp under 0.8 amps. I don’t know what the stock lighter draws since mine is broke. The only drawbacks I found were the light requires a separate ground, and it’s a little dim. I didn’t check, but I think the bulb is incandescent. I cut my wiring harness and added another female disconnect connector for the lamp’s ground.
DSC_0215
The power outlet I bought through ebay comes in other colors, even green.

I also wanted to add some power outlets behind the dash for electronics:
10242
Fuse 17 is rated at 20 amps. My cell phone and dash cam combined draw less that 1 amp, and my ’83 also doesn’t have a clock on Fuse 17. Adding two more outlets wasn’t a problem. Since Fuse 17 is live all the time, I decided on another mod:


After some fast shipping with DMC-MW, I cut the wiring harness and put a switch in the middle of the circuit. So now all my power outlets are controlled by the switch. This allows me to stop and start my dash cam whenever I want without touching the cam or the power connector.

My A Pillar trim is off the car right now, so I’ll be running the power for the dash cam behind the trim, then above the headliner.

Costs:

Item  

Quantity

Unit Cost

Cost

Shipping

Tax

Total

Blue Auto Power Outlet/Lighter ebay

1

5.29

5.29

5.29

Double Power Outlet O’Reily Auto Parts

1

6.69

6.69

0.45

7.14

Purple Primary Wire 14 Gauge 1 Foot O’Reily Auto Parts

4

0.31

1.24

0.08

1.32

On/Off Switch, Console (Pair) DMC Midwest

1

69.95

69.95

12.99

5.42

88.36

Electrical Disconnects On Hand


Heat Shrink Tubing On Hand

Total

$ 102.11

New Custom Mirror Switch

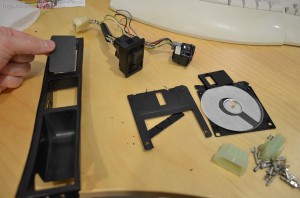
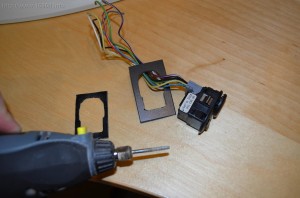
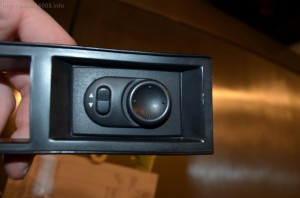
I liked the look of the new Mirror Switch available from DMC-Houston, however the price was a little high for an unneeded upgrade. I know it’s made from a mirror switch used in a Saturn, so decided to try and make my own. I went to a salvage yard, and found one. Next I made a plastic plate to hold the switch:
DSC_0331     DSC_0350

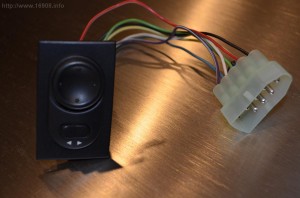
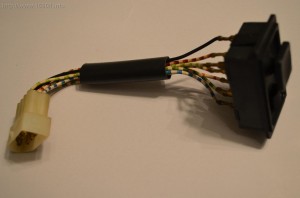
I found the wiring connector online at britishwiring.com. I also found wiring diagrams online to help me figure out all the connections.
DSC_0530

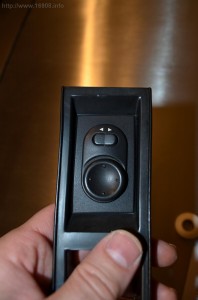
I didn’t like how the DMC-Houston switch looked upside-down:
DSC_0527
I could see the polarity of the mirror motors was opposite of what the switch was. Up was down, Right was left, and so on. The options I had were:

  1. Do what DMC-Houston did: flip the switch upside–down, and swap the right and left mirror wires
  2. Reverse the wiring in my cars wiring harness.

I choose option 2. I pried the wire connections out of the mirror connectors, and reversed them. If the cars next owner ever tries to install an original switch, they’re going to hate what I did!
DSC_0528
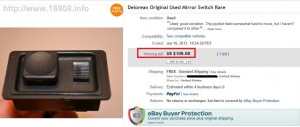
Original mirror switches have been going for a good price on ebay, so I decided to sell mine.
DSC_0510 auction

Since I bought my car in 2007, my passenger mirror hasn’t had up and down functionality. I was happy to find out during testing that it was a dirty/bad connection.

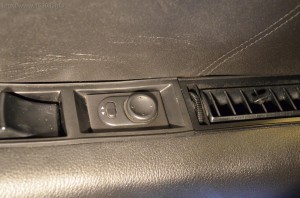
I actually finished the switch in mid-2013, however I wasn’t able to finally install it until now due to my door panels being removed. Here it is, finally installed:
DSC_0220DSC_0219

From the pictures, it looks like the interior is still kind of dusty. Time for a complete detailing.

Costs:
(It’s not too often I make money!)

Item Vendor Cost
Mirror Switch Sale Ebay

$ 105.00

Ebay fees Ebay

$ (14.50)

Paypal fee Paypal

$ (3.50)

Shipping FedEx

$ (12.96)

9-Way 3mm Pin & Socket Connector BritishWiring.com

$ (16.50)

Saturn Mirror Switch Salvage Yard

$ (6.00)

Black Plastic On Hand

$ –

SEM Black Landau Color Coat On Hand

$ –

Profit

$ 51.54

New Dash, Dash Mat Mod

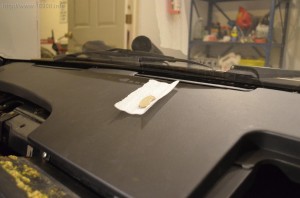
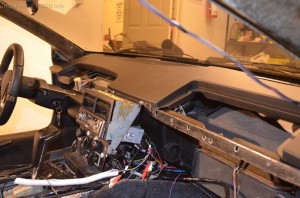
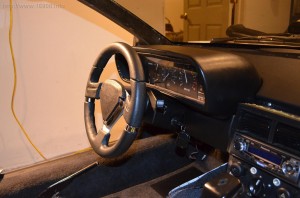
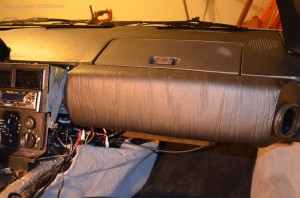
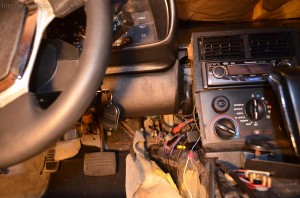
My previous owner had the dash recovered in the wrong vinyl, and the look was beginning to bother me. The dash has a “puffy” look when it’s recovered, and my defroster vents look like they’re being swallowed. Also, the edges didn’t fit together perfectly. I finally decided to buy a new reproduction dash.

20131229_103420 20131229_10344420131229_103341DSC_0001DSC_0003 (2)DSC_0007

The defroster vents also developed a bow from the slightly oversized dash. I wanted them straight and flush up against the new dash, which meant I had to bend them back into shape. The screws used to hold them in ran up right against the windshield. Removing the screws was a delicate process. I had to put some fabric over the windshield to protect it from screws and my screwdriver. If you ever attempt this, stuff some rags in the vents so you don’t drop screws down them. Removing the defroster vents also allowed me to clean the vents, and vacuum some crud from beneath them. I also went the extra length of painting the new vent screws black. 

 DSC_0054
I used a heat gun to warm the defroster vents, and straighten them. The new, painted short screws made the vents easy to reinstall.

The mounting holes for the passenger knee pad were broken. There’s already a steel reinforcing plate right below the glove box lid. I removed it, and added a longer one I made from aluminum.
20140310_204340 20140310_215554

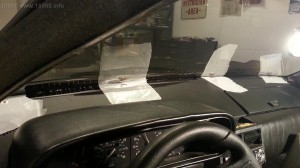
I never found a method I liked to attach my dash mat to the dash. I didn’t want to damage the dash with glue or adhesive. I got an idea to use magnets. The reproduction dash is hollow underneath. I salvaged some magnets from some old mechanical hard drives, and epoxied them under the dash.

DSC_0003DSC_0002

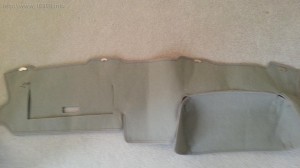
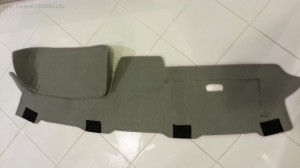
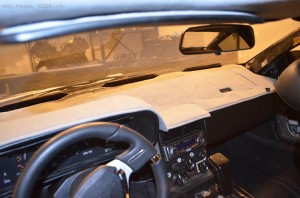
Once I installed the dash, I protected it with wax paper, and put magnets on top of the dash. I carefully spread some epoxy on top of the magnets, and laid down the dash mat. After the epoxy cured, I removed the dash mat with its magnets.20140329_204643 20140330_082249

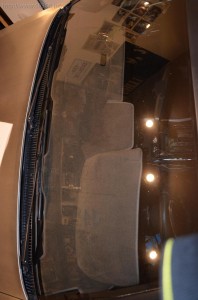
I had some felt sewn (Thanks Mom!) over the magnets, so dash won’t be scratches by the magnets. The stitching is visible on top of the dash mat, but I don’t mind. I use the mat to keep the cabin cool during drives, and to protect the dash from sun damage. Otherwise I remove it when displaying the car at shows. The dash mat now snaps right into place when you lay it out.
20140403_210302 DSC_0157

Here’s a tip: When installing the dash, adding a washer and threading on a nut under the dash can be tricky with little room for your fingers. Use a strong magnet on top of the dash right over the stud (remember to also protect the dash from magnet scratches). The washer will jump up in place, and stay put while you struggle to get the nuts on.
DSC_0055 DSC_0057
DSC_0058 DSC_0155

My 1983 Delorean was originally intended to be a 1982 model, and originally had a VIN plate riveted to the dash. However it was re-VIN’d as an ’83, the riveted VIN plate was removed, and a glued VIN plate was installed. The glued VIN plate was transferred to the recovered dash, and eventually fell off a few years back. I cleaned the paint off with steel wool and acetone. After a quick paint job with SEM trim black, it’s secured back in place with some 3M molding tape. I’ve happy to finally have this small detail done.
DSC_0148 DSC_0152


Costs:

Item Vendor

Quantity

Unit Cost

Cost

Tax

Shipping

Total

Dash Pad Black DMC Midwest

1

$ 299.00

$ 299.00

$ 23.17

$ –

$ 322.17

Screws for defroster vents Ace Hardware

6

$ 0.11

$ 0.66

$ 0.01

$ –

$ 0.67

1″ X 3′ Aluminum Stock Menards

1

$ 9.99

$ 9.99

$ 0.85

$ –

$ 10.84

$ 333.68

Kneepad Maintenance

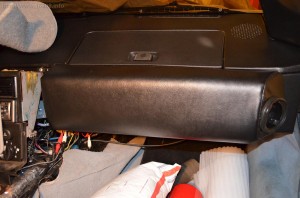
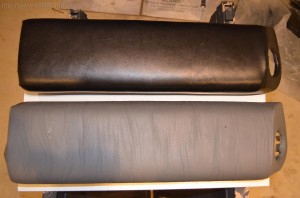
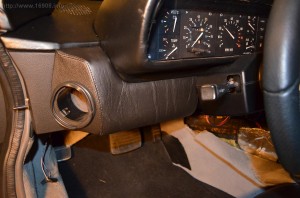
My previous owner had the passenger side kneepad recovered. However, the wrong vinyl was used, and the recover job didn’t turn out very well. I’ve grown to dislike the kneepad over the years, so I located a used kneepad in good condition:
DSC_0578
DSC_0580
DSC_0582
DSC_0581

It has the right pebble texture, and the ripples in the vinyl. It’s a little worn and sun-faded, but I planned to re-dye it anyway since it needs to be black.

My other kneepads were loose, and they had to come out when I replaced my steering column. I also gave them a good cleaning before re-dying them. It turns out, they were disgustingly filthy! Lots of dirt, possibly from when the car was abandoned many years ago.

Dying the kneepads and door panels:
20130531_224857

Passenger kneepad dyed:
DSC_0585

I think they turned out well:
DSC_0598

DSC_0609

DSC_0608
I plan to sell the recovered kneepad, and “recover” some money. With these kneepads, now I feel I need to recover or replace the dash, binnacle, and A-pillars.

Item Vendor

Cost

Used Passenger Side Kneepad  

$ 90.00

SEM Landau Black Color Coat Summit Racing

$ 9.95

Total:

$ 99.95

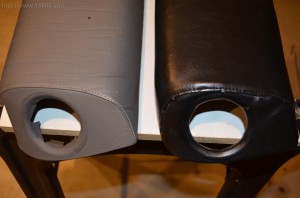
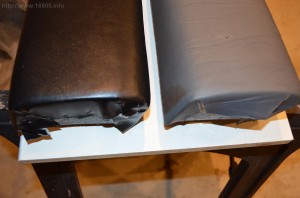
New Seatbacks

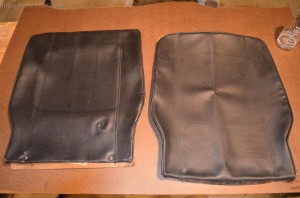
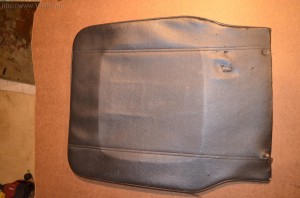
My seatbacks were broken. The vinyl was torn, scuffed, worn, ripped, patched, and disintegrating. Even the staples for the material were rusted. I decided to try and make some new ones.
DSC_0600

DSC_0592

DSC_0593

DSC_0590

Tools Used:
Jig Saw
Sharpie Marker
Dremel or Rotary Tool
Drill, drill bits, countersink
Disposable Paint Brush
Rivet Tool
Scissors
Razor blade
Heat Gun

Supplies:
Vinyl
Hardboard
Contact Adhesive
Rivets

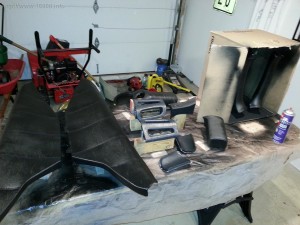
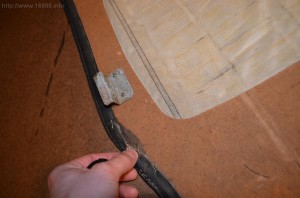
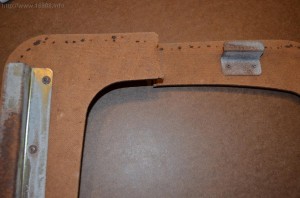
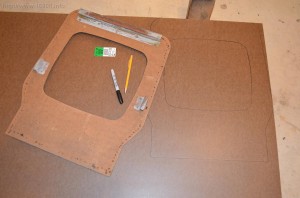
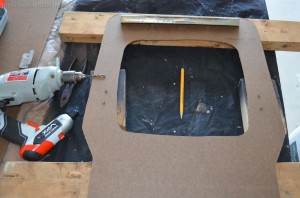
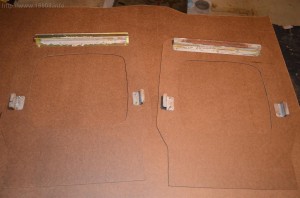
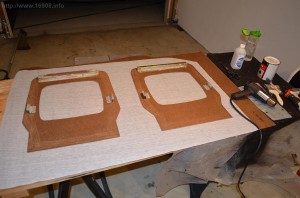
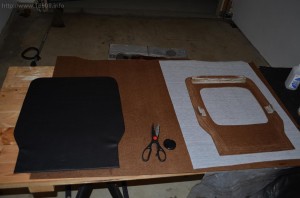
I drilled out the rivets on my old seatbacks, and reclaimed the brackets. I marked the position of all the holes with an old seatback. After drilling the holes, I riveted on the brackets. I then spread on some contact adhesive and let it tack up. Then I warmed up the vinyl with my heat gun, stretched it and attached it to the board. Finally, some trimming with a scissors and razor.
DSC_0588

DSC_0591

DSC_0594

DSC_0595

DSC_0596
Marking the holes for the screws was the hardest part:
DSC_0601

DSC_0602

DSC_0604

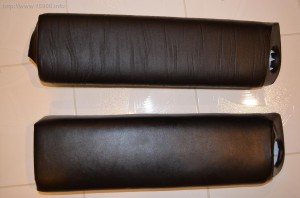
The passenger side came out great!. Unfortunately the driver’s side is sub-par, and will need to be recovered at some point. For now, it’s still a huge improvement.

Costs:

Item

Vendor

Cost

Tax

Total

Dap Weldwood Contact Cement

Home Depot

On Hand

Disposable Paint Brush

Home Depot

On Hand

Black Shang Vinyl

Hancock Fabrics

$ 9.49

$ 0.59

$ 10.08

4′ X 4′ Hardboard

Menards

$ 4.79

$ 0.41

$ 5.20

Rivets

Home Depot

$ 5.24

$ 0.43

$ 5.67

4 Screws, 4 Nylon Washers

Ace Hardware

$ 2.12

$ 0.16

$ 2.28

Total:

$ 23.23

Headliner and Trim: Repair and Recover

I think I finally worked out how to properly use thumbnails in WordPress. The following project took many hours, and so did the blog!

My headliners were warped, had wrinkled fabric from a bad recover job, stained from roof leaks, and had window sealant on them. Warped, and bowing into the rear window:
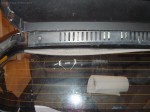
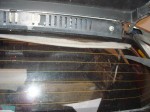
Headliner (1)Headliner (2)

To help remove the headliners, I bought this kit at Harbor Freight, but it didn’t help that much. I ended up using force to get them out.
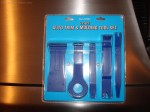
Headliner (3)

Warped:

Headliner (4)

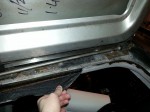
Gotta take off the seals, and rip off the fabric:
Headliner (5)

Poorly recovered:

Headliner (6)Headliner (7)Headliner (8)Headliner (9)Headliner (10)

Here’s some Window sealant from the previous owner:
Headliner (11)

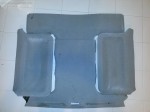
I removed them all, and they look terrible:
Headliner (12)

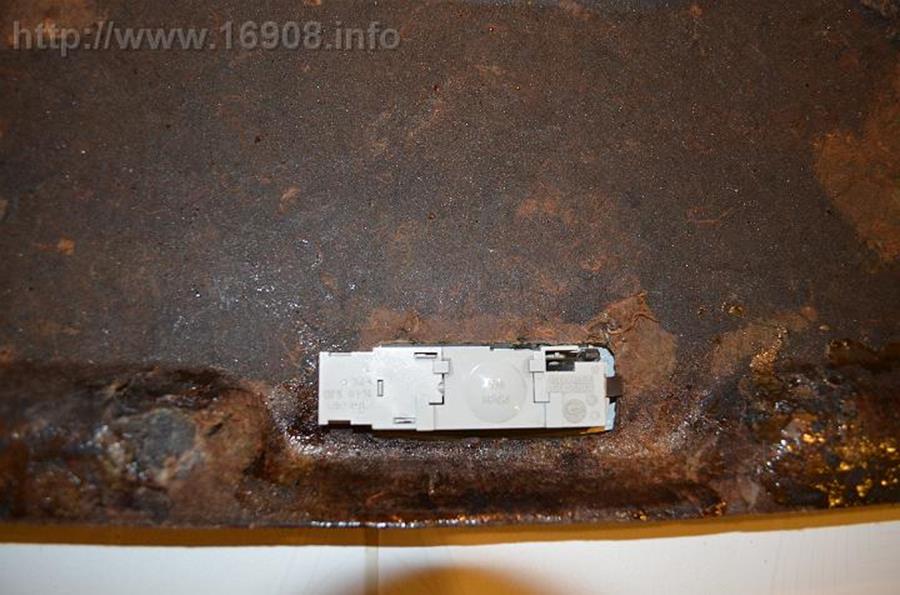
I wanted to install a different rear cabin light, so my rear upper trim board had to come out. It already had rust stains, and was broken:

Headliner (15)Headliner (13)Headliner (14)Headliner (16)

I decided to attempt to repair my trim board with fiberglass. Other than its ugly appearance, it turned out ok for my first fiberglass job:

Headliner (17)

I found a vinyl that is a decent match. I bought enough to recover my rear upper trim panel, and a future project – my seatbacks:

Headliner (18)Headliner (19)Headliner (20)

I tried using GM Trim Adhesive for the vinyl, but it didn’t hold very well. The vinyl backing absorbed a lot of the glue before it could tack up. I ended up using contact cement, which is a very tight, strong bond. I don’t think the trim board would survive if I tried to remove the vinyl again.

Headliner (21)

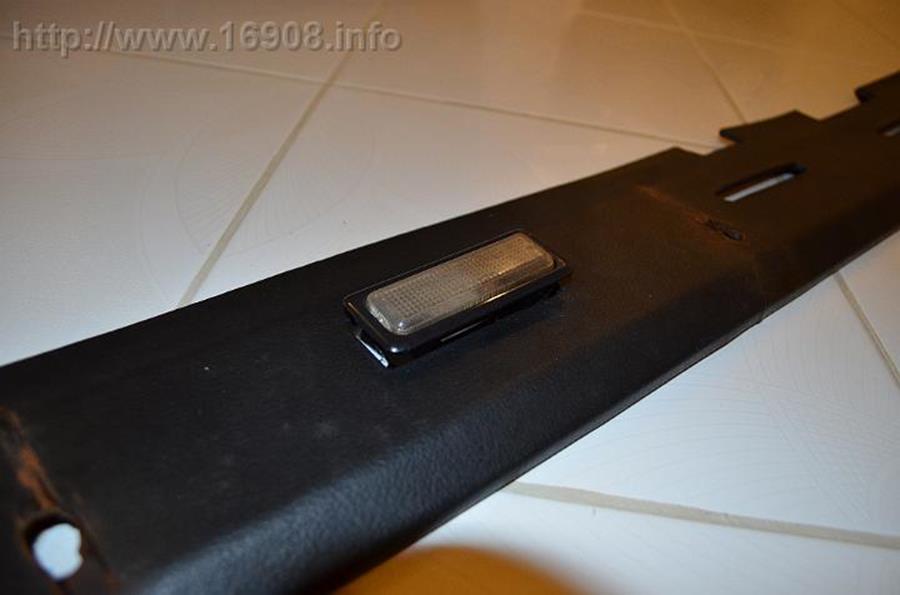
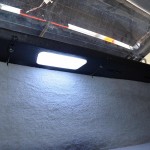
New(er) Saab light installed:

Headliner (23)

This picture does actually does too much justice. There are still imperfections in the trim board, but it looks better than what I started with.

Headliner (22)

I added some new velcro to attach the lip on the board to the underbody. After being out of the car for over a year, I’m happy to have this trim reinstalled.

Headliner (24)

New rear upper trim boards currently cost $312.90. I definitely saved money, but spent many hours fixing it.

My headliners were barely salvageable. I built a jig to hold them while I fiberglassed them:

Headliner (25)Headliner (26)Headliner (27)

Fiberglassing the center section, and piece of door trim:

Headliner (28)

Fiberglass work in the middle of winter in my cold garage was quite a challenge. I managed to go through two containers of resin, when I probably could have only used 1/4. I also used a lot of glazing putty to try to smooth them out. Now I’ve got two yards of new headliner fabric, ready to start recovering:


Headliner (29)

Headliner (30)

The material I chose is called “Smoke Grey” which is a little darker compared to the standard gray being sold at the fabric store. It’s advised to use thin fabric. I went the cheap route, instead of some higher priced material at auto parts stores. It’s about 3/16ths of an inch thick. A lot thicker than my previous material:

Headliner (31)

I marked lines on the back of the fabric, with the grain, so I could keep the fabric straight:

Headliner (32)

I knew the sharp angles of the door headliners would cause wrinkles like they had previously. I built another jig with some foam, a board, and some clamps so I could stretch the fabric before applying it:

Headliner (33)Headliner (34)Headliner (35)Headliner (36)

Some heat to help form the fabric:

Headliner (37)

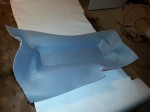
I let the fabric sit for a few days. I still ended up with some wrinkles, but it worked ok. Gluing it down:

Headliner (38)Headliner (40)

I put the foam from my jig into the headliner while the glue dried:

Headliner (41)

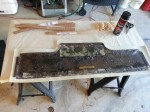
I messed up the fabric on the back headliner, and needed goof-off to remove the glue and fabric. I had just enough fabric to do it again:
Headliner (42)

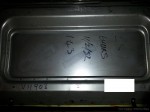
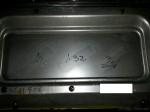
Here’s under my headliner. You can see the “cave paintings.” I digitally blocked out my key code, and you can see my *original* VIN, 11908!
Headliner (44)Headliner (43)

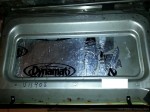
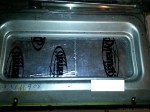
I had some leftover dynamat that I always intended for the doors:
Headliner (46)Headliner (45)

Ford Style Fir Tree fasteners are horrible to work with! The originals are taller for thicker trim/headliners, while the Fords are meant for very thin trim, and thin headliner fabric. Original left, Ford right:
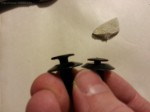
Headliner (47)

They also don’t have the cam-like screw on the top. Original left, Ford right:
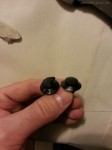
Headliner (48)

I cut my own cam into the fir trees, and bent them for my thick headliners. I broke several, and used almost every one before I perfected my design. I used clothespins and carboard strips to help clamp the fabric while the glue set up. By the way, if you need clothepins, check out a hobby store. Clothespins, along with typewriter ribbons, and Shlitz Beer are nowhere to be found at a supercenter.
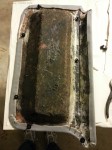
Headliner (49)

I used GM Trim Adhesive to stick the fabric to the underbody. I had to protect the interior from overspray:
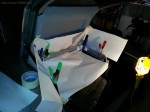
Headliner (50)

They’re finally installed! Too bad they don’t look that great:

Headliner (51)Headliner (52)Headliner (53)Headliner (54)Headliner (55)Headliner (56)

Gap in the door headliner:

Headliner (57)

I got some of the bows out, and stiffened them up a bit. The stains are gone, but the fabric is too thick, and looks “puffy.” Once again, I didn’t follow Dave’s advice about using thin material.

New headliners with fiberglass backing are currently $450. I still saved money, but with all the time and effort I spent, I didn’t get much in return. My headliners don’t look much better than before.

Costs:

Item Vendor

Cost

Tax

Total

3″ Brush Menards

$ 1.20

$ 0.10

$ 1.30

3″ Brush Menards

$ 1.20

$ 0.10

$ 1.30

Ford Panel Retainers (Fir Trees) Autozone

$ 3.99

$ 0.34

$ 4.33

2 Yards Headliner Fabric (Smoke Grey) Hancock Fabrics

$ 14.99

$ 1.35

$ 16.34

Black Shang Vinyl Hancock Fabrics

$ 14.99

$ 1.35

$ 16.34

Bondo Fiberglass Resin Walmart

$ 13.94

$ 1.15

$ 15.09

Bondo Fiberglass Resin

Walmart

$ 13.94

$ 1.39

$ 15.33

Bondo Fiberglass Hardener

$ 2.48

$ 0.25

$ 2.73

Bondo Fiberglass Mat

$ 5.67

$ 0.57

$ 6.24

Paint Brush

$ 1.47

$ 0.15

$ 1.62

Paint Brush

$ 1.47

$ 0.15

$ 1.62

3M Trim Adhesive

$ 11.87

$ 1.19

$ 13.06

Dap Weldwood Contact Cement Home Depot

$ 10.97

$ 0.91

$ 11.88

Clothespins Hobby Lobby

$ 3.47

$ 0.27

$ 3.74

Velcro Meijer

$ 6.99

$ 0.59

$ 7.58

Goof Off Home Depot

$ 5.98

$ 0.46

$ 6.44

3M Trim Adhesive Walmart

$ 11.87

$ 1.19

$ 13.06

5 Piece Auto Trim and Molding Tool Set Harbor Freight

$ 6.99

$ 0.58

$ 7.57

$ 145.55

New Cabin Lighting

I started this post several weeks ago, and have since started using the WordPress thumbnail feature. I apologize for the strange post style.

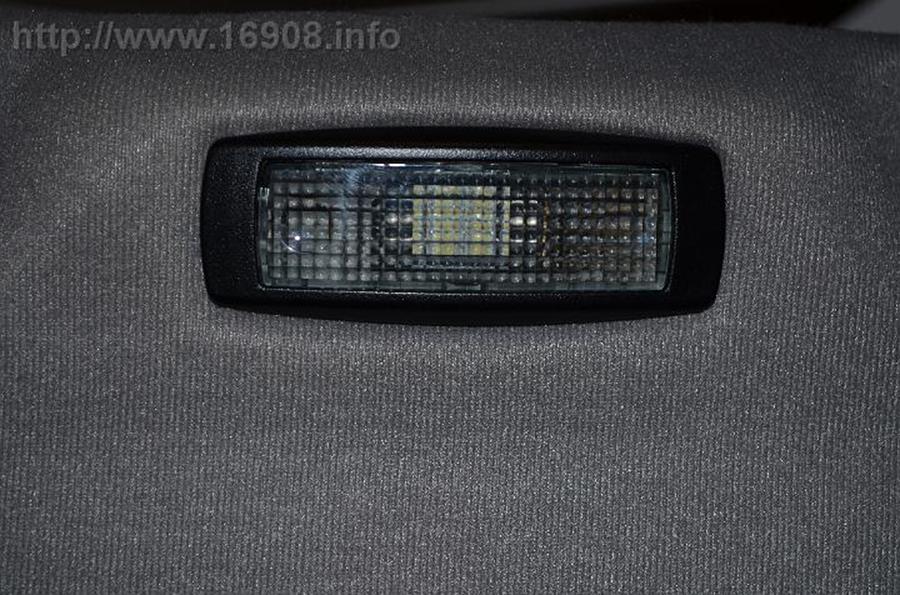
My cabin lights were yellowed and feeling flimsy. The light above the parcel shelf was always hanging by its wire, and never seemed to fit. My goal is lights that are a little more modern, brighter, maybe bigger, but remain cheaper than NOS or 3rd party options. I removed the trim and headliners so I could begin exploring my options.

Parcel Shelf Light:

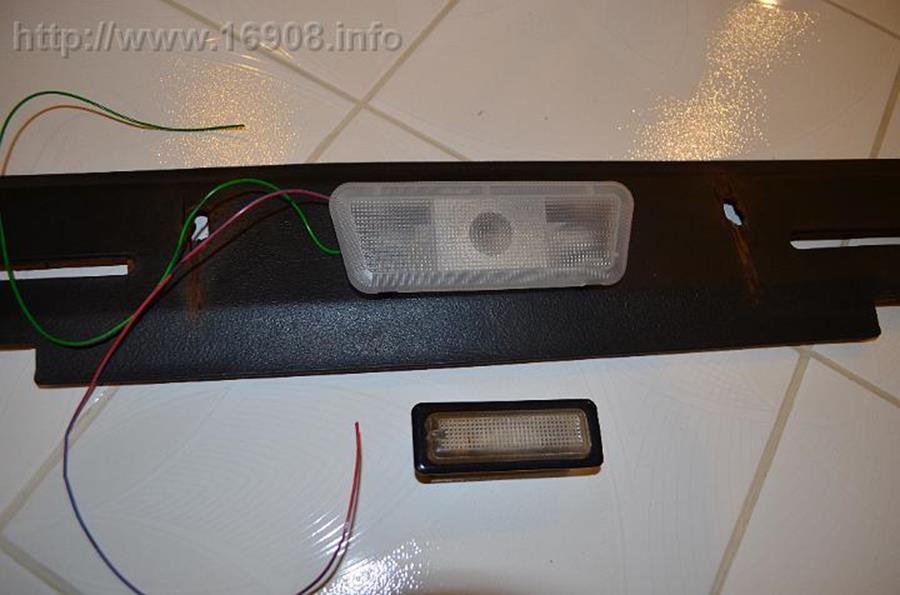
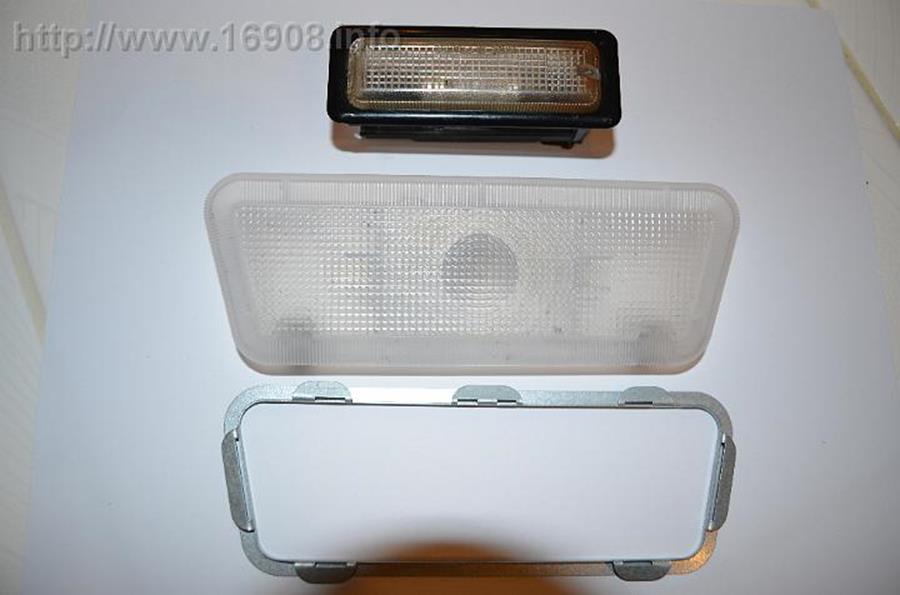
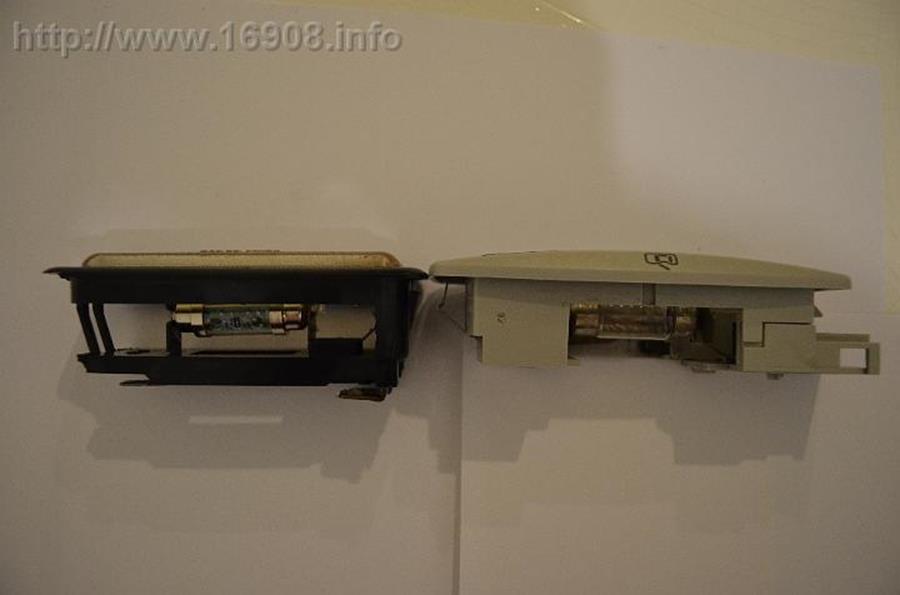
A unit I took from a junkyard Saab. I like how it’s trapezoid shaped, so it fits well with the shape of the parcel shelf:

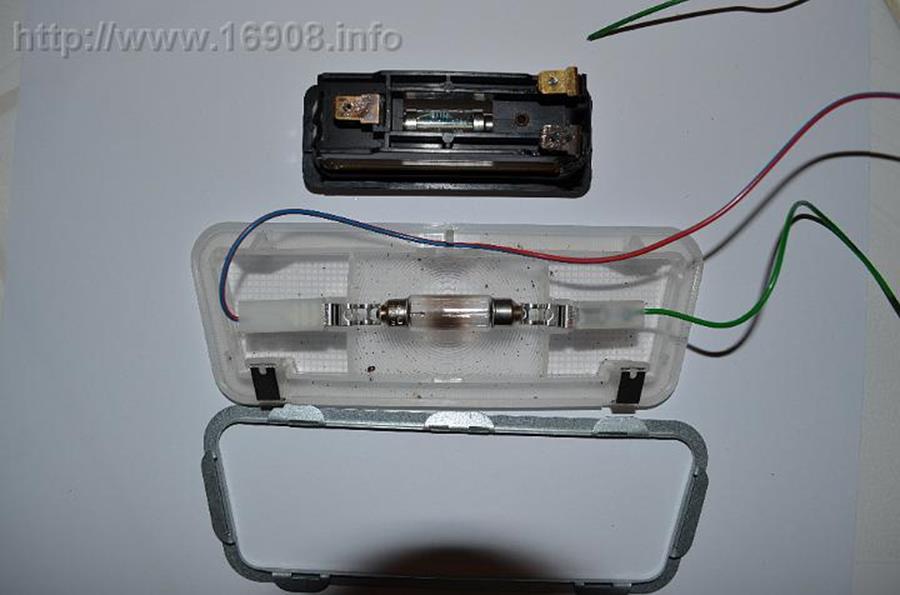
Uses a festoon bulb:

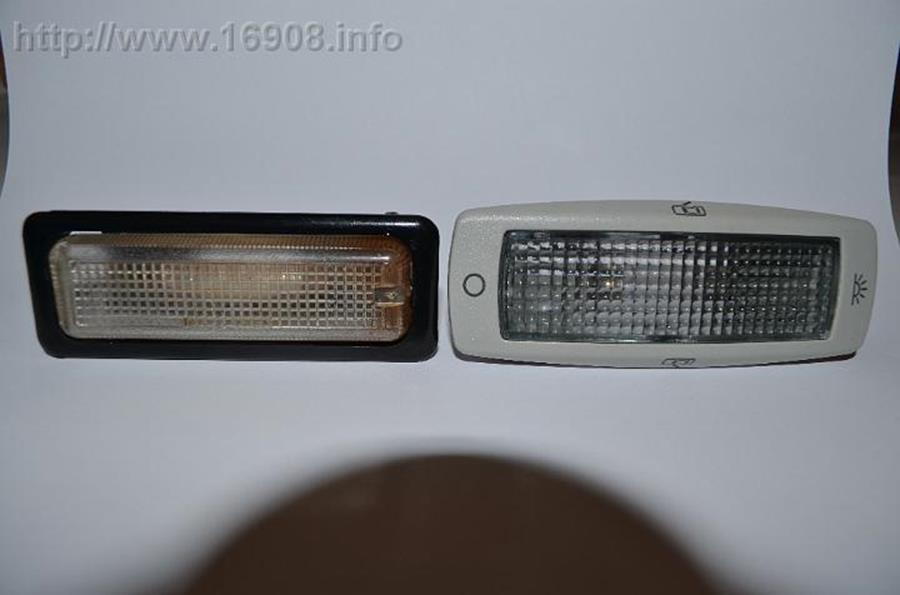
A light I took from a junkyard Volkswagen Jetta:

Exact same length and width. The depth is shallower.

The LEDs I ordered from China:
DSC_0302

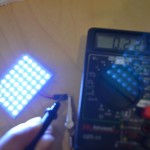
Measuring amps:

DSC_0308

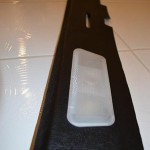
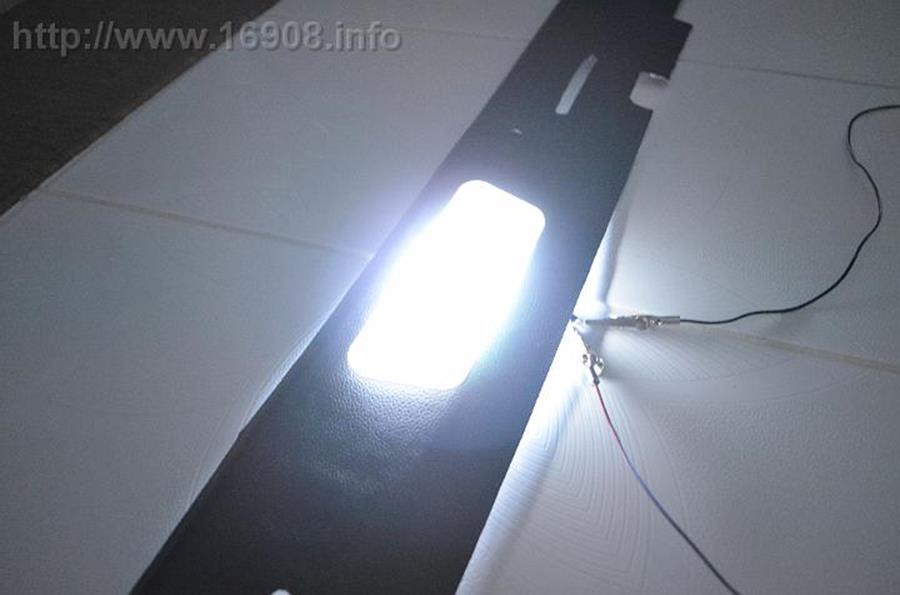
With the Saab unit, I cut off the festoon bulb holder with a dremel, retaining only the lens. I glued on two of these panel lights behind the lens:

DSC_0304
My recovered trim, with the new Saab light installed:
030813_0339_ExploringLi11.jpg
It works:

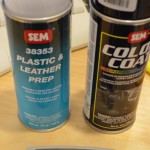
I prepped the VW unit with 600 grit sandpaper, and SEM Plastic & Leather Prep. Now for some SEM Landau Black Color Coat:
DSC_0375

My painted (or dyed?) VW housing, and the new LED festoon unit ready to be used as my map light:

Installed in the headliner:

My new light is a big difference when compared to the old light! It’s a little more modern, yet subtle update. The new map rocks side to side. In the center position, it lights in courtesy mode with the doors open. Rock it to the passenger side, and it turns off. Rock it to the drivers side, and it’s a map light.

Installed:
DSC_00196 (18)
DSC_00196 (16)
DSC_00196 (13)
DSC_00196 (14)
Well I think I accomplished my goal. In my opinion, the lights look great, and they cost less than this light and a DMCH NOS unit (currently $74.95). I’m pretty proud of this.

Costs (shipping not included):

Item

Vendor

Cost

Tax

Total

Salvage Yard Admission

Pick-N-Pull

$ 2.00

$ –

$ 2.00

Volkswagen Jetta Dome Light

$ 5.50

$ 5.50

Saab 900 Dome Light

$ 5.50

$ 5.50

Saab 900 Dome Light

$ 5.50

$ 5.50

48 LED Panel Light

ebay

$ 3.03

$ –

$ 3.03

48 LED Panel Light

$ 3.03

$ 3.03

(2) 16 SMD LED Festoon

$ 1.91

$ 1.91

SEM Landau Black Color Coat

Summit Racing

$ 9.95

$ –

$ 9.95

SEM Plastic and Leather Prep

$ 10.75

$ 10.75

3M P600 Sandpaper

Advance Auto Parts

$ 4.99

$ 0.41

$ 5.40

Insulated Disconnect Pairs

Lowes

$ 2.57

$ 0.20

$ 2.77

$ 55.34