White LED Door Lights

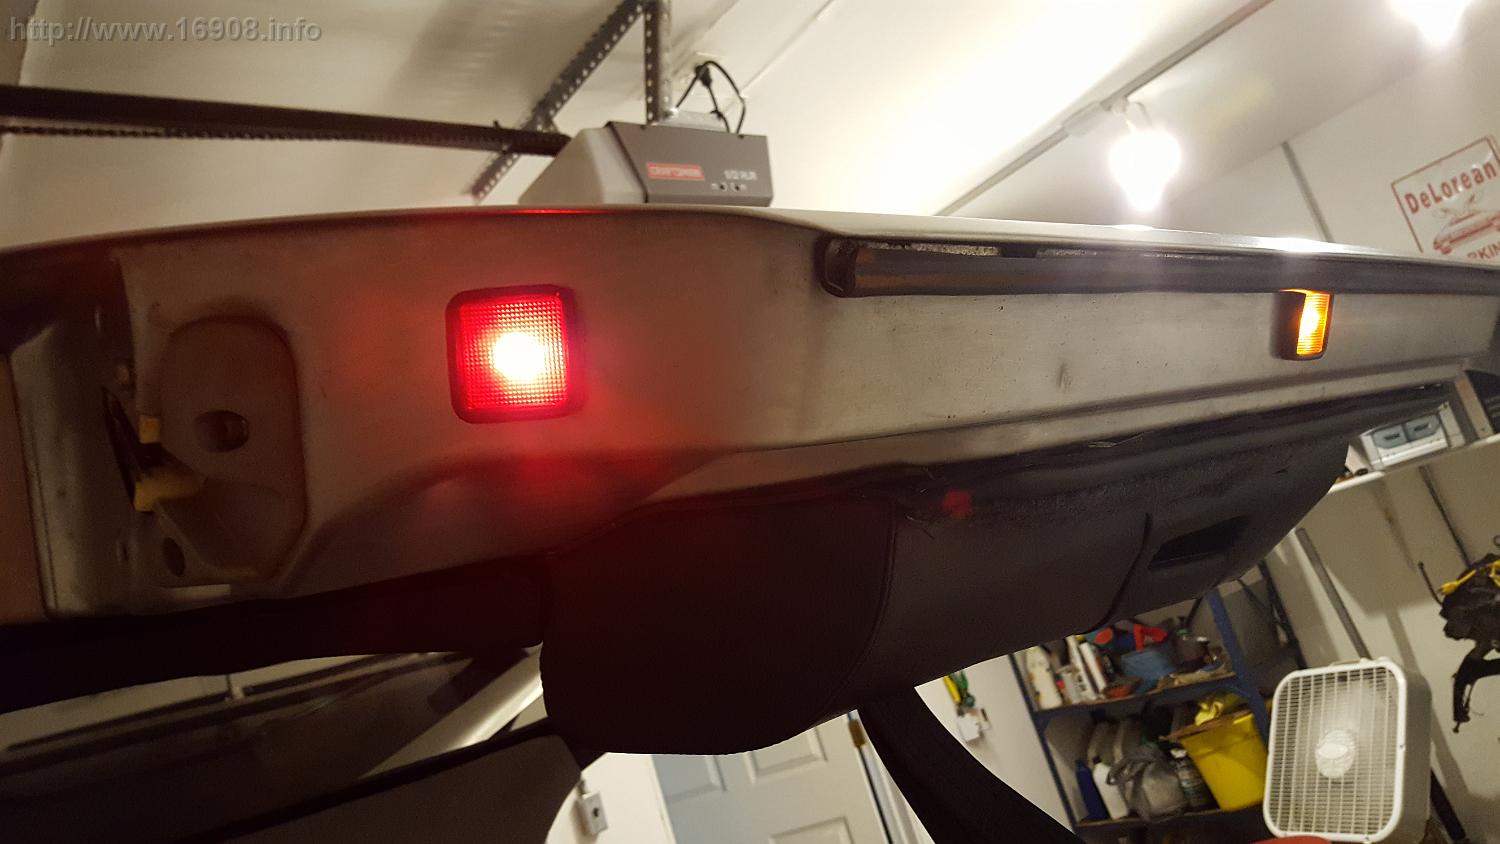
I previously had installed Red and Amber LEDS. One of my door light lenses was cracked, which needed to be replaced. I’ve seen some custom door light colors, and decided to switch them all to white to match my undercarriage LED lighting, and my interior LED lighting.

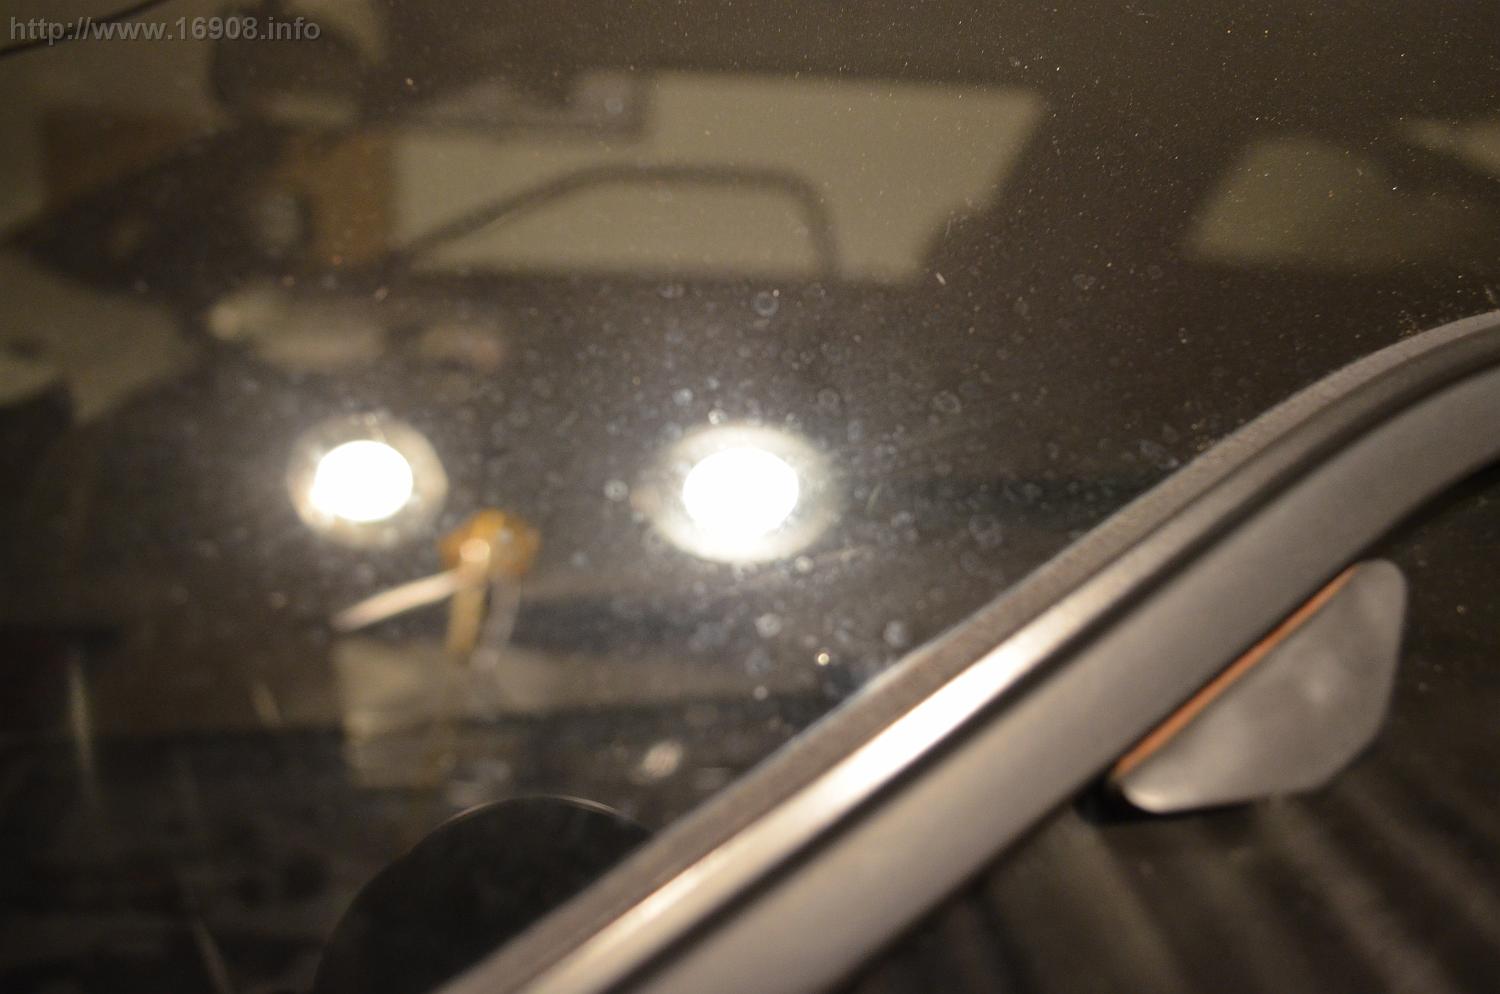
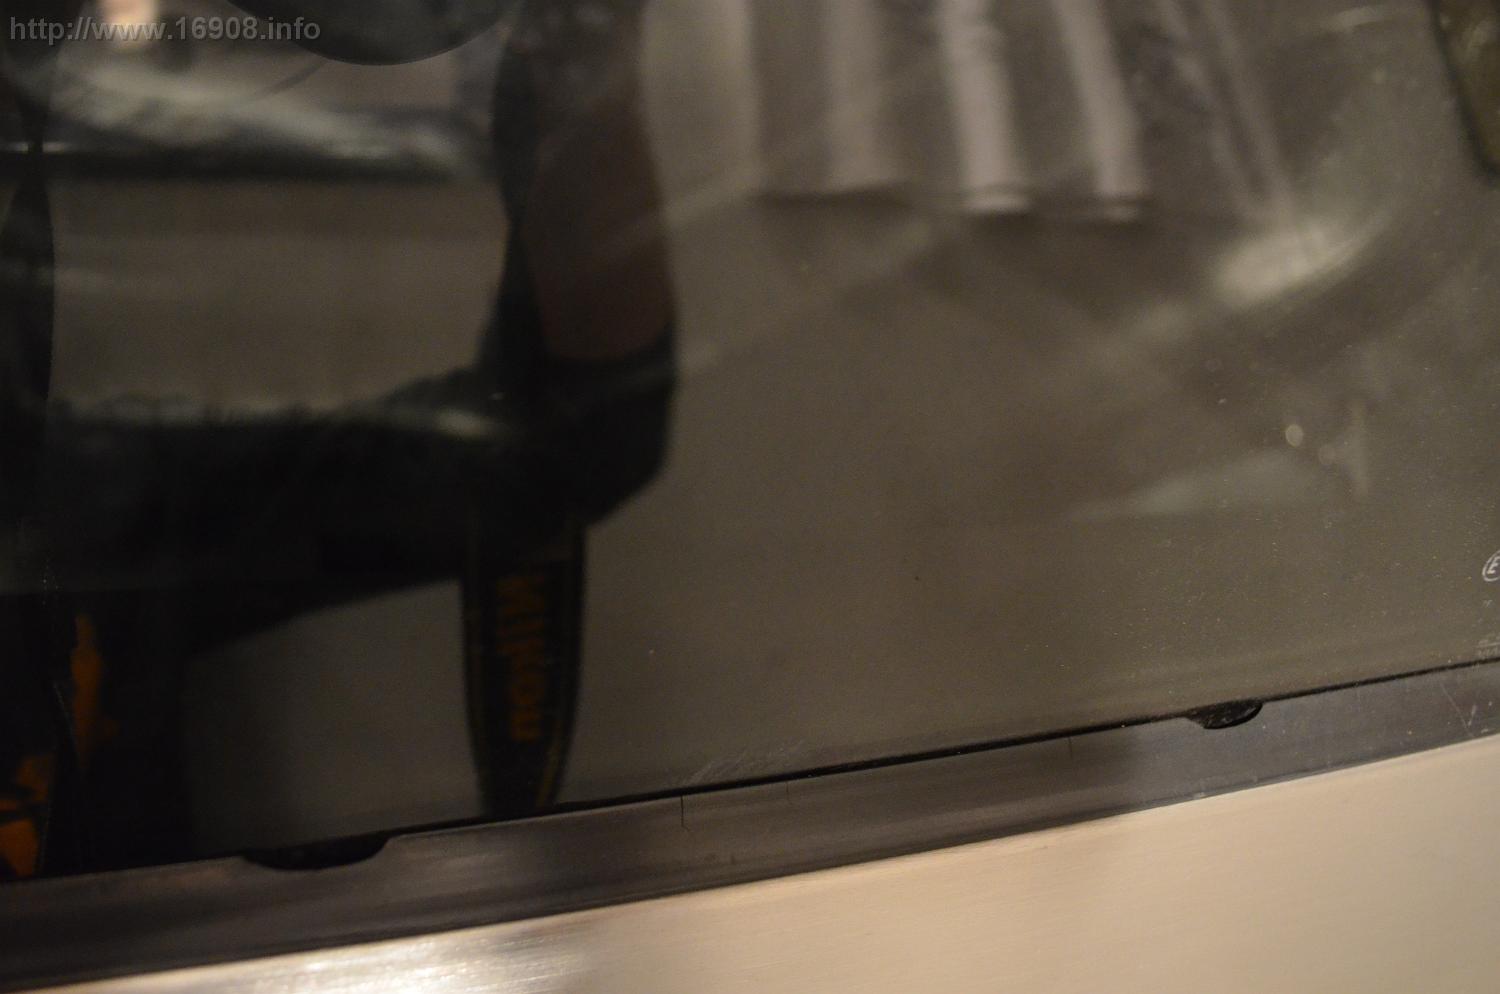
My current door LED Lights:
DoorLight (5) DoorLight (3) DoorLight (2) DoorLight (1)
New Cool White LED bulbs. I like the shallow depth, and how they won’t be up against the lens:
DoorLight (6)

I had some scrap plastic that was thick enough for the lenses:
DoorLight (8)

Cutting a lens out:
DoorLight (9)DoorLight (10)

I painted the inside of the lights white, so the lights won’t look black or gray inside, and to reflect more light.
DoorLight (7)DoorLight (18)

I then sanded the lens to give it a translucent finish. My prototype looks good:
DoorLight (11)DoorLight (16)DoorLight (14)DoorLight (12)

Cutting more lenses:
DoorLight (19)

Almost done:
DoorLight (20)

Done:
DoorLight (21)

I found some of the stock incandescent bulbs, and they were drawing .24 amps. The LED door lights I was using were drawing .03 amps. My new Cool White LEDS draw .01 amps. I’m happy with my amperage savings.

Supplies/Tools:
Plastic for Lenses
Masking Tape
Marker
Rotary Tool with cutting disk and sander
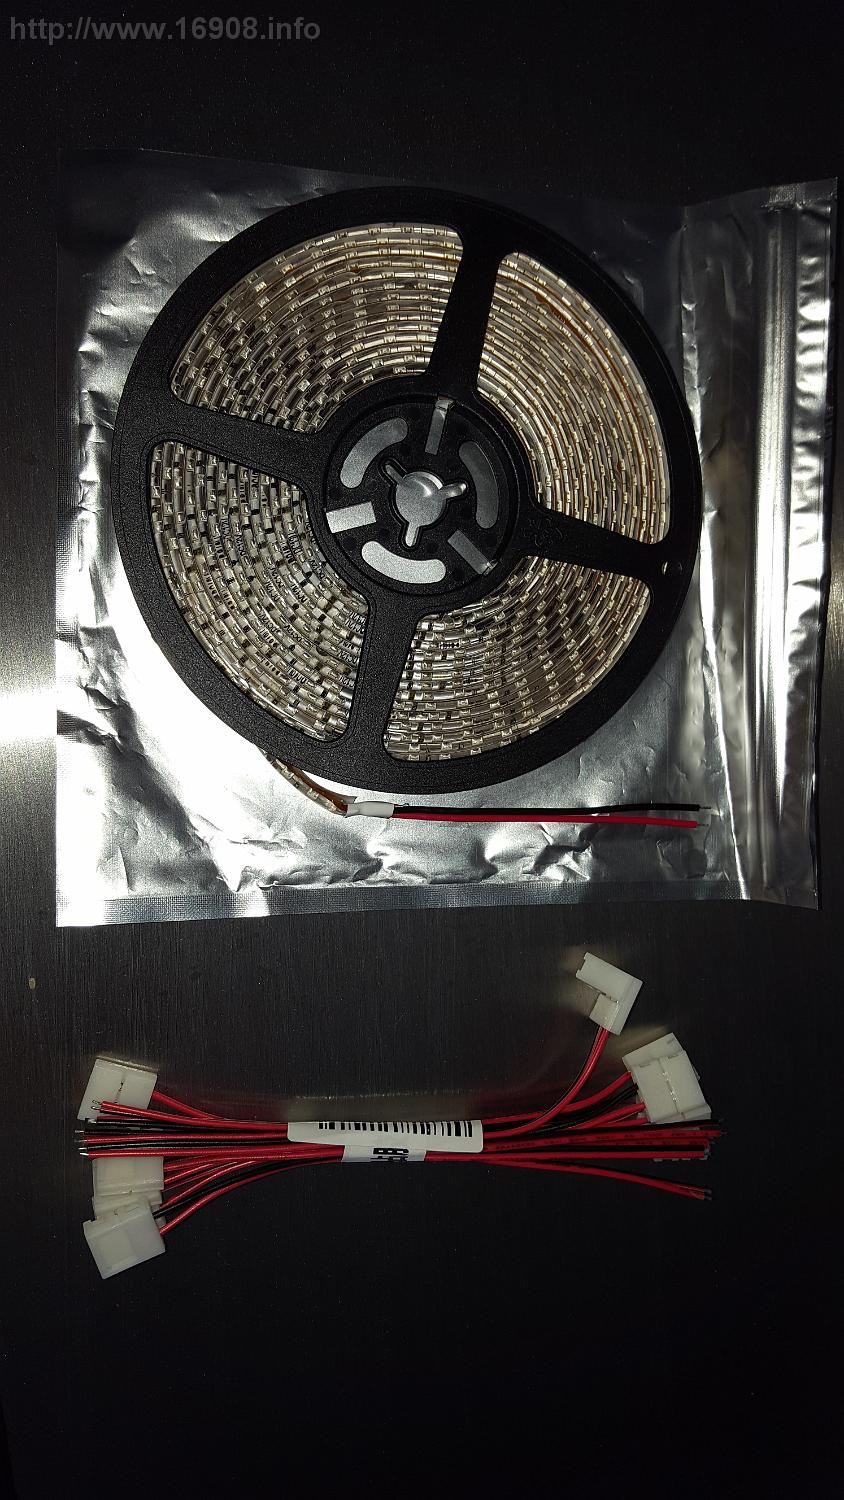
LEDs
200 Grit Sandpaper
White paint
Small paint brush

Costs:

Item Vendor Quantity

Unit Cost

Cost

Shipping

Tax

Total

(8) COOL WHITE 4SMD LED WEDGE LIGHT BULBS T10 eBay

1

$ 8.99

$ 8.99

$ –

$ –

$ 8.99

Undercarriage Lighting

I’ve seen several Deloreans with underside lighting, and liked the look. The LED strips that are available make this pretty easy.

UnderLight0

Supplies:

LED Strip (Water Resistant)
LED solderless connectors.
Wiring shrink wrap
Automotive, or similar stranded wires
Soldering Iron
Aluminum tape
Clear Mailing Tape
Zip ties
Cleaning Supplies
Rags

I previously added a fused circuit to my car from the positive connection, to one of my On/Off switches on the center console. The other On/Off switch was added for the power outlets on my car:

https://16908.info/?p=2573

Then I ran a wire from the On/Off switch, through the console, down through the storage compartment. I drilled a very small hole near the handbrake cables, and brought the wire down under the car.
The underbody needs to be cleaned thoroughly where you want to mount the LED strip. Once mounted, I put clear mailing tape over the strip to help support it. The aluminum tape meant for ductwork is very tacky, and creates a strong bond molding and taking shape. I use it cover the ends of the strip connections.

I have three separate sections of LED Strip mounted: one around the inside of the front fascia, and two on the sides of the car. The side strips ground to the fuel tank plate. The front strip power runs along the frame, and is grounded to the passenger side horn bracket. The solderless connectors that I purchased turned out to be the wrong type, however I was able to make them work by cutting and modifying them.

Colored strips, or color-changing strips are available. I chose a simple white color. I think they look great at night.

UnderLight2UnderLight1

Costs:


Item Vendor

Quantity

Unit Cost

Cost

Shipping

Tax

Total

10PCS 10mm 2Pin Free Solder Connector Cable for LED Strip eBay

1

$ 3.99 $ 3.99 $ – $ – $ 3.99
12 Volt White 5M 3528 SMD 600 Waterproof LED Flexible Strip Light eBay

1

$ 8.99 $ 8.99 $ – $ – $ 8.99
All other supplies used On Hand           $ –
            Total $ 12.98

Glass Polish

The car has had water spots on the glass ever since I purchased it.

Polish 10

At some point in its life, it spent time in the state of Georgia, and apparently acid rain is a big problem there. The water spots are so bad in some areas, that you can catch your fingernail on them. In addition to the water spots, my glass seemed to have a haze on it. I’ve tried several options so far:

  • Newsprint
  • Vinegar
  • “Invisible Glass” cleaner
  • RainX Foaming glass cleaner
  • 0000 Steel Wool

All have had little to no effect on removing these water spots. Now I’ve finally purchased a felt polishing wheel, and some cerium oxide.

The felt polishing wheel is very dense and strong. I opted to use an electric corded drill, since any battery powered drill would probably be drained after several minutes of polishing. I cleaned the windows, and mixed some cerium oxide with distilled water in a plastic container. I taped off the window trim, and brushed on some water and cerium oxide mixture. I soaked the felt polishing wheel in my mixture, and started polishing.
Polish 21 Polish 20

I made sure to apply even pressure, and keep moving the pad around the glass. The goal was to polish all the area of the glass evenly for the same amount of time. I was thrilled to see the water spots being removed!
I later taped off the DMC SEKURIT labels on the glass, and used a rotary tool with a small felt pad to polish the small areas around the labels. I’m not going to attempt polishing inside the labels, so unfortunately it will never look 100% polished.
Polish 40 Polish 41

The left side window seal was looking ratty, so I replaced it:
Polish 30 Polish31

I’m happy to finally have the spots and haze gone, and my glass now has a great shine to it!

Polish 50

The cerium oxide packet that comes with the kit is 8 ounces, and I probably only used two ounces total.

Tools:

Plastic food container to mix the polish
Electric Drill (corded preferred)
Cerium Oxide
Felt polishing wheel
Tape
Rotary tool
Polishing bits for rotary tool
water (distilled preferred)
foam brush
vinegar
microfiber cloth

Costs:

Item Vendor

Quantity

Unit Cost

Cost

Shipping

Tax

Total

Gordon Glass Cerium Oxide – 8 Oz with 3″ Felt Polishing Wheel Amazon.com

1

$ 29.95

$ 29.95

$ 5.15

$ –

$ 35.10

Left Window Wipe Seal DMC Midwest

1

$ 36.11

$ 36.11

$ 13.72

$ 2.80

$ 52.63


Total

$ 87.73