Two years ago, a fellow Delorean owner had one of the original brake hoses fail. The hose was acting as a check valve, so when the brakes were applied, the caliper would not retract. I helped the owner replace his front hoses to fix this issue. I had also read about other problems with the original brake hoses. Looking to avoid any problems, and desiring the firmest brake pedal possible, I decided to replace my original brake hoses.
My car club’s spring tech session was hosted at a local repair shop, where we had a car lift available. This was my best opportunity to get all four of hoses replaced.
Disconnecting and re-connecting the hoses on an automatic transmission car for the back wheels is a major PITA. The transmission being in the way makes access very difficult. Being at a repair shop, I could borrow the metric crowfoot flare nut wrenches and extensions needed.
I didn’t get many pictures because I was focused finishing before we had to leave the shop.
New Hoses:

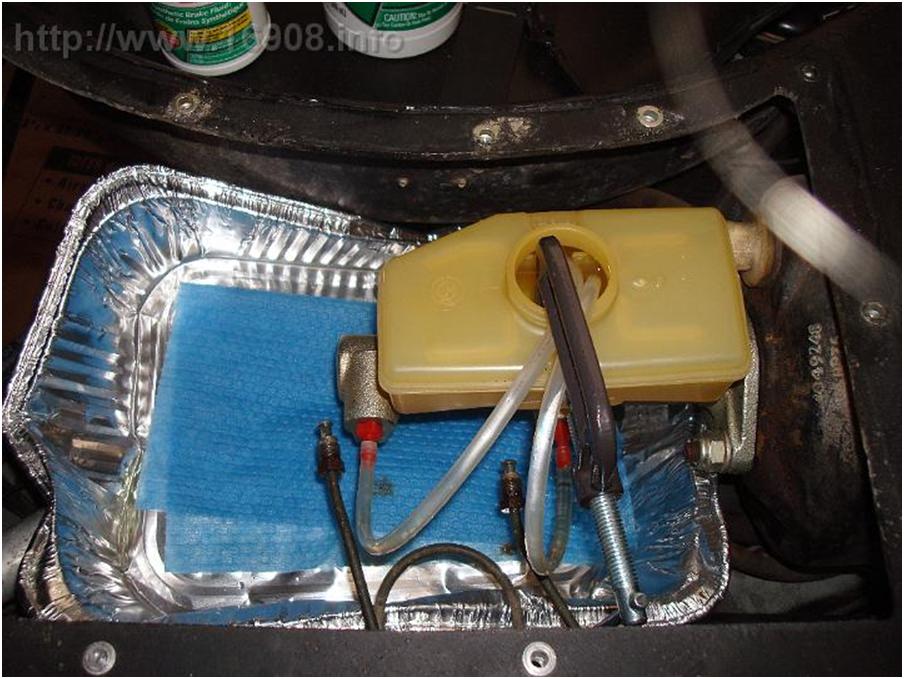
Installed:


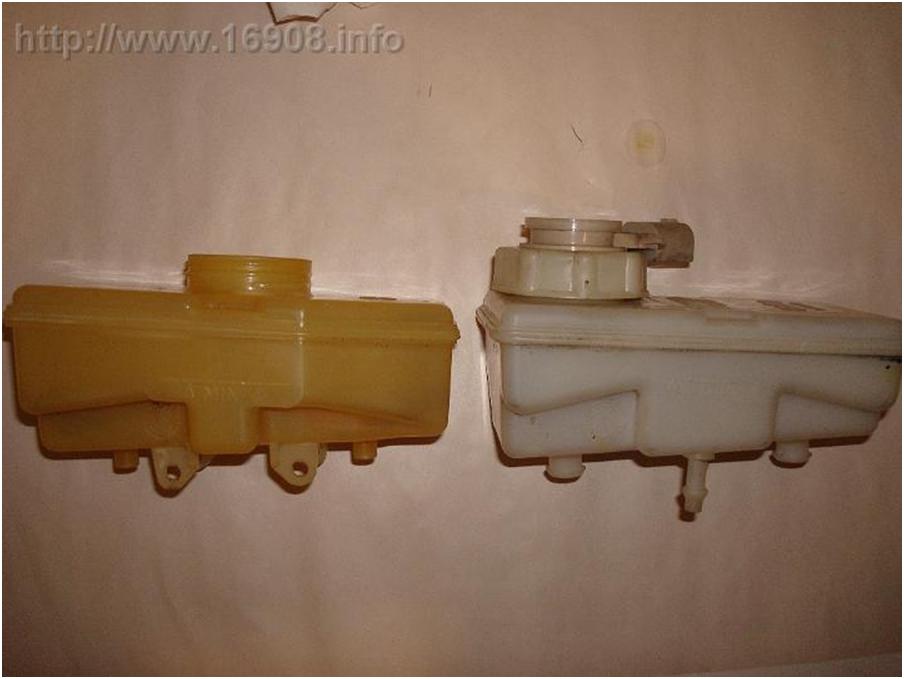
Old hoses:

After getting everything installed, and bleeding the brakes, I found brake pedal was still soft. At home, I made sure all the connections were tight, bought some more brake fluid, and bled them again. This time the brake pedal is the firmest it’s ever been!
Costs:
| Item | Purchase Date | Vendor |
Quantity |
Unit Cost |
Cost |
Shipping |
Tax |
Total |
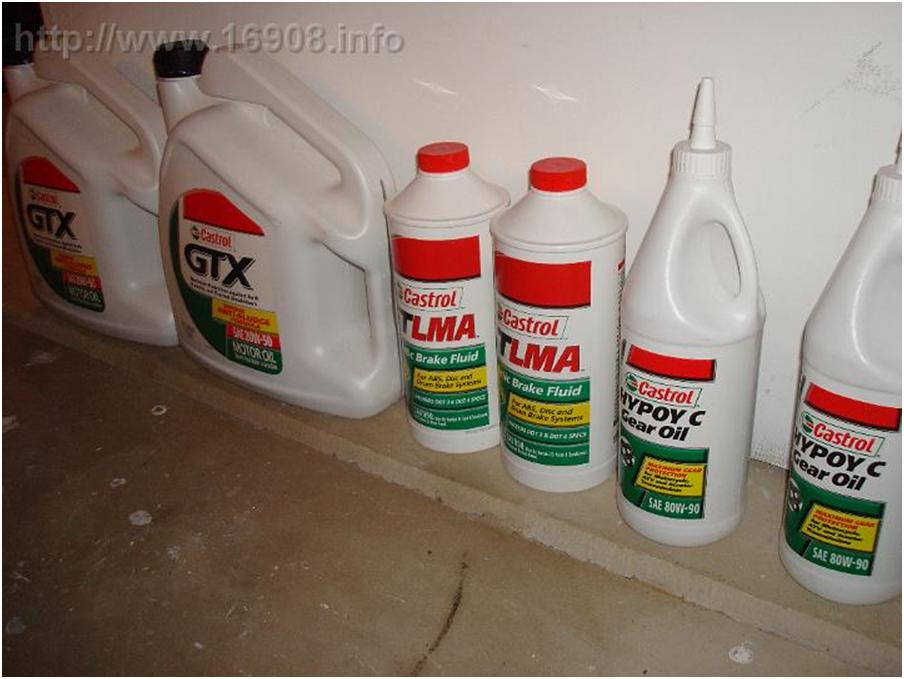
| Castrol 12614 Dot 4 Synthetic Brake Fluid |
5/17/2018 |
Sparomobile |
1 |
$ 15.95 |
$ 15.95 |
$ – |
$ 1.27 |
$ 17.22 |
| Flexible Brake Line Kit Stainless |
3/4/2018 |
DeloreanIndustries.com |
1 |
$ 129.95 |
$ 129.95 |
$ – |
$ – |
$ 129.95 |
| Castrol 12614 Dot 4 Synthetic Brake Fluid |
5/21/2018 |
Amazon.com |
1 |
$ 13.95 |
$ 13.95 |
$ – |
$ – |
$ 13.95 |
|
Total |
$ 161.12 |