The stock evaporator drain is very prone to clogging with debris. The location makes it also very difficult to clear the clog. It starts in the passenger side of the car, between the evaporator box, and the underbody. It’s a small gap, around 1 inch:
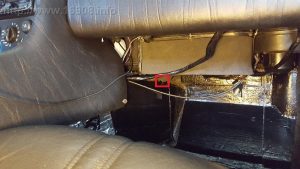
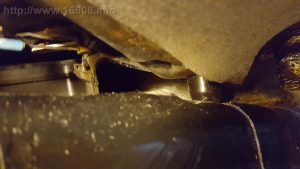
There’s a reducing 90 degree elbow, connected to a short hose that drains into the passenger side front wheel well, right onto the frame:
I previously vacuumed out my cabin air intake, and put a screen over it to keep debris out: https://16908.info/?p=1562
However, my AC drain clogged. I didn’t find this out until a good amount of water built up in my passenger side carpet.
The recommended way to clear the clog is to run some weed-wacker cutting line into the hose, and poke around to free the obstruction. Some people have had luck using a vacuum connected to the drain hose.
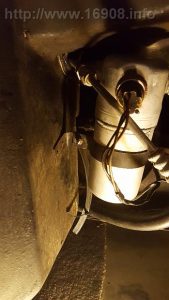
I found the hose was loose, and easily pulled off. I’m not sure it was even connected, and getting it reconnected was going to be very difficult with the AC dryer in the way:
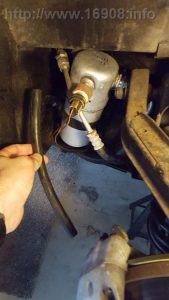
The stock elbow can be cut with a thin saw blade, or gently heated and pried off. The saw method could possibly damage the box or nearby wiring. I opted to use the heat gun, and screwdriver to pry it off. Once I got it off, more water drained onto the cabin floor, and some out onto the ground:
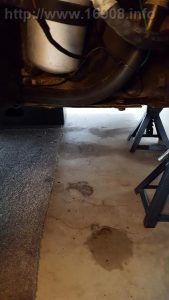
Here’s the reducing elbow, all clogged up:
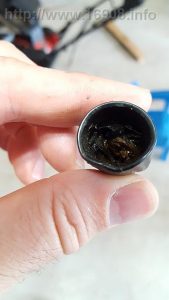
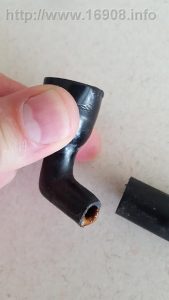
I’ve seen mods where spark plug boots, or coil cover boots are used to make an easily detachable piece to drain water. I decided against any kind elbow, or connection in favor of one single piece of tubing.
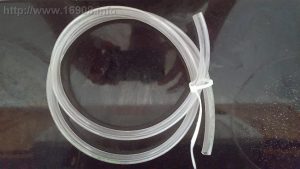
I had a length of Chemical-Resistant Clear Tygon tubing left over from building a brake fluid pressure bleeder:
I then boiled some water with a kettle, and held it over the steam for a few seconds. Then I shoved a scissors into the tubing, and opened the scissors to stretch the tubing. After a few tries, I was able to finally get the tubing around a 13mm socket:
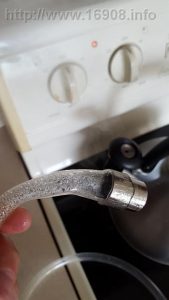
I also used the steam to work the tubing into curve. The stock elbow is a hard 90 degrees, so this gentle curve should reduce clogging. Here’s the old drain, and the new one:
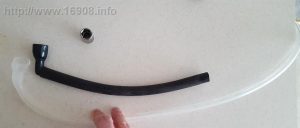
The tubing has a 1/16″ wall thickness, and is very rigid. The inner diameter is 5/16″ and appears larger than the stock elbow:
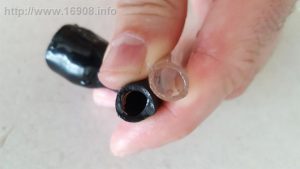
Now I worked the tubing into the hole in the underbody, and got it out into the wheel well:
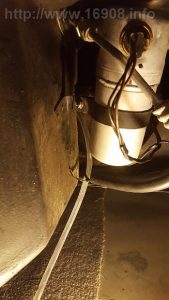
After some twisting, I got it into position, and onto the evaporator drain:
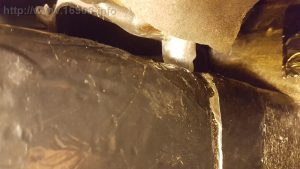
Blowing air through the tube was easy, which confirmed there were no kinks. Now I angled it down, below, and away from the frame. A zip tie secured it:
Whenever I vacuum my interior, I’ll also attach it to the drain hose to suck out any debris which may have found its way into the hose. Hopefully this will keep the drain clog free, and my carpet dry.
To summarize, here’s the benefits of this mod:
- Clear tubing allows a clog to be seen
- longer tubing allows water to drain away from the frame, reducing frame rust
- Eliminates 90 degree elbow, reducing clogs
- Larger internal diameter tubing reduces possibility of clogs
- One piece can’t become disconnected in the wheel well
- Easier to vacuum or snake out debris
- No need to cut or modify the underbody
Tools:
- Heat Gun
- Long flat blade screw driver
- Scissors
- 13mm socket
- Tea Kettle
Costs:
| Item | Vendor |
Quantity |
Unit Cost |
Cost |
| Chemical-Resistant Clear Tygon Tubing 5/16″ ID, 7/16″ OD, 1/16″ Wall Thickness, 5 ft. Length | McMaster-Carr |
1 |
$ 11.75 |
On Hand |