I spent Monday 11/27/2012 in Piper City, IL with famed Delorean Customizer Rich W, and famed stainless craftsman Chris N! I met up with them at Rich W’s storage facility (barn) and finally got to see some of his creations. Chris N was visiting from Europe to do some work for Rich’s convertible Delorean, and to do some work on Deloreans around the midwest. Chris removed several dents, dings, and scratches from my stainless, and left my car looking the best its been in my five years of ownership!
My car:


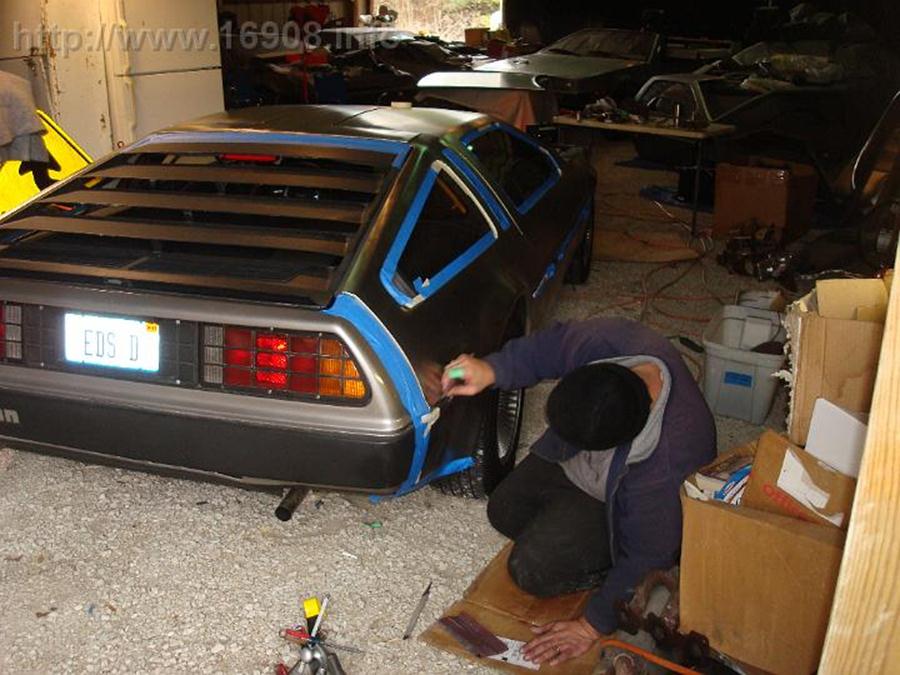


Scratch/dent:

Gone:

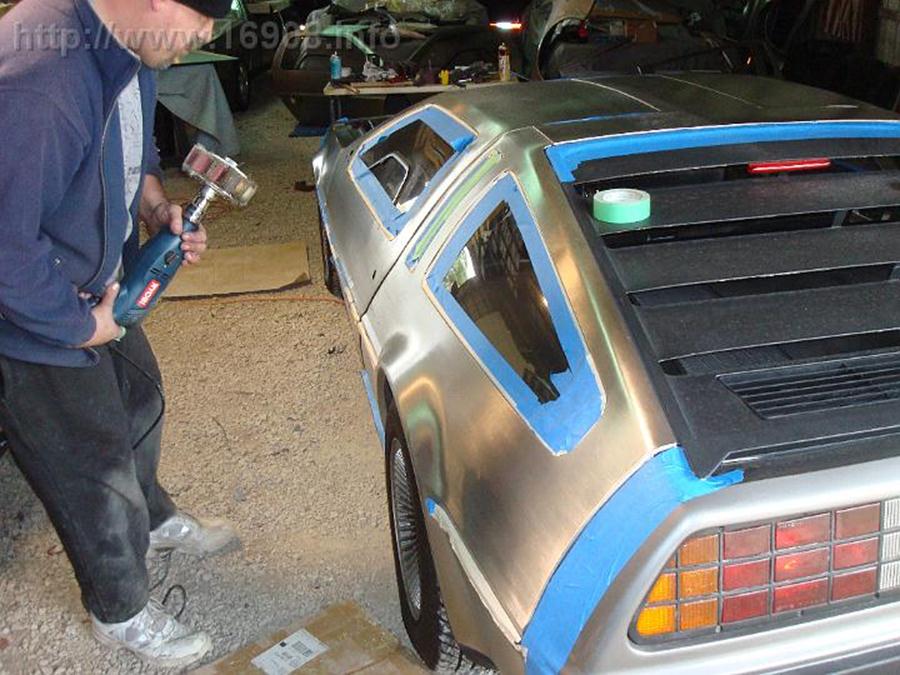
All done!

Chris N, working his magic on a panel:
Chris N and Rich W: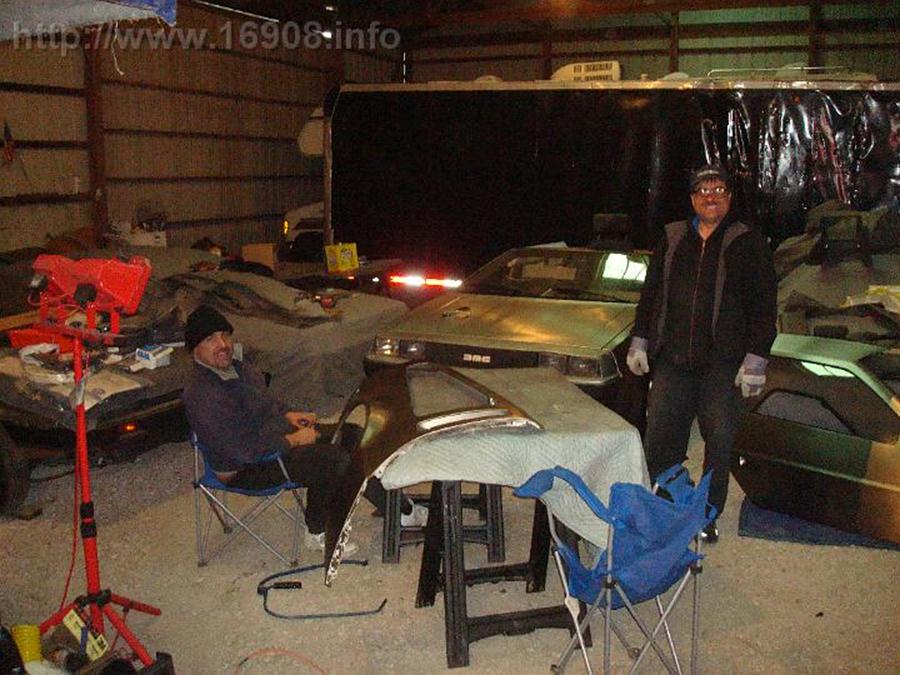
A rare shot of me, pealing protective tape off my car:
The Delorean Limo in its trailer:

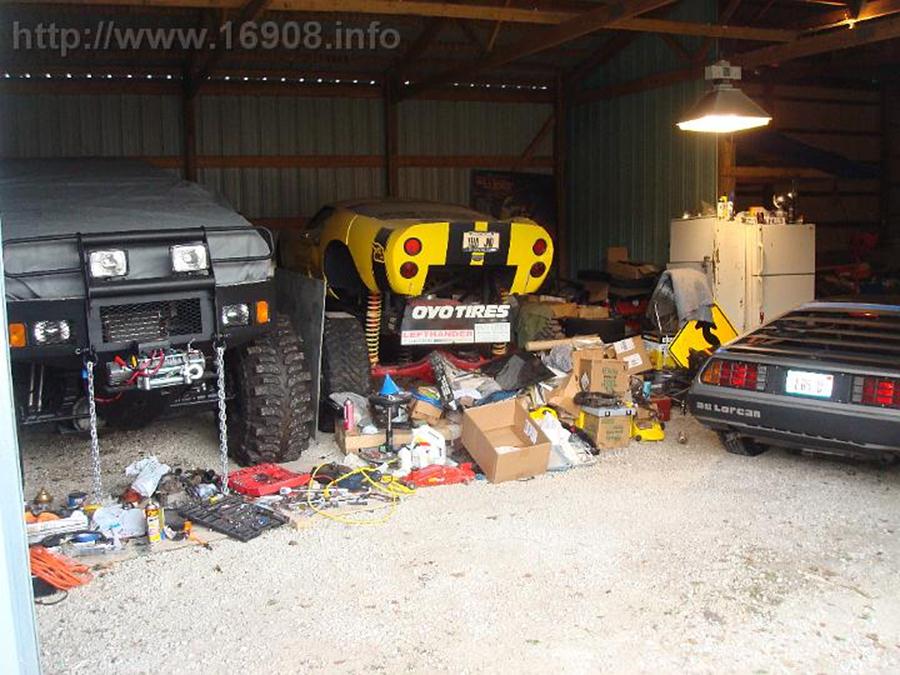
The Monster Delorean D-Rex, The famed Monster Garage GT40 Rock Crawler, and my car.
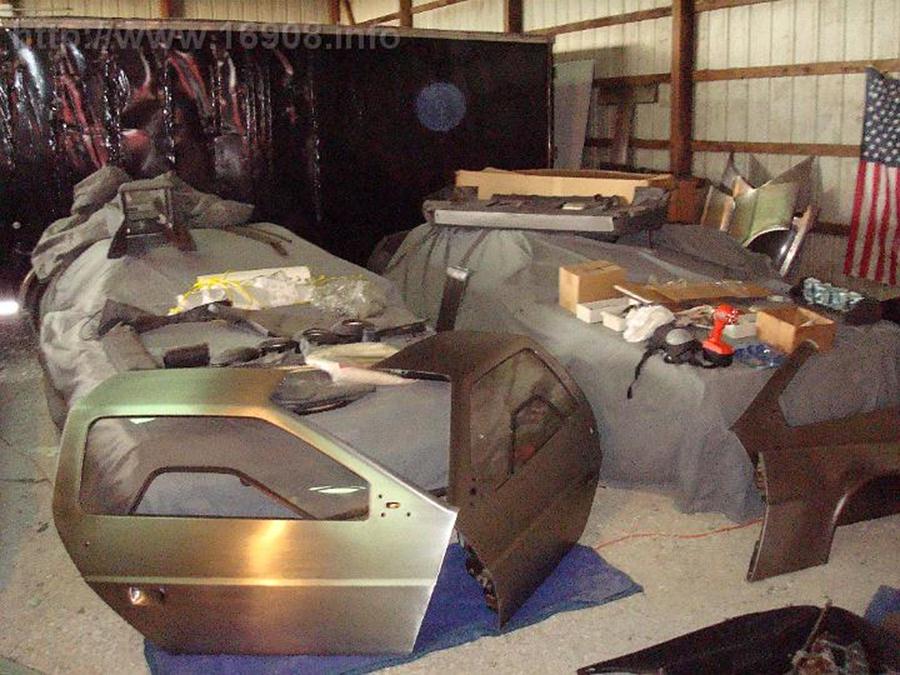
Assorted Project cars, my hood on the table: 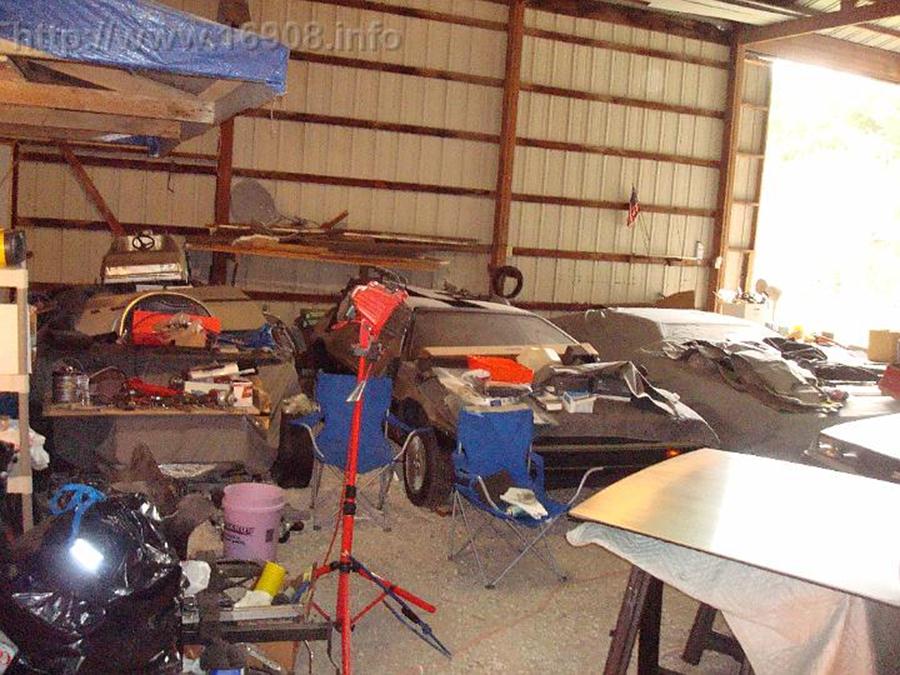
The Convertible Delorean! Chris N had been working on it: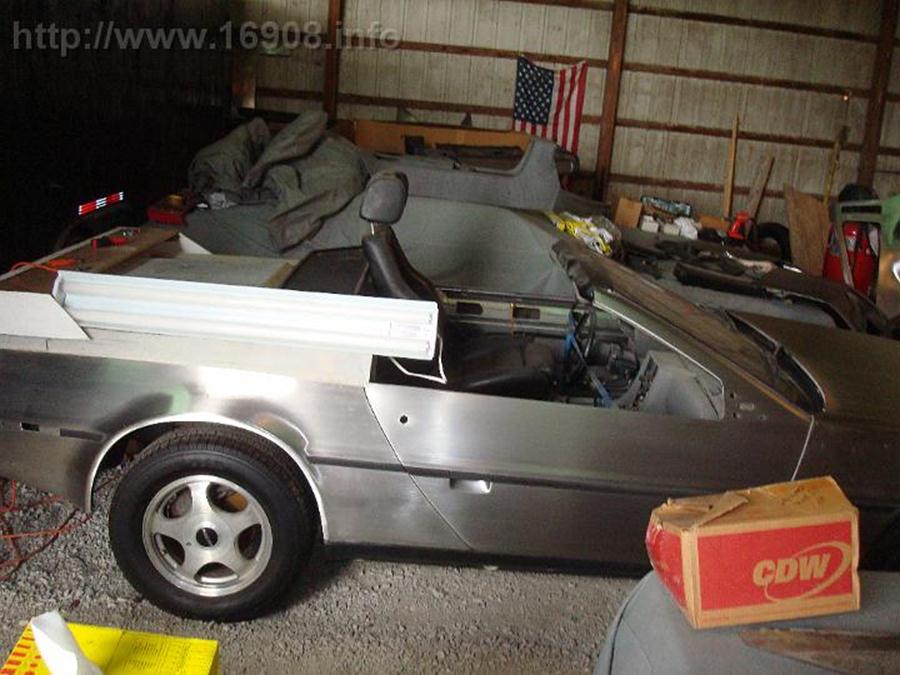
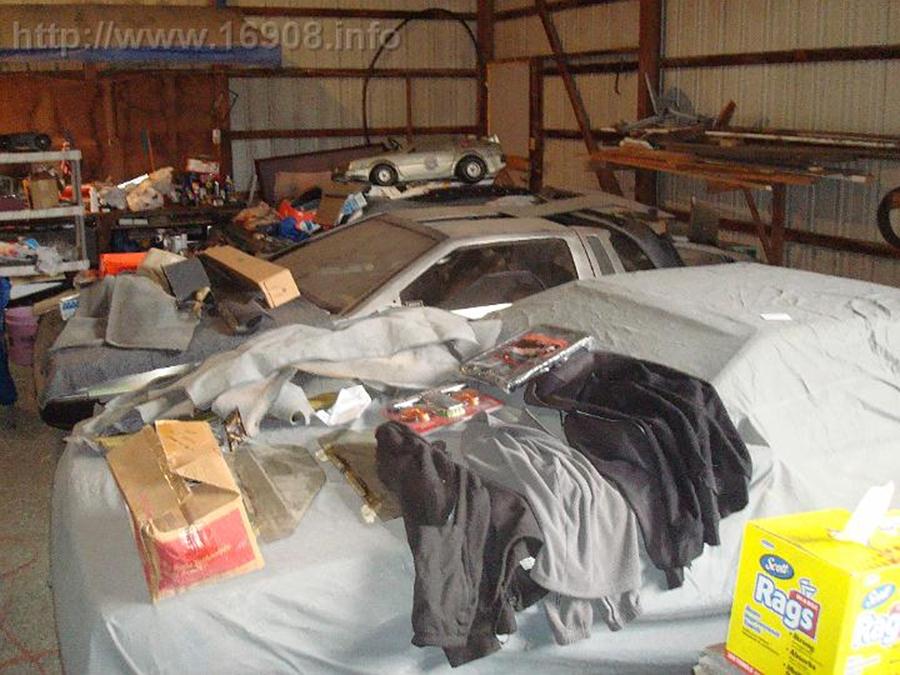
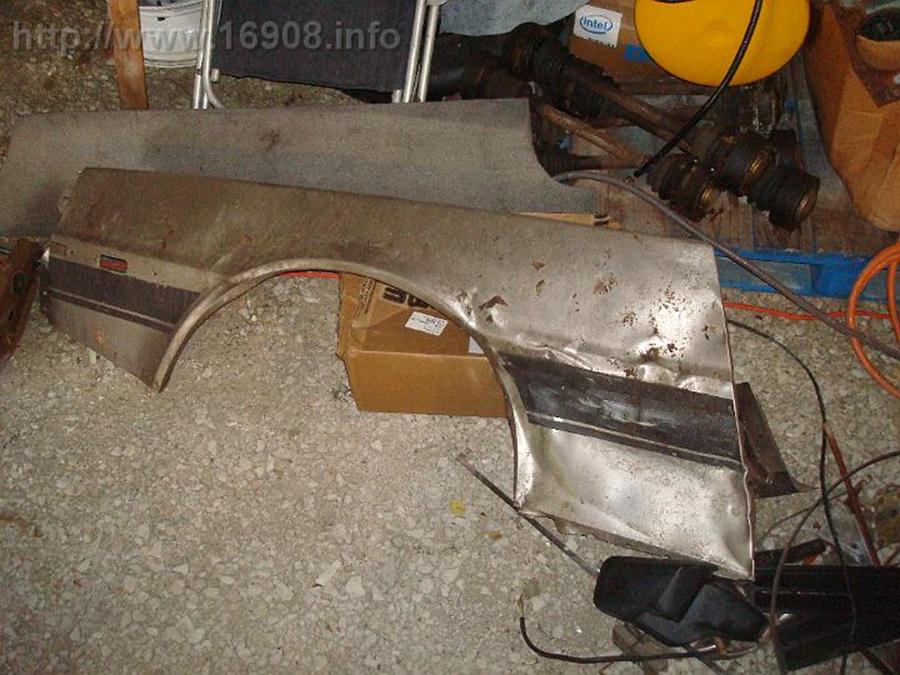
Parts:
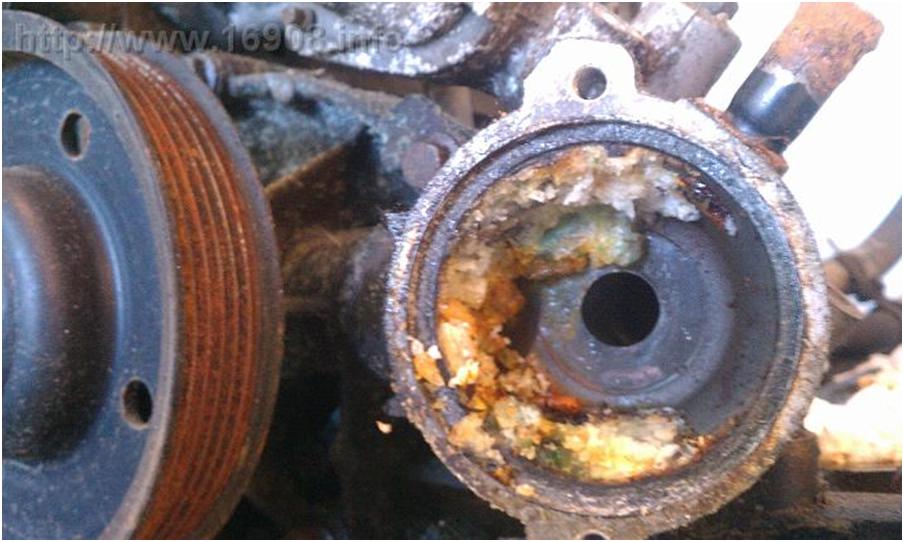
Ouch:
Rich W is hoarding underbodies:

Another:

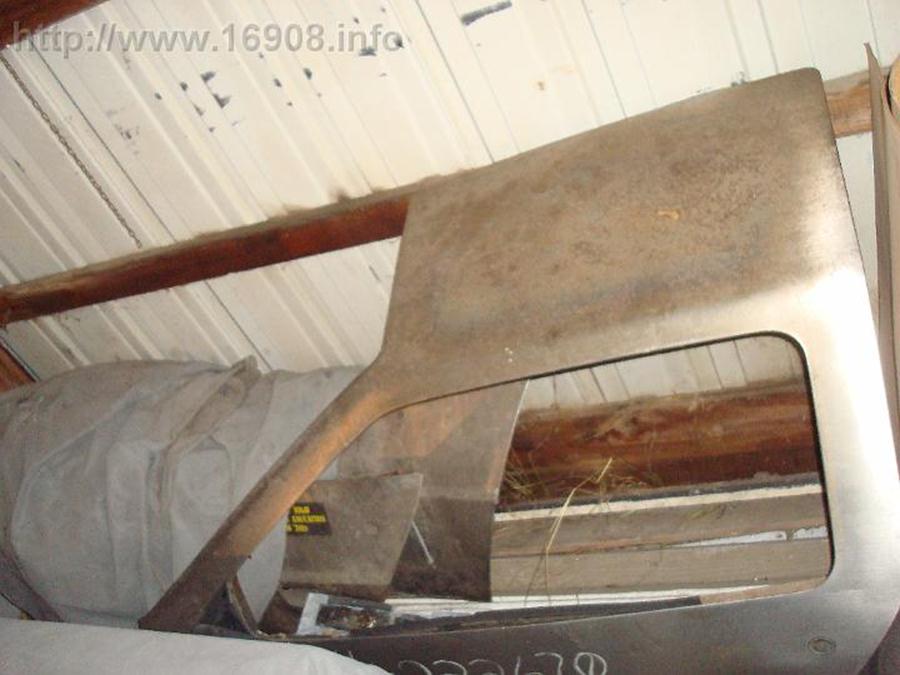
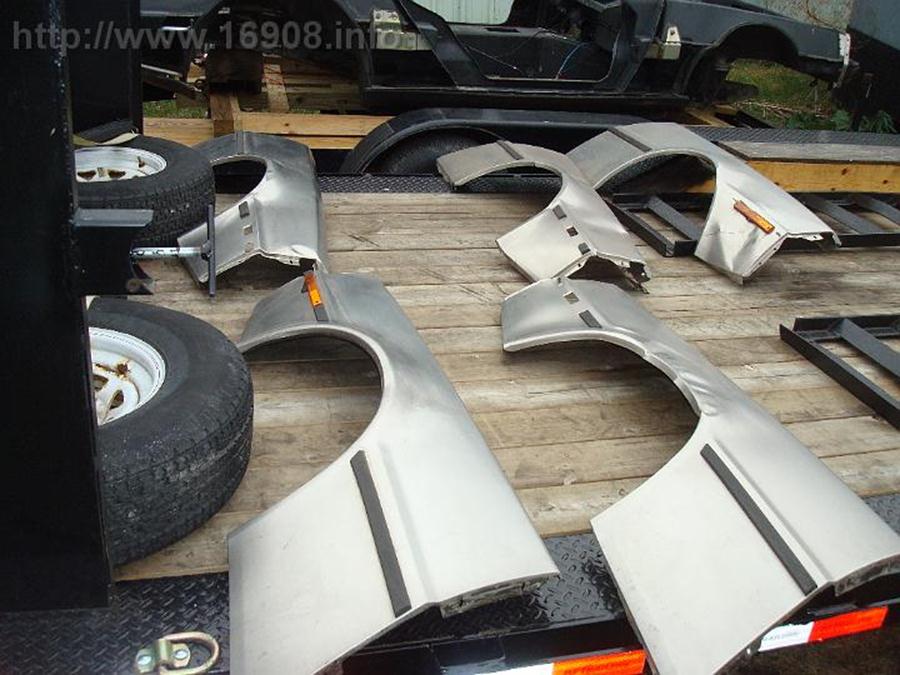
Panels:
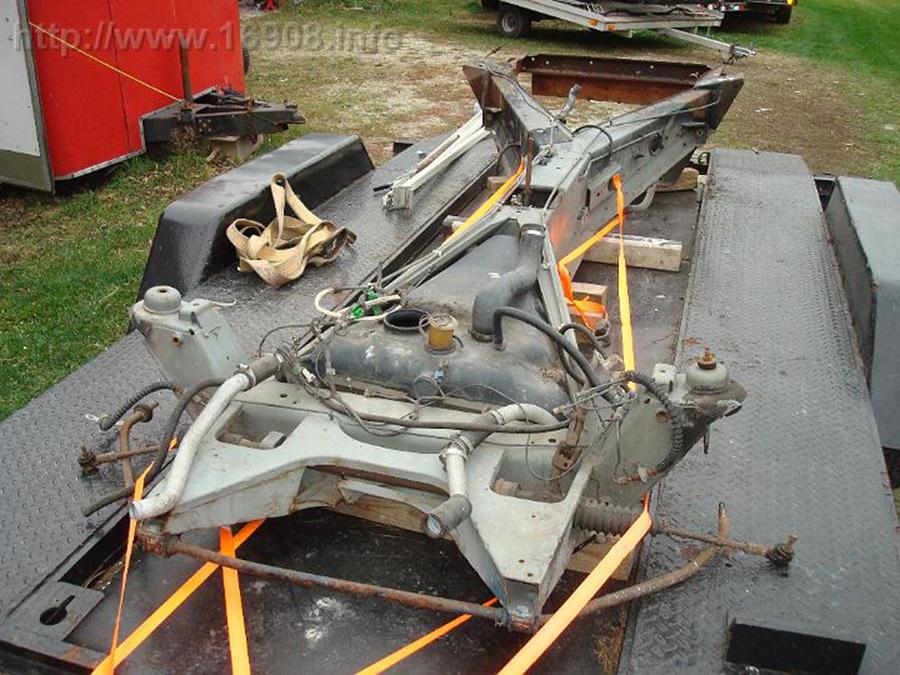
Frame from a fire victim:
 :
:
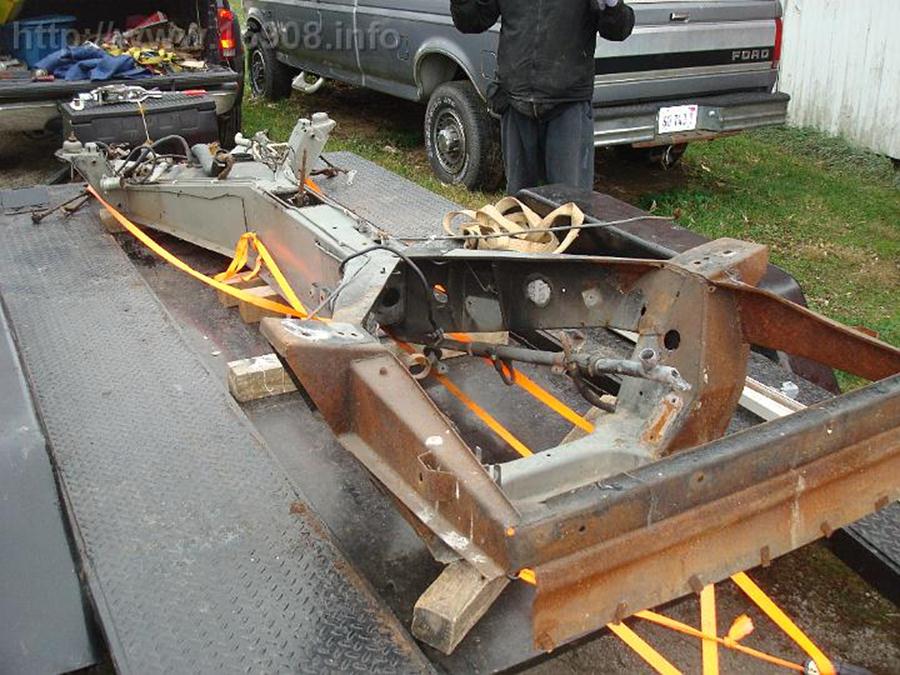
Another rolling frame:

Chris N did a fantastic job on my car. Well worth the money.
Costs:
5.5 hours of labor: Withheld
Lunch for all of us: $15
Blue Painters Tape: $6.38
Gas, tolls: $20