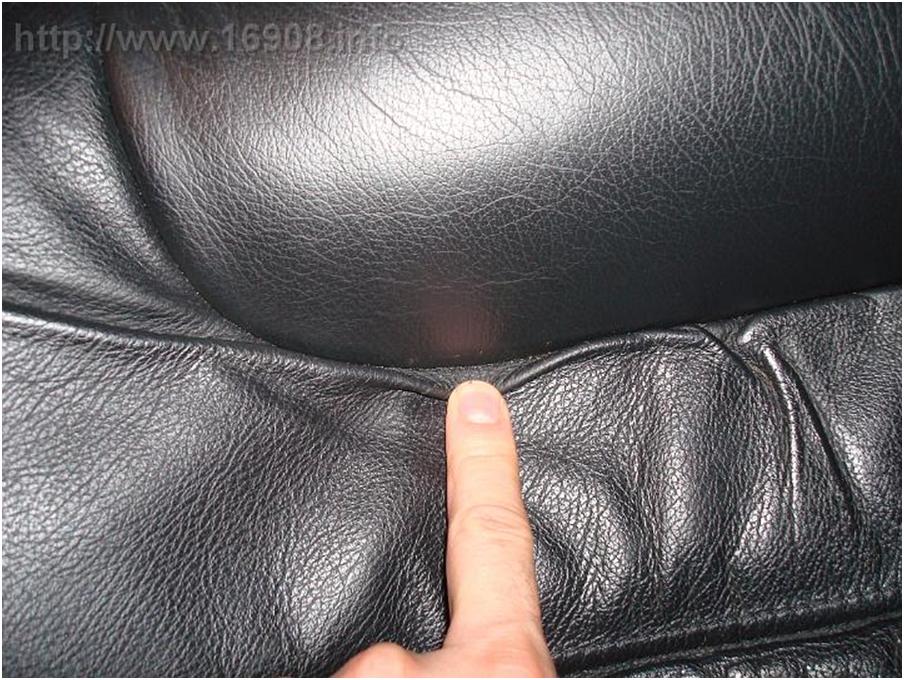
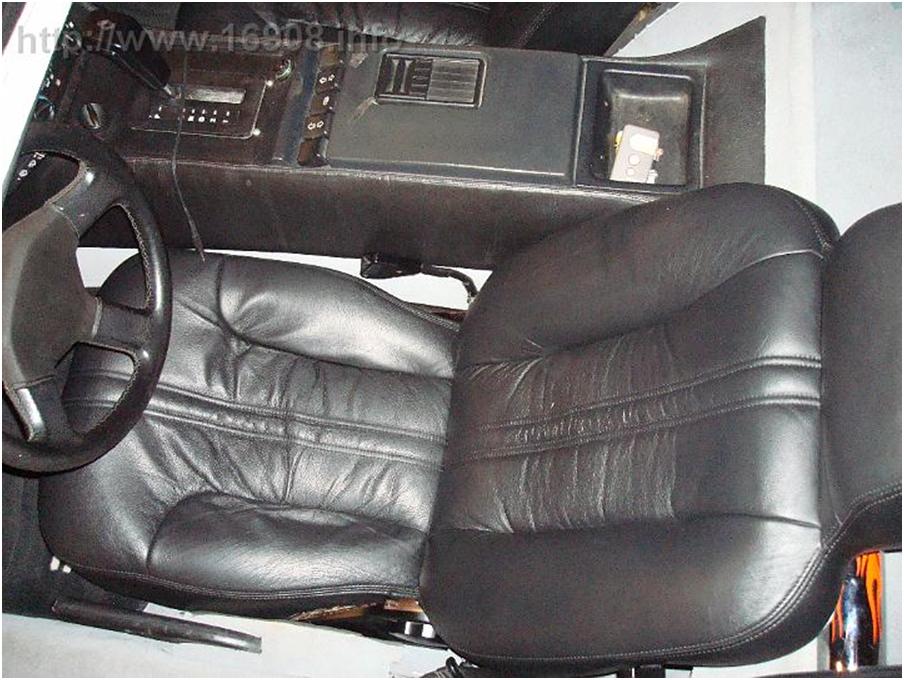
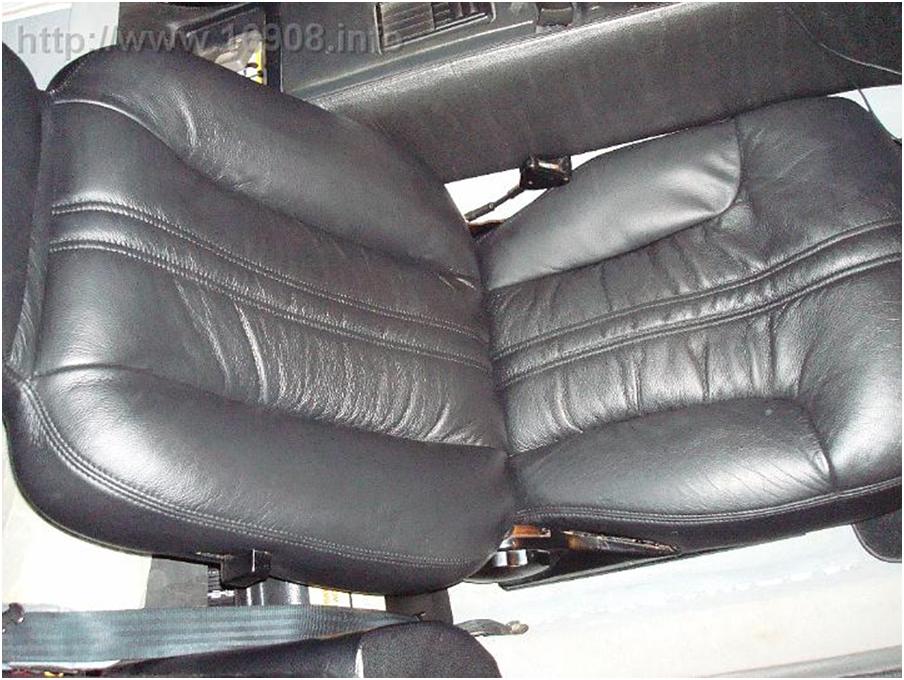
I took two days off work before DCS 2010 to relax. On Tuesday, June 15th, while reinstalling my trailing arm shields, I discovered one of the driver’s side axle boots came off and threw grease everywhere. In 2007, I had the previous owner replace my axles after one of the boots came off. Too bad he made the same mistake again – he secured the boots with zip ties! Also, the boot on the other side of the axle was torn. This is very messy work, and with the clock ticking until DCS (we leave Thursday, June 17th), I didn’t worry about taking many pictures. The damage:

I decided to buy some grease, two boot clamps (they were cheap), and borrow the CV boot clamp tool from Autozone, and put the boot back on. I’d leave the other torn boot alone.

I successfully shoved CV grease into the boot, and re-clamped it.
Success!
Except I started reading on the internet about how different CV greases shouldn’t be mixed, which could eventually cause failure of the joint.
Failure!
With only one full day left before DCS, I decided to rebuilt both CV joints properly. I removed the axle on Tuesday night, and began degreasing and cleaning everything. I ended up destroying one of the new clamps, and grease that I had bought earlier in the day.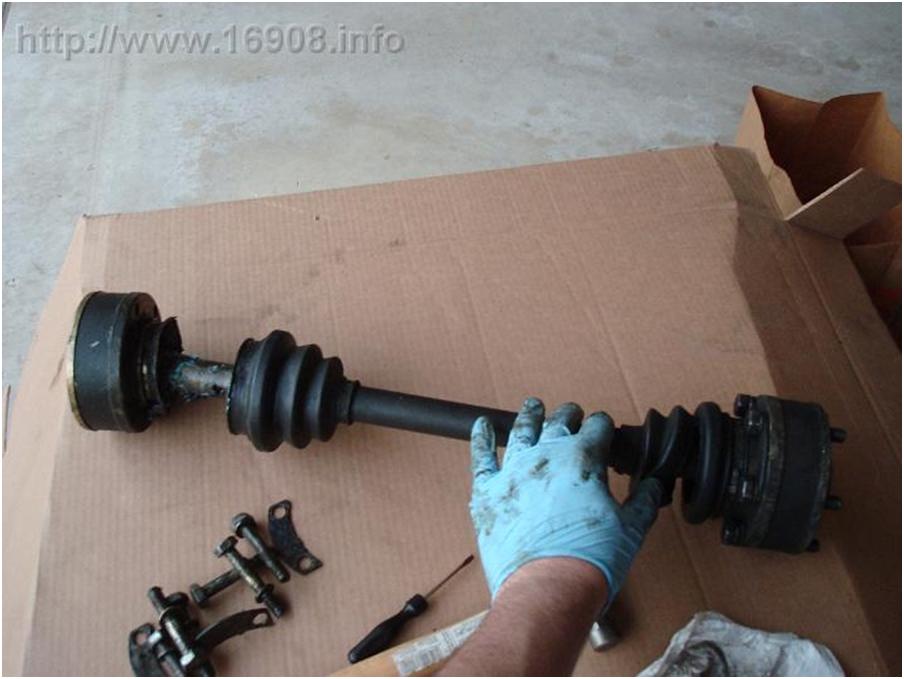
Nitrile gloves, a few rolls of paper towels, and a sheet of cardboard under your work area are essential for this job.
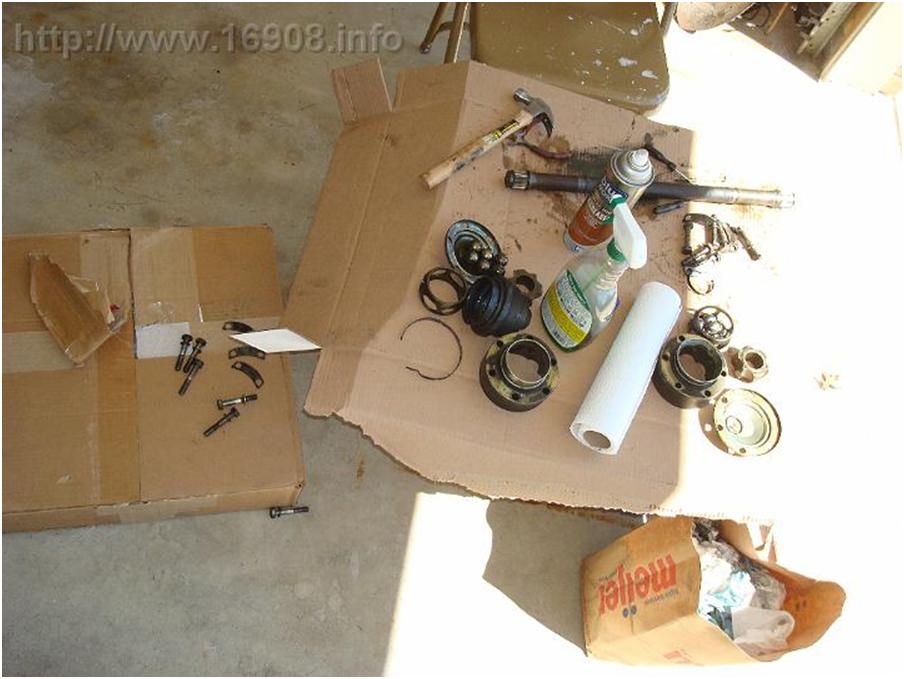
On Wednesday morning, I drove to DMC Midwest, and purchased two CV boot kits. Special thanks to the staff for helping me purchase parts, while they were preparing to leave for DCS. I raced back home, and reassembled the joints:
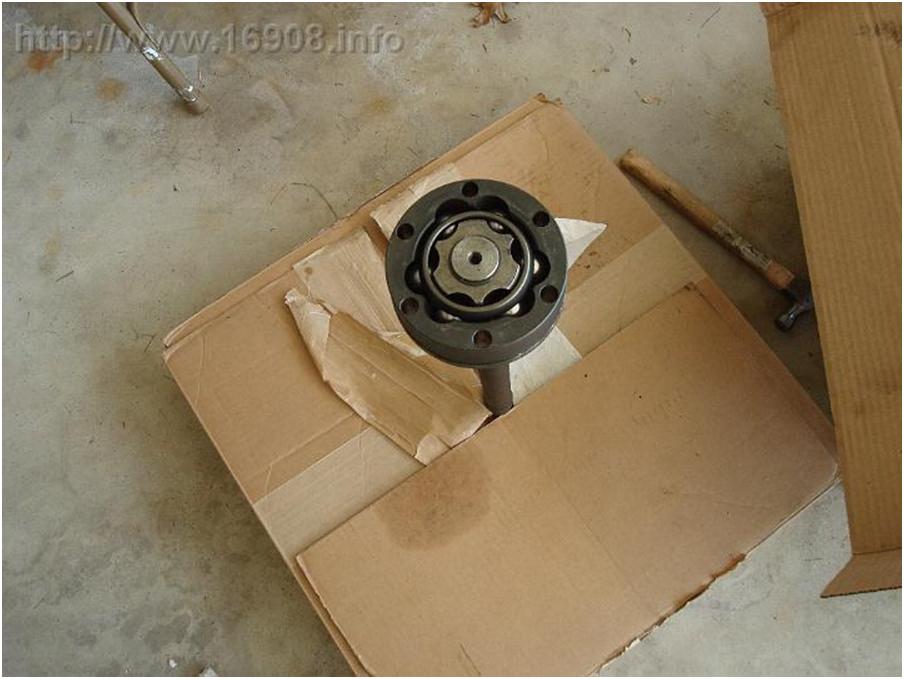
The smaller clamps in the kit are too big, and zip ties are acceptable substitutes. Packed with grease, and clamped together correctly:

My first picture in this blog post shows a strange flare on the axle. I’m not sure why there is a flare, but I’m blaming the previous owner. The flare prevented me from using sockets on the bolts, so I pounded the flare out. I still couldn’t attach a clamp properly, and ended up ruining the supplied clamp. I had just one more extra clamp from NAPA (glad I bought two!), and ended up using a zip tie as a spacer:
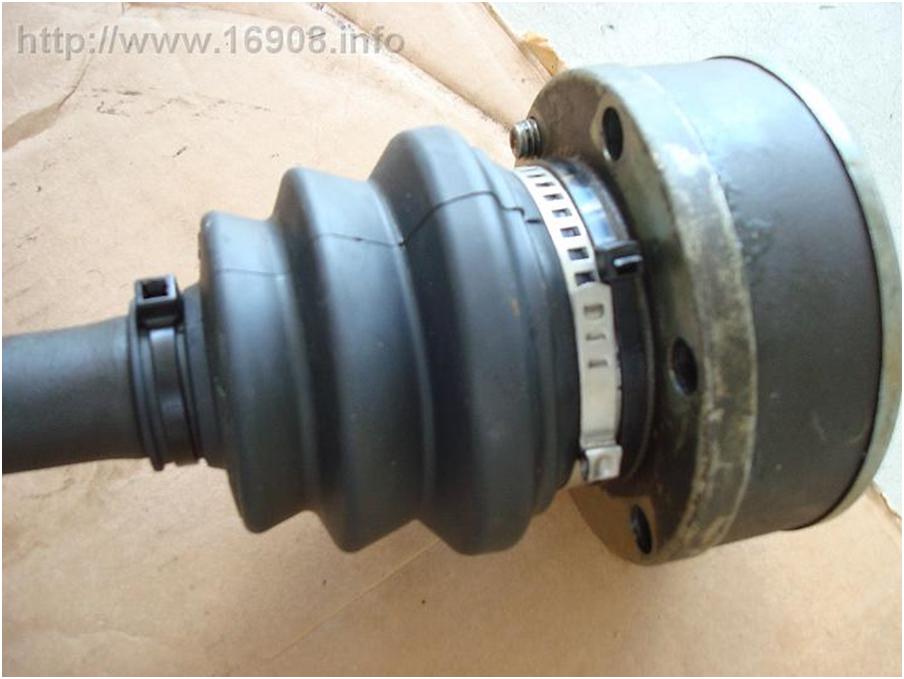
Done! I reinstalled the axle, and drove several miles to test out the car. So far so good. So much for two days of rest. We leave for DCS tomorrow morning.
|
Part |
Vendor |
Cost |
Tax |
|
CV Grease |
O’Reily Auto Parts |
3.69 |
.30 |
|
(2) CV Boot Clamps |
NAPA |
4.91 |
|
|
(2) Axle Boot Kit |
20.00 |
1.55 |
|
|
CV Boot Clamp Tool |
AutoZone |
15.00 |
1.20 |
|
CV Boot Clamp Tool Refund |
AutoZone |
-15.00 |
-1.20 |
|
Blue Threadlocker |
Ace Hardware |
4.49 |
|
