I finally got around to installing a third brake light. I previously bought a corvette brake light meant to be attached to the top of the louvers. I couldn’t bring myself to drill into the louvers, and didn’t want to paint everything to match, so resold the light on eBay. I wanted a light that mounted perpendicular to the top louver, in front of the center brace. I finally settled on a 20 LED Red light bar from JC Whitney. I followed these instructions outlined in a How-To at DMCtalk. Here’s what I started with:
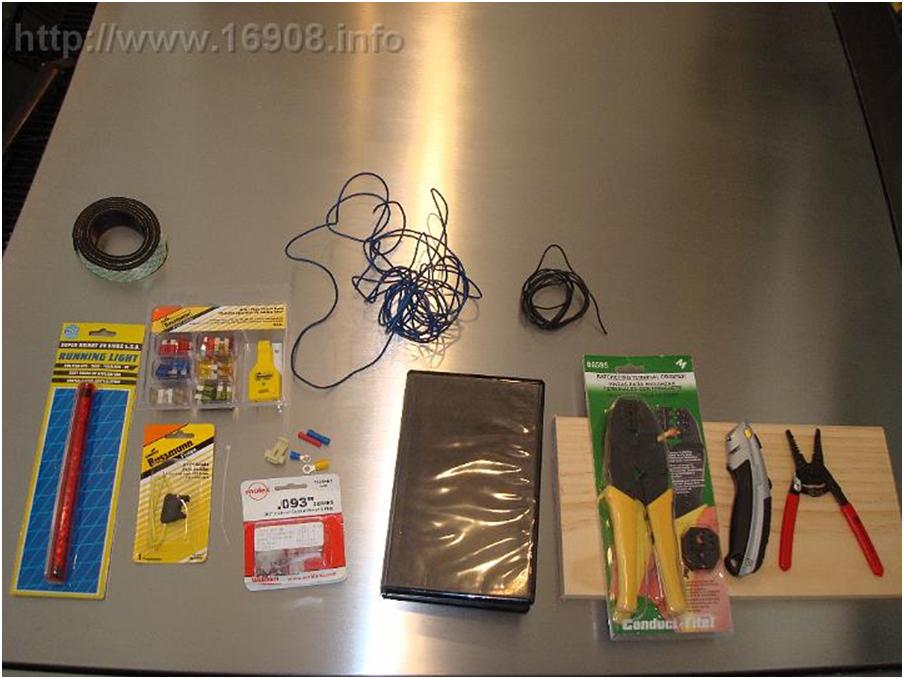
Pictured:
20 LED Brake Light
Automotive fuse holder
Automotive fuse kit
Electrical connectors
Blue Wire (leftover from the door launchers installation)
Black Wire (pulled from some cannibalized electronics)
Black Plastic VHS Case
Ratcheting Wire Crimpers
Utility Knife
Wire Strippers
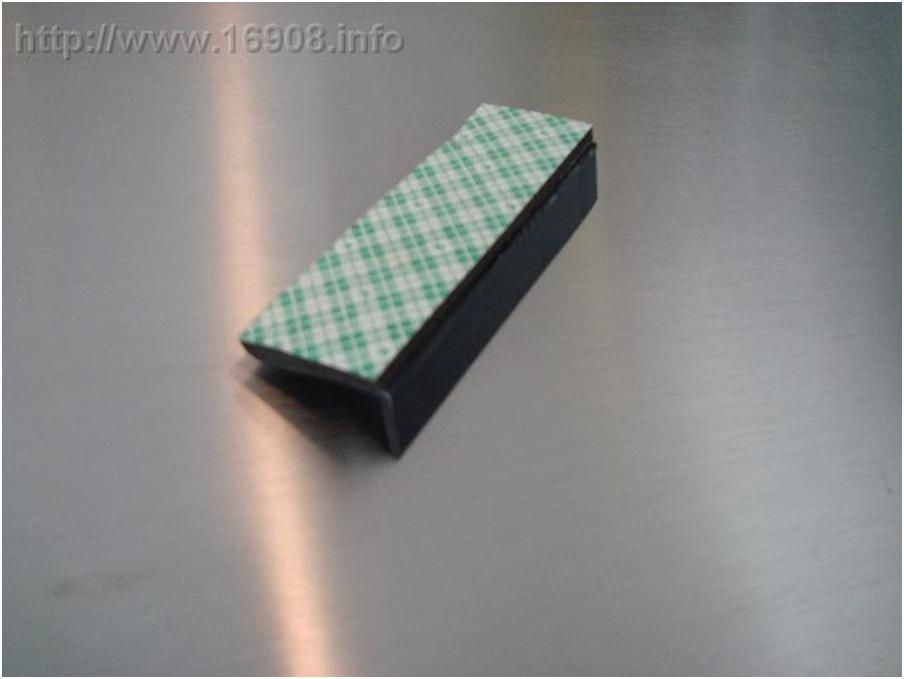
Double sided Foam Tape
Not Pictured:
1″ Wood Chisel
Duct Tape
Electrical Tape
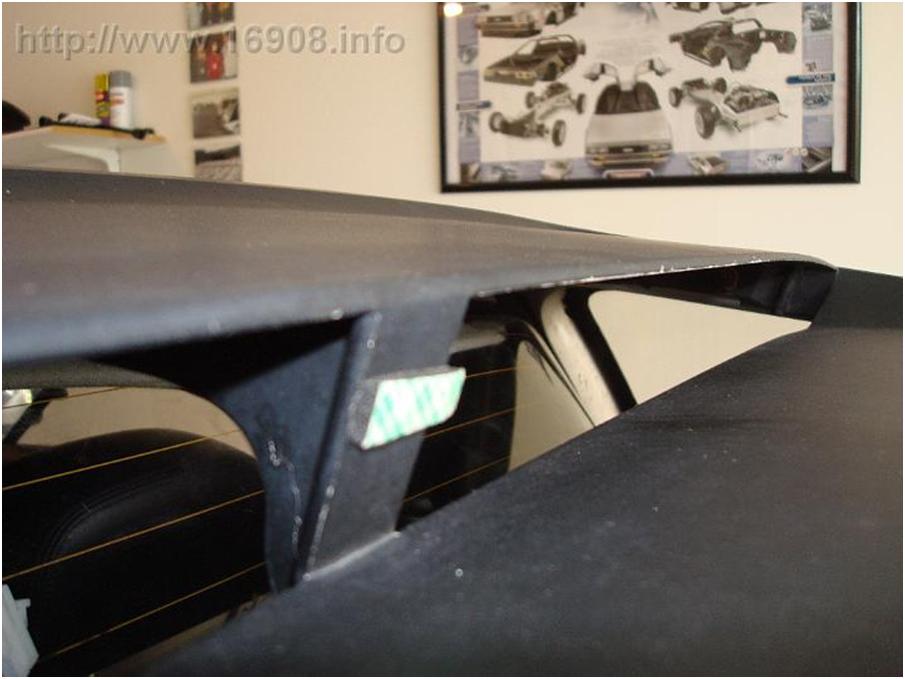
Here I go. I needed a bracket to hold the light bar in place. I found a VHS case would be black, light weight, rust free, and easy to work with. I used my knife, and chisel to create two brackets for the light bar: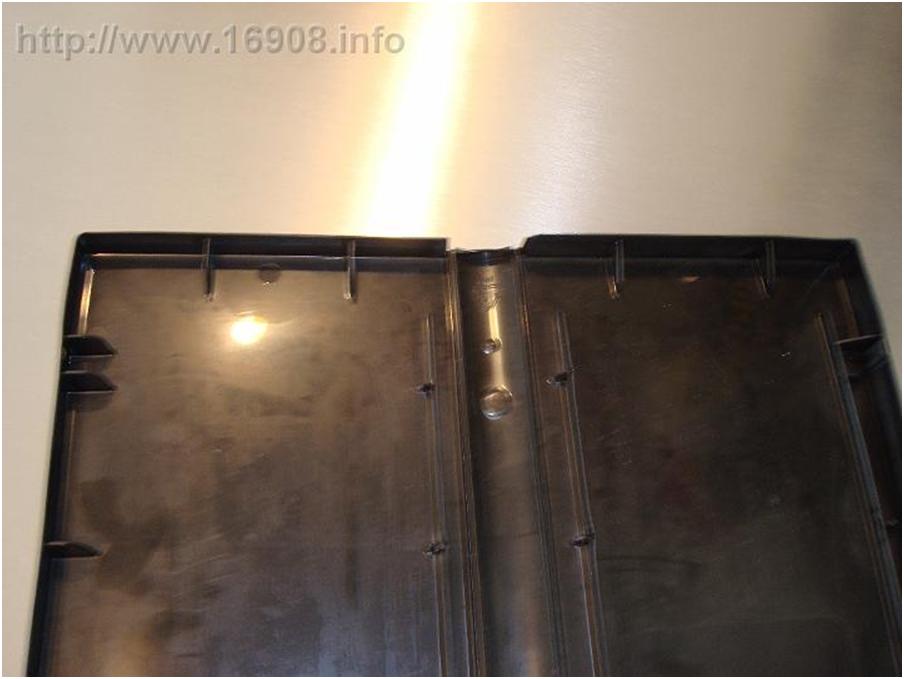


I notched one bracket for the wiring:
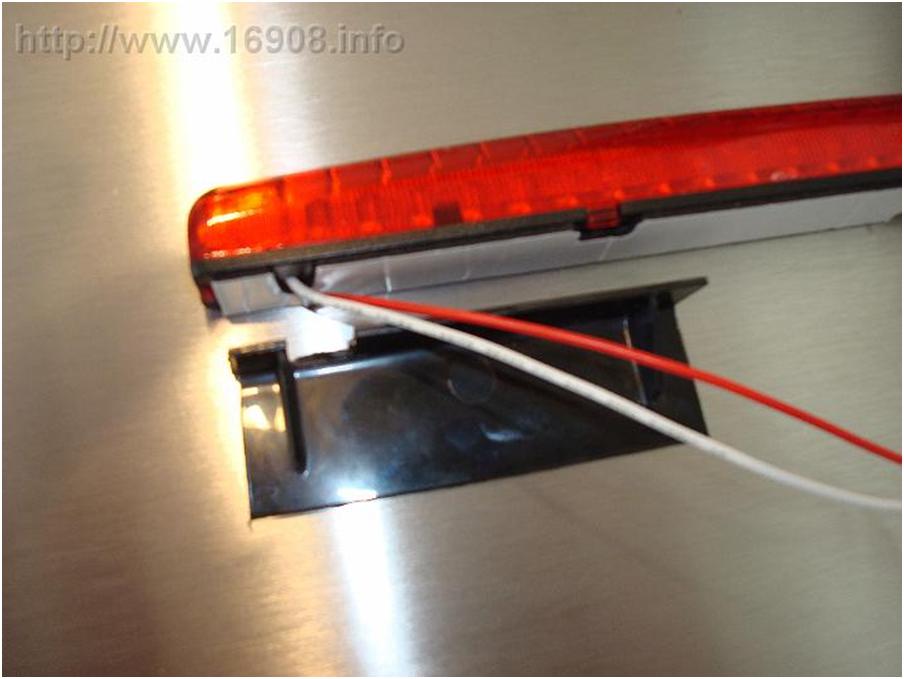
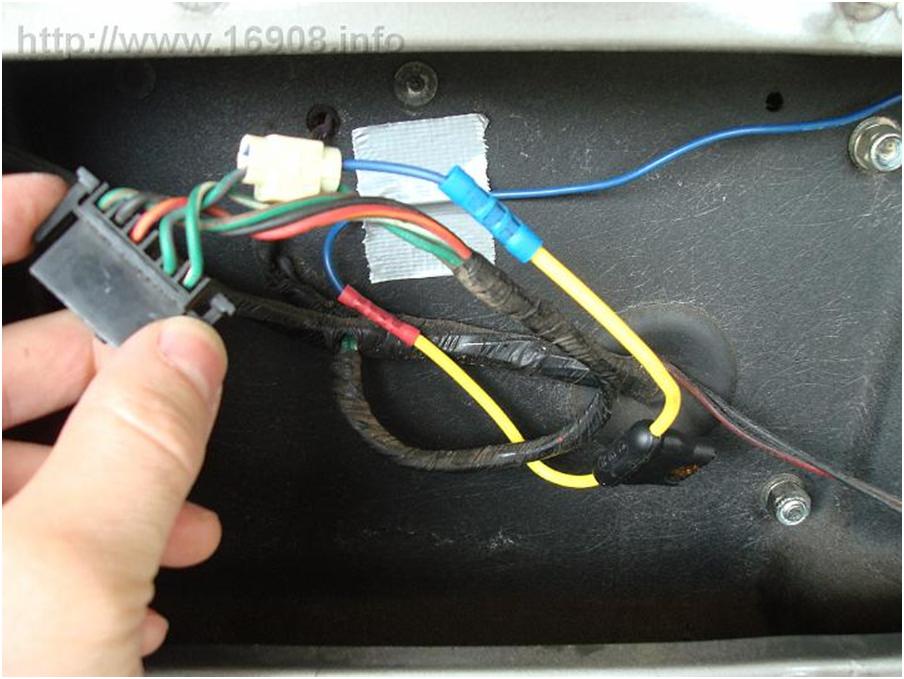
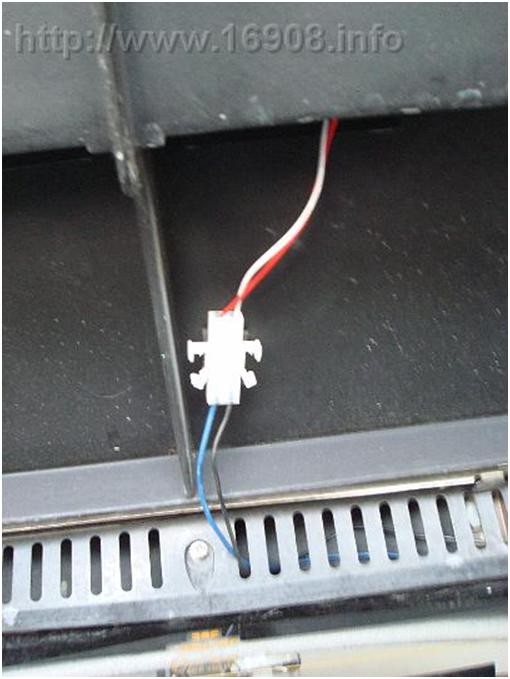
I had some Molex connectors that I previously bought when troubleshooting my radiator fans. I want to be able to disconnect the light if I ever remove the louvers, so I’m using one on the light:

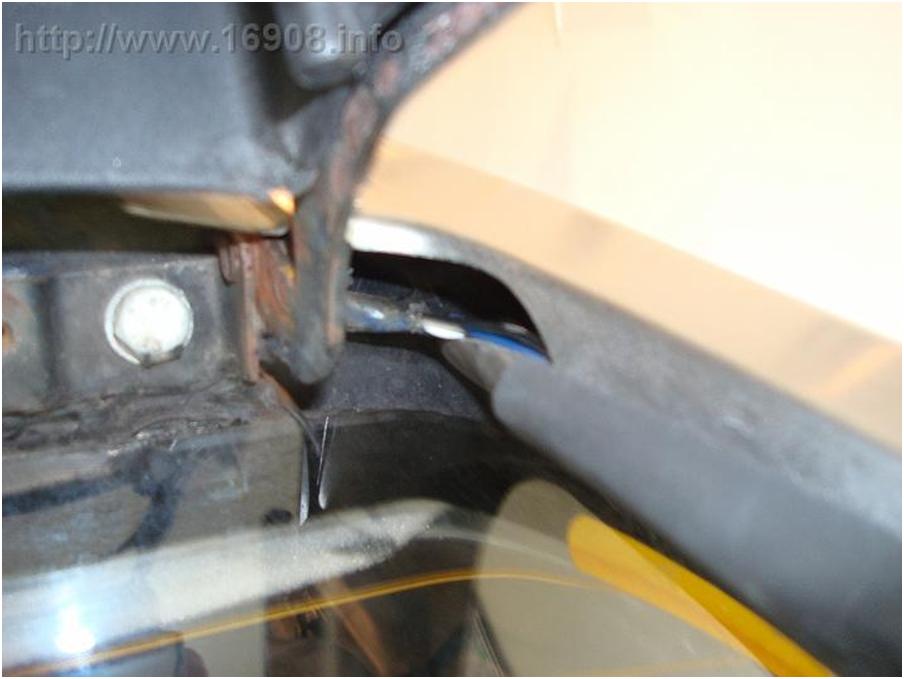
Using a coat hanger to feed my wires through the stainless. The coat hanger was just long enough: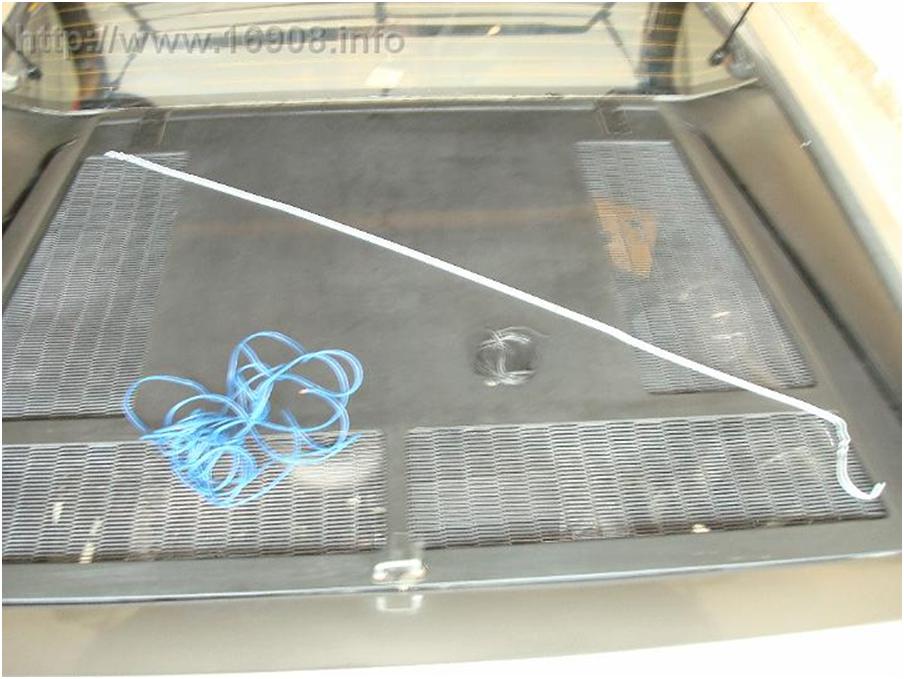

Here I’ve tapped into the brake lights, with a 5 amp fuse in between . If there’s a short on my third brake light, the fuse will blow, leaving the other brake lights unharmed. And what’s a project without a little duct tape:
Grounded:

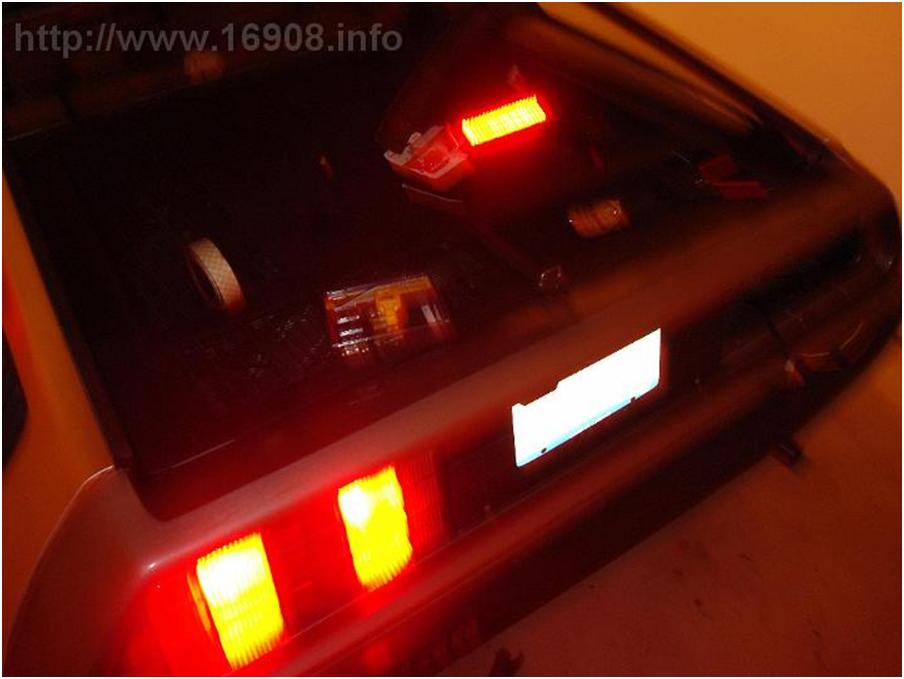
Testing, it works!
A foam taped bracket:
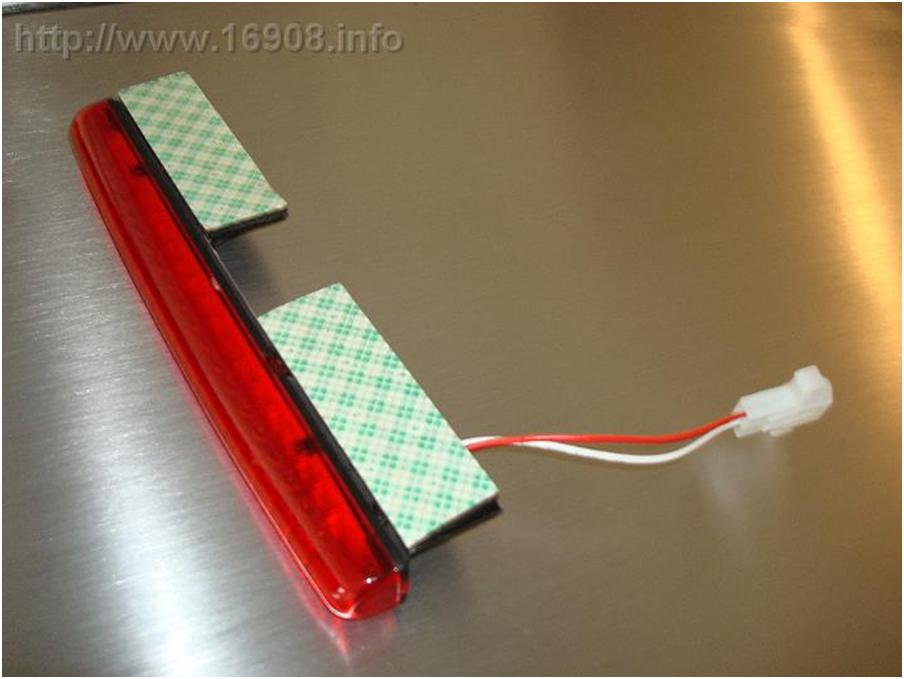
More foam tape:
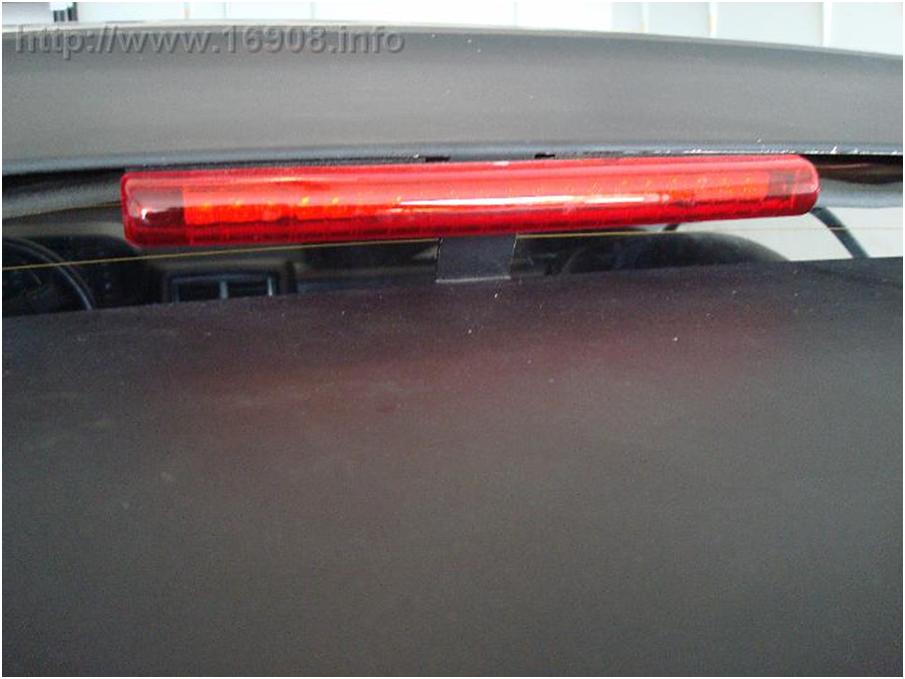
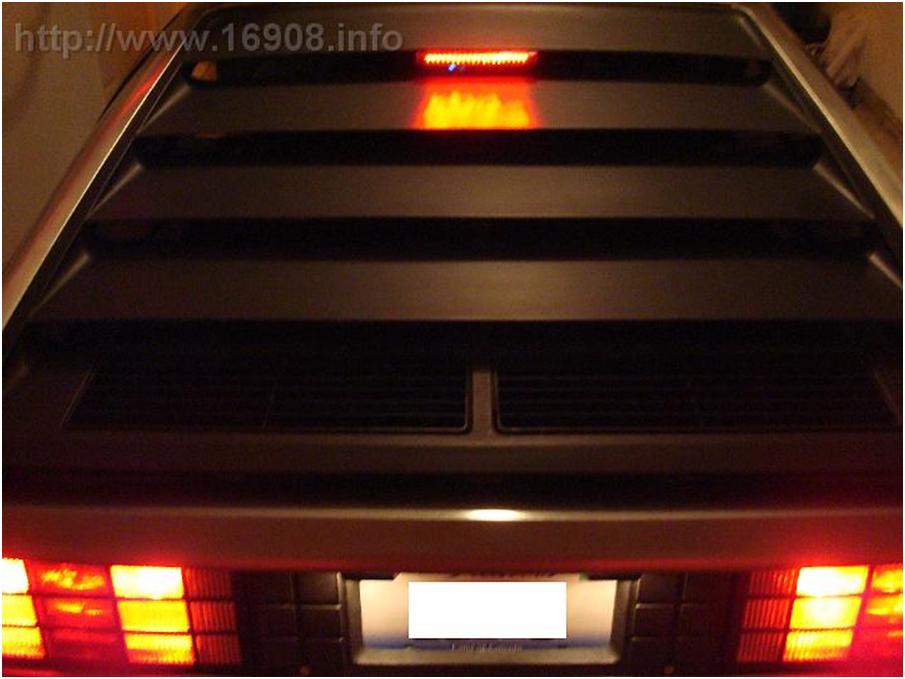
Installed!

One downside to my wiring is the molex connector I used doesn’t fit through the “rear screen upper finisher.” Foam tape to hold the connector to the louver:
Barely visible:
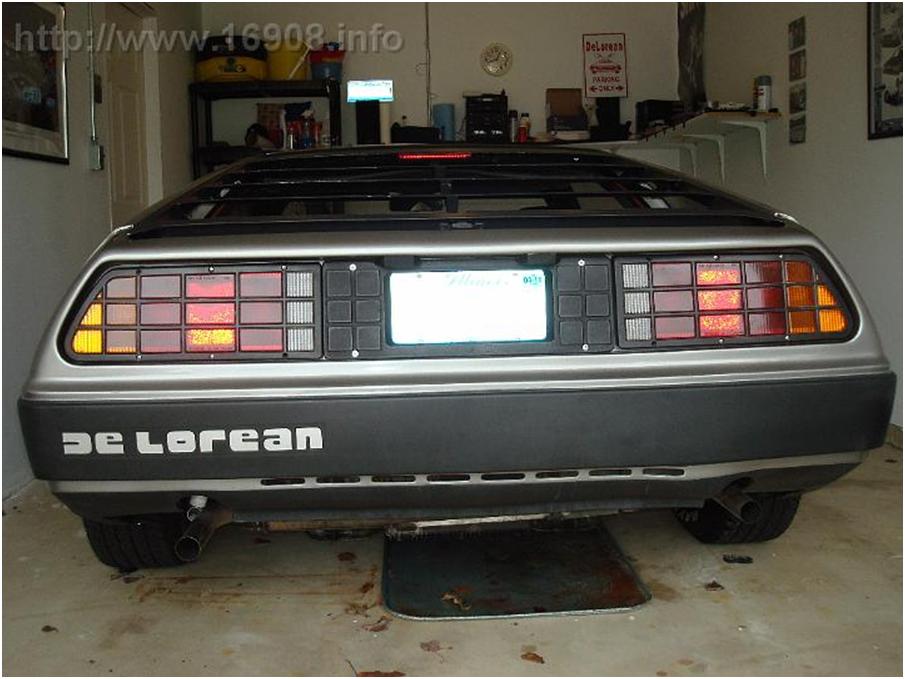


Crude Photoshop job on my license plate:

I tried to photograph that I can’t even see the light in my rear-view mirror:

Costs:
20 LED Light Bar from JC Whitney: $25.99, Shipping: $8.99, Tax: $1.82
Bussman Fuse holder from Menards: $1.23
Fuse kit from Menards: $11.99