New Bolts

I bought some new bolts and washers for my airbox, since the old bolts were kinda chewed up. I only had one of the three washers for the bolts, and that washer was too small. I splurged and bought chrome washers. I couldn’t find the bolts I needed in stainless, and the regular ones were shinier anyway.

I also bought a bolt and a locking nut for the trim that was coming off the body:

Blogging about bolts? Not that exciting, but I want to document all my work, and what it costs.

Costs:
(3) Chrome Washer: $1.29 each @ Ace Hardware
(2) 10mm bolt: $0.55 each @ Ace Hardware
10mm bolt: $0.60 @ Ace Hardware
M5 Bolt: $0.60 @ Ace Hardware
(2) Washer: $0.19 each @ Ace Hardware
M5 Lock Nut: $0.40 @ Ace Hardware

Alignment Check

I took the day off, and took my car to Just Tires. A buddy of mine has a friend who works there, and my buddy trusts them with all of his cars. They also have the DeLorean in their alignment system, so I figured it was worth a try. I got to drive the car onto the alignment rack, and hang out in the work area and watch them check everything. I told the tech about how the car was lowered, and the camber would most likely be off. If it was off by too much, I’d have to buys some adjustable lower control arms. I brought along my alignment shims, and the torque specifications.

The results were the camber is off by about 2 degrees. The tech advised me not to do the alignment now, since I should get the adjustable lower control arms, and the car will need to be aligned again. The bad news is, these control arms will cost me a few hundred dollars. The good news is, my alignment check was free.

So which control arms should I buy?
Delorean Motor Center: $325 plus refundable $200 core charge
Mid-State: $210

More on that at a later date. For now, I don’t want to drive my car until I can correct the camber. I should have done this over the winter.

Costs:
Alignment Check: Free! @ Just Tires – Wheaton, IL

New Drop Window Seal

The seal for the passenger side window glass was missing. Another reason I avoid driving in the rain.


I found something called the Window Drop Glass Seal on specialtauto.com, but got sent a piece or felt with adhesive. Guess I should have called on that one.

So I bought the piece I needed from DMC (Midwest). I found the metal support from the previous seal still installed. Once I got that removed, installation was easy. I ended up using the felt on the driver’s side

All better.

Costs:
Window Drop Glass Seal @ Specialtauto.com: $9.95 plus shipping
Seal Pwr Wdo Wipe RH @ DMC (Midwest): $28.89 plus tax

Lubricating the lower Speedometer Cable

I read the instructions for this task, purchased the products, and went for it. This would be one of the easier tasks I attempted.
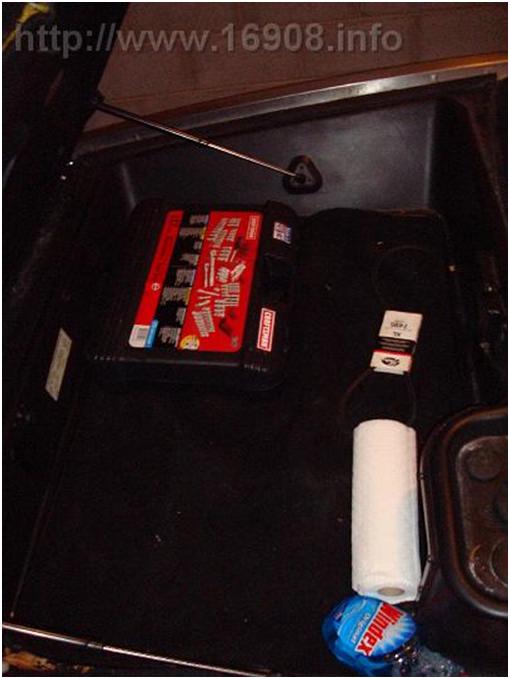

Supplies Pictured:

Cable Lubricant
Plastic bag
Brake Cleaner
Orange Hand Cleaner
Simple Green Cleaner
Paper Towels
Old Newspaper (oooh, $1.99 milk…)
Utility Light

Supplies Not pictured:
Low profile floor jack
Jack Stands
2X4 Wood
Zip ties
Wire cutter
Armor All

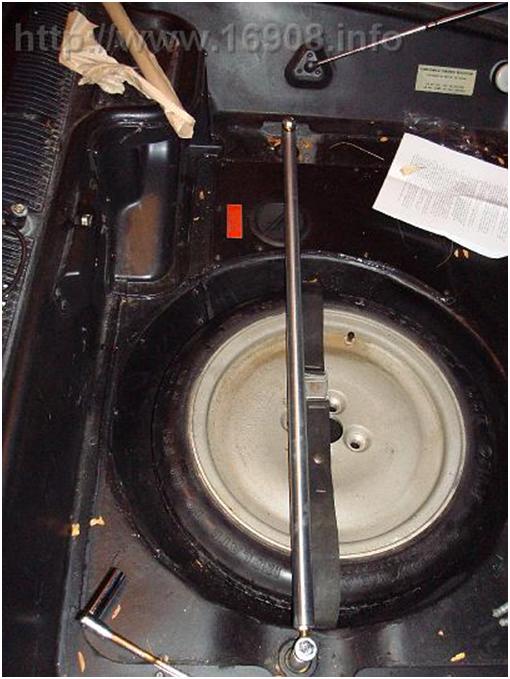
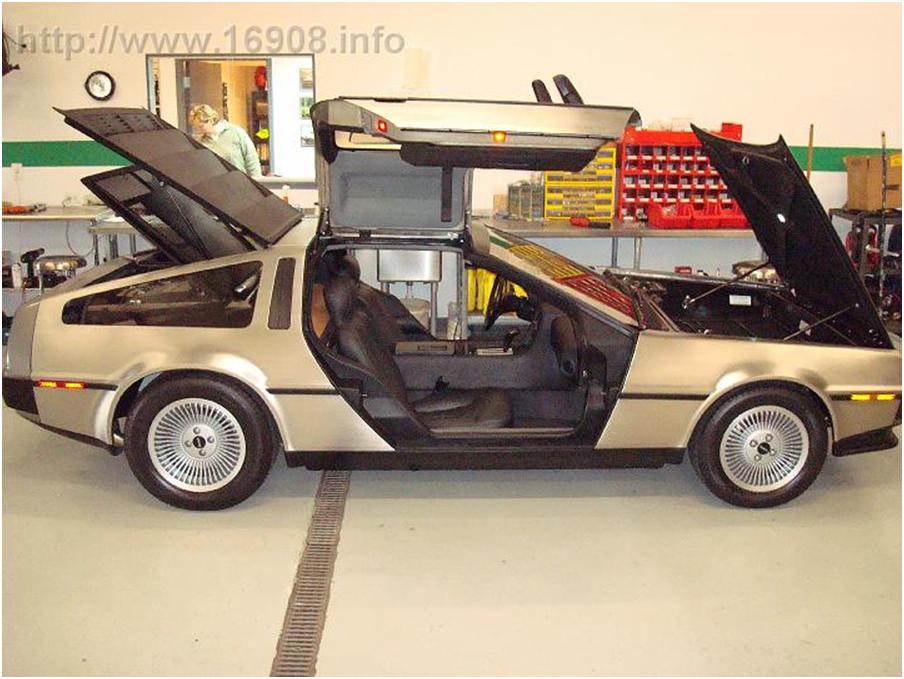
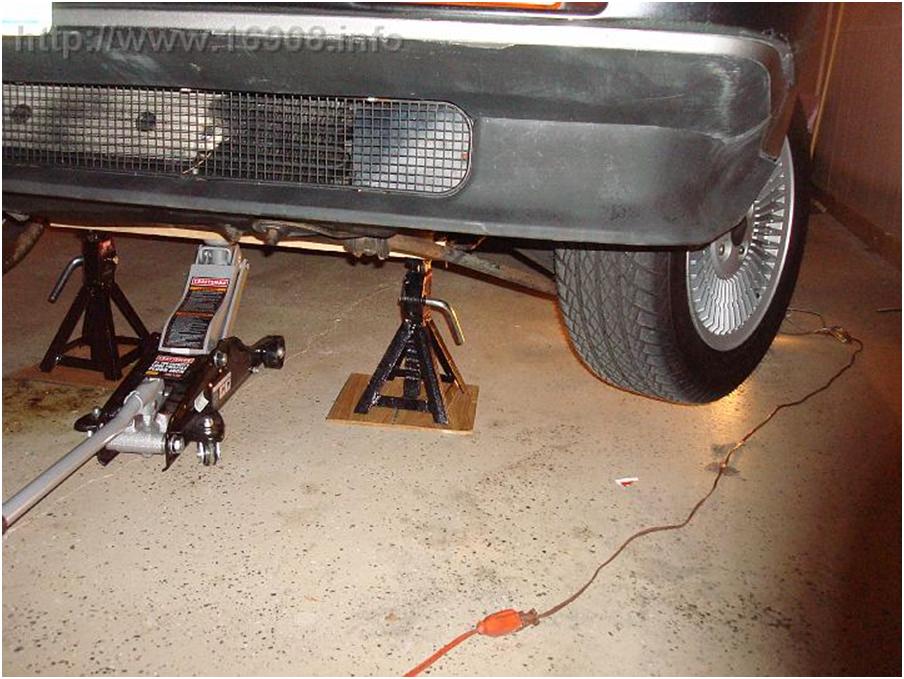
Ok, I jacked up the car using the proper procedures, and turned the wheels to the right:

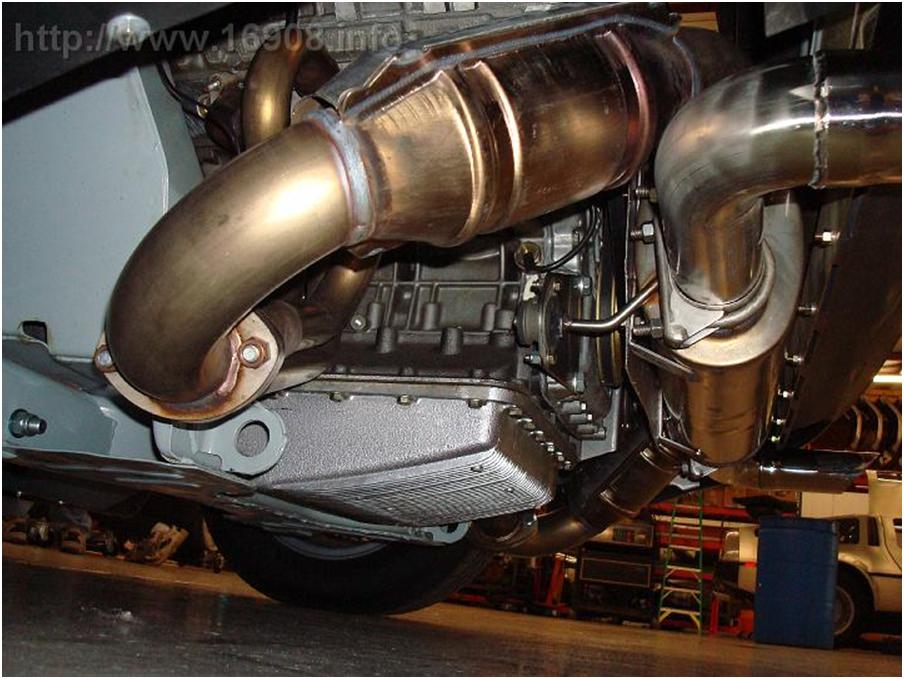
And access the cable behind the driver’s side front wheel. I unscrewed the knurled coupler, but the cable was also zip tied to the brake line. I used a wire cutter to free the cable:

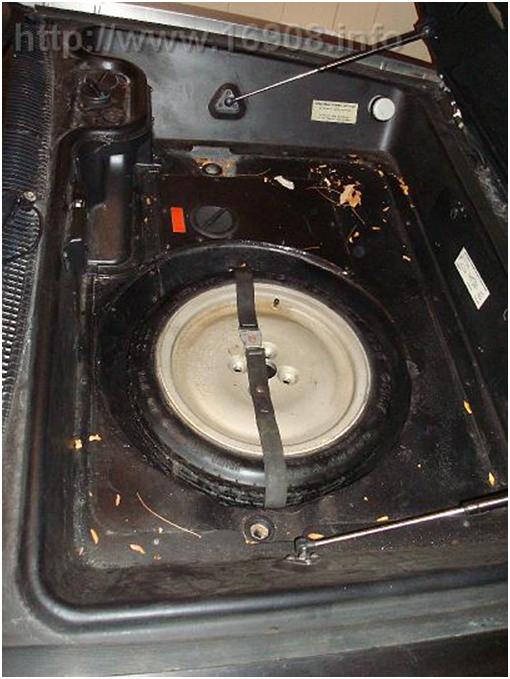
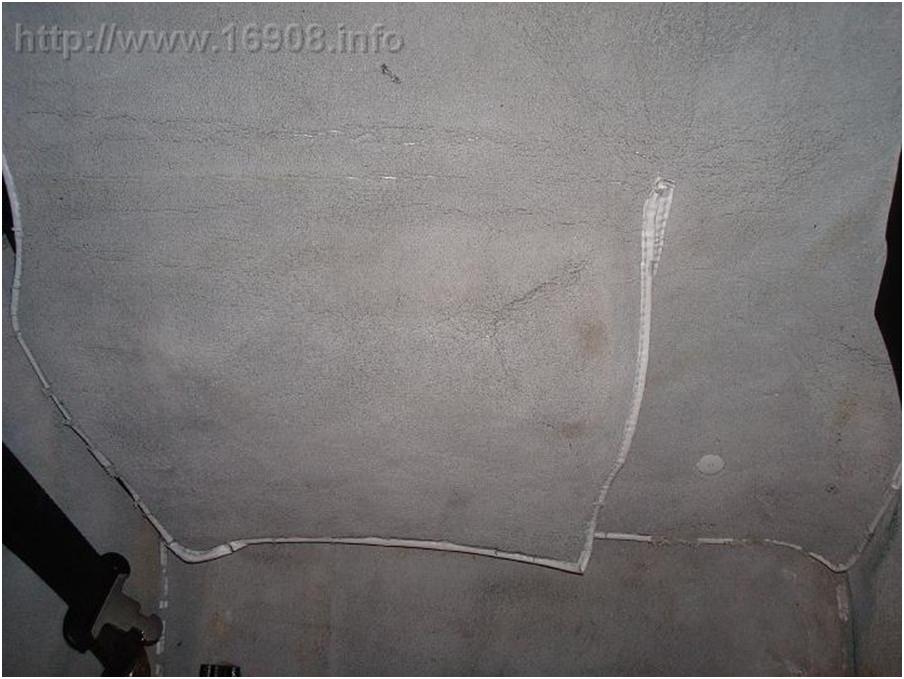
I followed the cable into the rubber grommet, into the body, and unscrewed it from the lamda counter:

The cable was free, so I took it into my work area (kitchen). I removed the cable from its sheathing, and wiped it clean with paper towels.

I sprayed brake cleaner down the sheathing, and it spurted into my eye. So I read the label on the can, and flushed my eye with water for 10 minutes.

Next I reinserted the cable, and moved it around to free any gunk. I was supposed to drain it into my plastic bag for collection, but I ended up draining it into my sink. Oh well.

I removed the cable once more, dried it off, and reinserted it, this time using several drops of cable lubricant. I cleaned off the sheathing with simple green, and used some Armor All on it.

Then I simply reconnected it. I also used some new wire ties to keep it close to the brake line. I drove the car tonight, and the speedometer needle seems to be steadier at a constant speed, but still vibrates while accelerating. Oh well, at least I’m lengthening its life.

Costs:
Cable Lubricant on eBay: $5.49
Brake Cleaner from Advance Auto Parts: $3.44

Shock Tower Strut Bar

I’ve read rave reviews of the shock tower strut bar online, and met the creator of it last year. I finally bought one at DMC (Midwest). I installed it myself in less than half an hour on a Sunday morning:

Before:


After:

Old bolts removed, they look bad:

I don’t have the board that goes under the carpet. For now, I’ll just lay the carpet over it:

The bar also helps keep the stuff in my trunk from sliding around:

How does it feel? Great! Noticeable improvement. Less bumpy in tight turns. All around, a smoother ride. I’m glad I made the investment.

Costs:
Shock Tower bar @ DeLorean Motor Company (Midwest): $150 plus tax

Battery Cut Off Switch Installation

After reading about the horrors of an electrical fire, I decided to install a battery cut off switch. The switch also makes it easy to disconnect the battery when doing any electrical work on the car. I decided to mount it on the right side of the battery compartment cover. I’d seen one mounted on top of the cover, but I wanted to avoid having to fumble with the carpet that lies over the battery compartment cover. I didn’t take any measurements for this project, I just dove right in.

Supplies:
Battery Cut Off Switch
(2) 10/24 bolt, nut, plastic washer
Drill, drill bits
7/8 Spade drill bit
Red Plastic pen
Pencil

I marked in pencil where the holes should be on the compartment cover. I cut a red plastic pen into pieces to make hollow bushings for the bolts. Looks great:

I then put it back in the D, and saw the switch hits the plywood on the right side of the compartment. Maybe I should have measured? Oh well, time for an adjustment.

Additional Supply:
Jig saw

I marked in pencil where the switch was hitting the plywood. I notched out a section for the switch:

Finished product:


Where did it go?

Now my car is just a little bit safer.

Costs:
Battery Cut Off Switch Kit @ SpecialTAuto.com: $22.95 plus shipping.
(2) 10/24 bolts @ Ace Hardware: $0.19 each
(2) 10/24 nuts @ Ace Hardware: $0.08 each
(2) Plastic washers @ Ace Hardware: $0.15 each
Red Pen: Free

Spring Tech Session, AC belt change

The Delorean Midwest Connection had their spring tech event at DMC (Midwest) May 3rd. I drove up in the morning, in the rain. I hardly ever drive in the rain, but this was necessary. I got to put the car on a lift, and check out everything underneath the car. I got to see a hand built car from DMC (Houston) which was flawless, and made me very jealous. I saw Rich W’s Buick Grand National powered DeLorean. I also bought some parts I had my eye on for awhile.

The shop is fascinating to me. I would have stayed all day if I didn’t have a Kentucky Derby Party in the afternoon.

On the way to the event, I stopped by the defunct Meadowdale Raceway for a photo op. It’s been several years since I first explored this place.

Here’s what the silo looked like in 2002 when I photographed it. Original paint job still there:

Here’s the hand built car at DMC (Midwest:). It was stunning:

Clean everything, upgraded exhaust:

Rich W’s Buick GN engine:

I didn’t take any pics of my car since the other cars put my car to shame. I should have taken some pics under my car.

I also learned how to change an AC belt. The belt my car was currently running was an original “concours” belt that Ken K took off his car last time I saw him. It was leaving belt shavings all over my engine. I had a spare I bought awhile back, so after it was installed, I bought a new spare from NAPA.

Costs:
AC Belt – 9530 Gates Green Stripe: $11.95 plus shipping @ SpecialTAuto.com
NAPA 9530 Belt: 20.28 plus $1.57 tax at NAPA