I wanted to flush the coolant after I saw my coolant had an orange tinge to it. I read the instructions many times, and purchased the Coolant Self Bleeder Kit. I felt I could do this. I would document everything in hopes of writing a good how-to guide.
The night before, I prepped the engine block drains with some PB Blaster. I thought that would help. *Thought*. The next morning, I attempted to perform the procedure in my parent’s driveway, which has a slant, rather than jack up the rear end of the car:
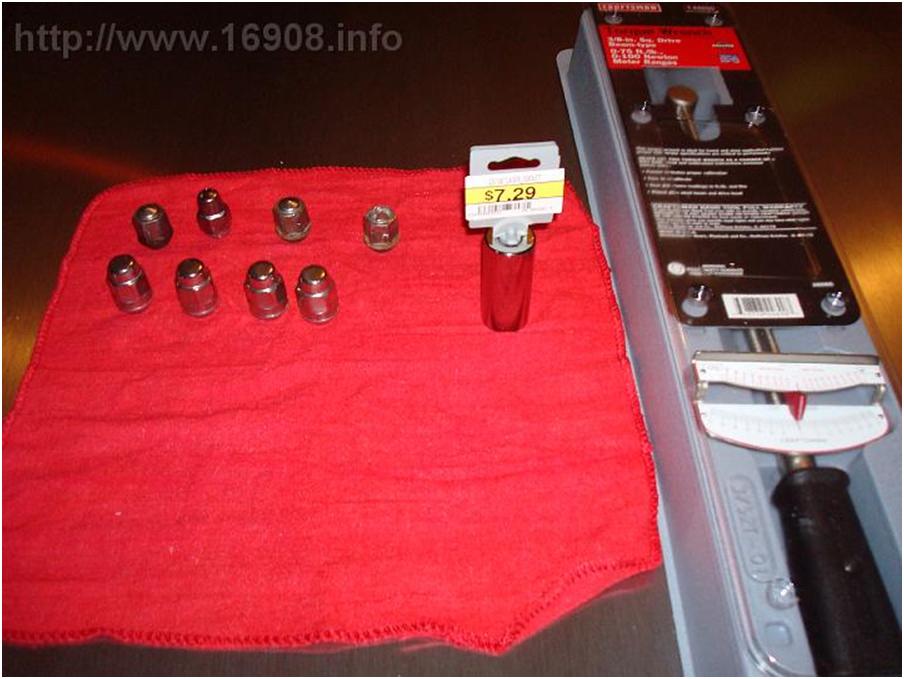
It also has easy access to a garden hose. I assembled my supplies:
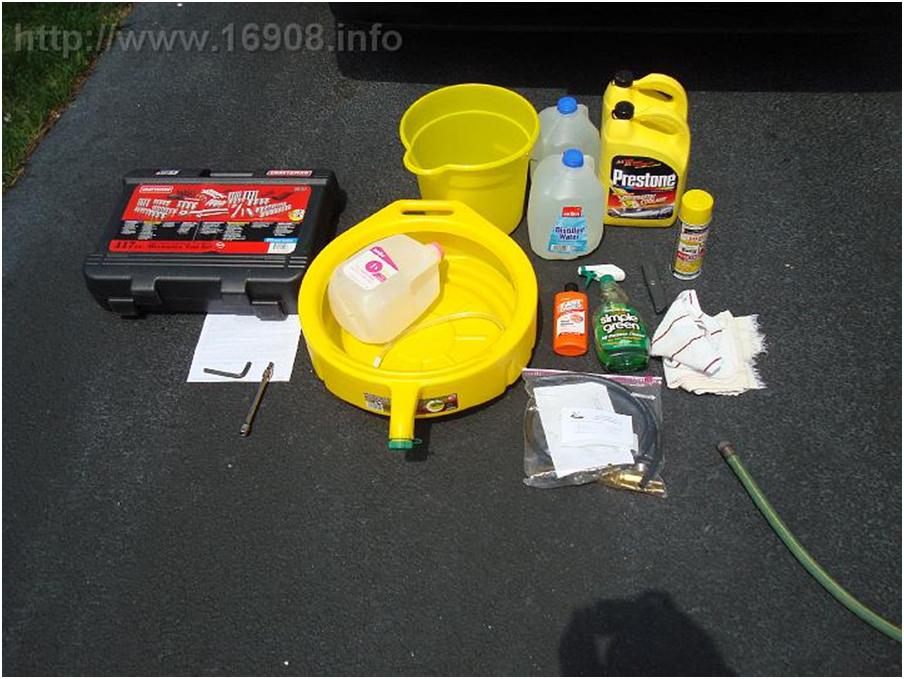
Supplies Pictured:
Toolkit
Printed instructions
drain plug removal tool
New Yellow drain pan (I chose yellow so to identify it with Prestone, and keep it separate from my oil drain pan)
New Yellow bucket
empty 1 gallon jug (for fluid disposal)
Coolant Self Bleeder Kit
Orange Hand cleaner
Simple Grean Cleaner
(2) Gallon Distilled Water
PB Blaster
Rags
Garden hose
Not Pictured:
Large funnel
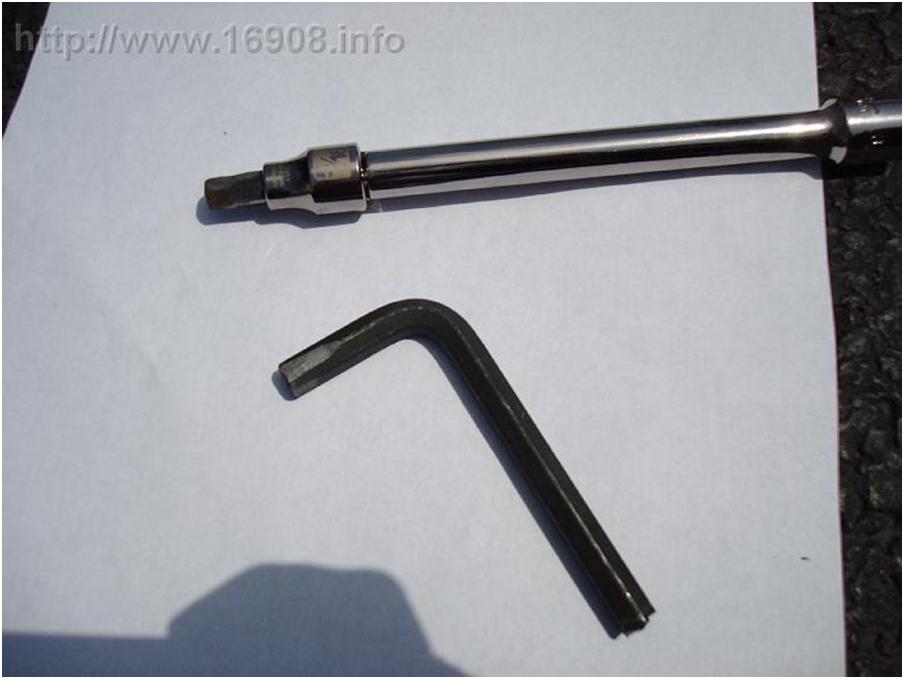
The engine block drains are the same stupid plugs as the oil drain plug with the 8mm square hole in it. I replaced my stock oil drain plug with a normal one. My oil drain plug removal tool was a 8mm hex key that I ground into a square with a dremel. The engine block coolant drains are a b1tch to access, so I ground the other end of the hex key into a square, cut the end off, and put it into a socket:
I thought it would work. *Thought*. So I went to work, draining the system. Laying on the ground, on my back, trying to get the lower radiator hose off is quite difficult. My hose is kinda hardened, and stiff. It should probably be replaced, but I didn’t have a replacement on hand. Next time I try this, I might replace it with a silicon hose. I had to use force to get the hose off, but still be gentle with the plastic radiator tank. Why oh why doesn’t the radiator have a drain petcock?

I finally got it off, and drained what I could:

Yuck.
So there aren’t too many pictures from here on out. Why? Well when it came time to get the block drains out, I failed. I couldn’t get much leverage while laying on the ground, and my homemade tool was akward to use, and not very solid. I managed to wedge my hunk of hex key in one of the drain plugs at one point. I tried for awhile, but eventually gave up. Also, my neck hurt from laying on the ground, while struggling with things under the car. I think I need a creeper. Or a lift.
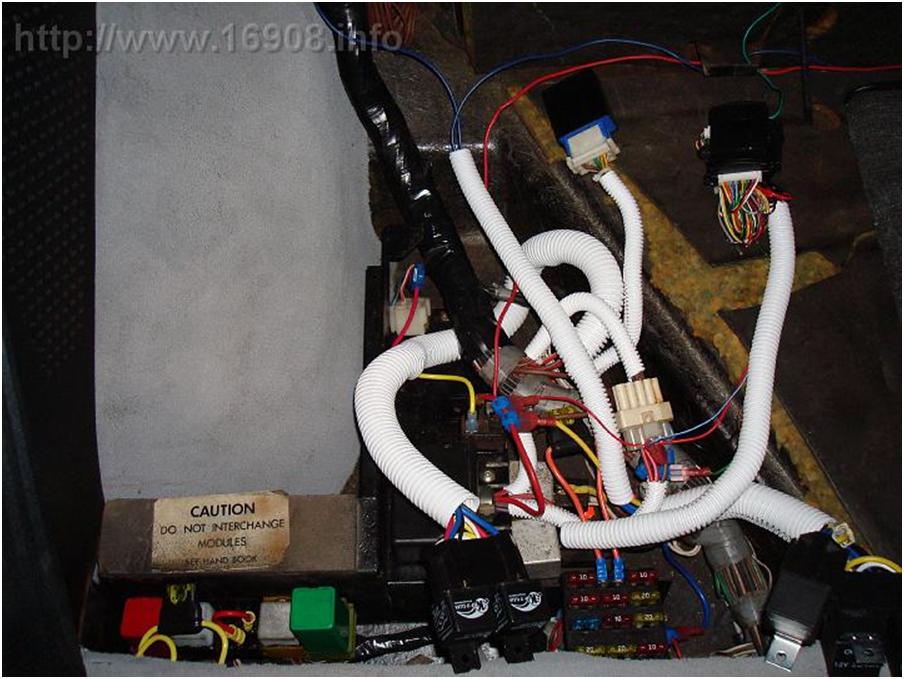
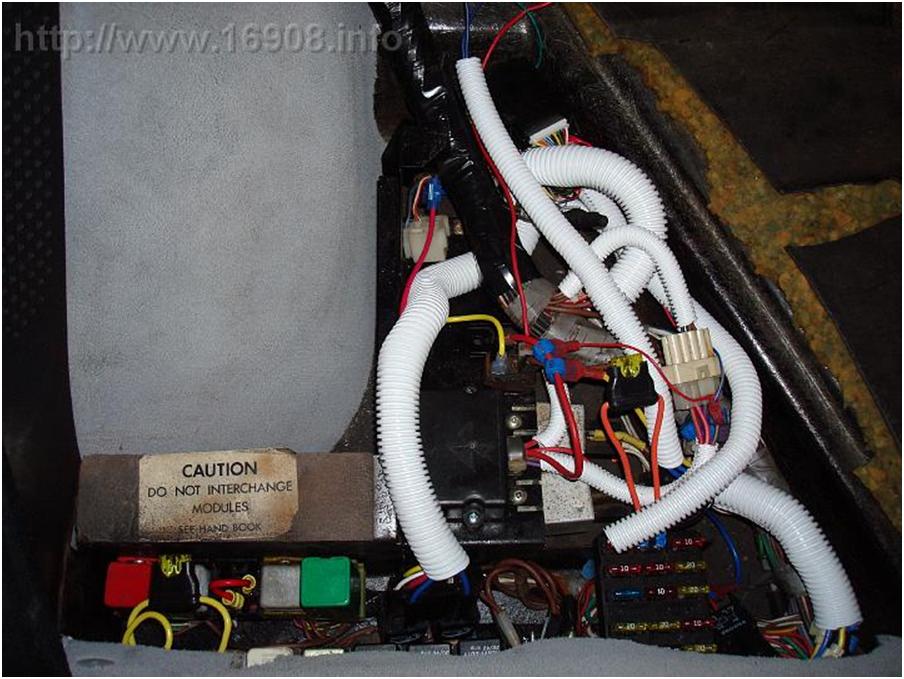
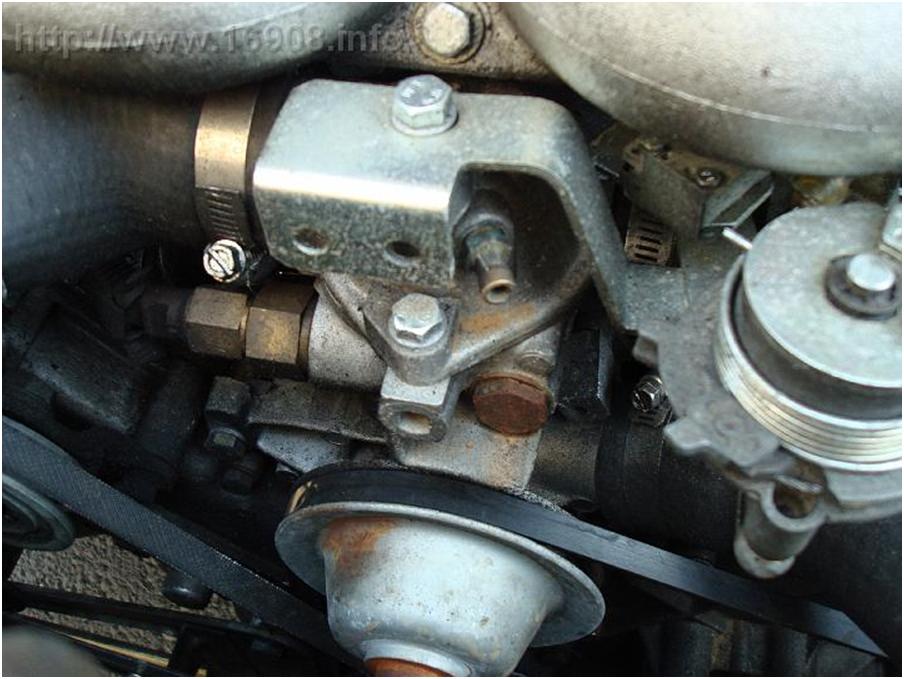
I previously tried to bleed my coolant at the water pump, and managed to spill coolant on the pump. The pump squeaked for awhile. Worst yet, I don’t think I bled the system enough. I made it a point to order the bleeder kit. So next I installed the coolant self bleeder. Time to remove the throttle shield:

Ok. Now I remove the brass bleeder screw in the center of the picture:
And I’ll just skip right to the finish:

My self bleeder kit also includes a petcock to be spliced into the upper radiator hose. This makes bleeding the radiator easier than pulling the hose off the plastic tank, and getting hit in the face with coolant:

Alright, now lets mix some coolant. I decided to mix my own, instead of buying the premixed stuff. Coolant costs over $10 a gallon, and distilled water is less than $1. Why pay over $10 for 50% water? I purposely wanted to use distilled water.
“Distilled or deionized water is preferable to tap water for use in automotive cooling systems. The minerals and ions typically found in tap water can be corrosive to internal engine components, and can cause a more rapid depletion of the anti-corrosion additives found in most antifreeze formulations.”
–Wikipedia (Yes, I know Wikipedia is not a terribly reliable source)

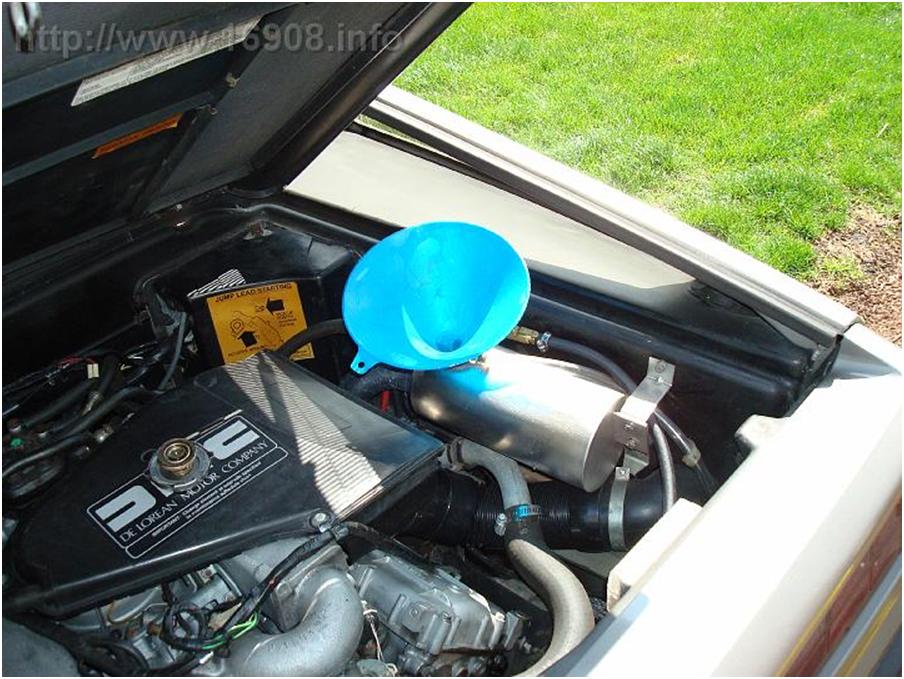
So I poured some coolant in, and it overflowed. The system is supposed to hold 3 gallons, and I couldn’t get 2 gallons in. I then poured some in the large hose connected to the water pump, but couldn’t add much more. Great. So I collected my old coolant, only spilled a little on the ground, and it amounted to about a gallon. So basically I tried for several hours to flush my coolant, only to replace about a gallon. At least I got the bleeder kit installed.
For the next time I try this, I’m ordering the 8mm square tool from snap-on, Stock#: PMM408A.
Costs:
Wings-B-Cool Cooling System Self-Bleeder Kit from Delorean Parts Northwest: $29.95 plus $7:00 shipping
(2) 1 Gallon Prestone Antifreeze from Wal-Mart: $10.97 each
12 Quart Bucket (Yellow) from Wal-Mart: $1.50
5 Gallon Drain Pan (Yellow) from Advance Auto Parts: $7.97
(2) 1 Gallon Distilled Water from Meijer: $0.68 each