Simple Green Stainless Steel Cleaner

I’ve been using mainly using Dawn and Windex, but I came across this stuff at Home Depot. I already use the regular Simple Green for the engine, and other things. I’m happy with the stuff, and I had a credit at Home Depot, so I decided to try it:

The far half of the hood was done with Windex, and the closer half is Simple Green. Too bad you can’t tell from the bad picture:

Compared to Windex, Simple Green is a lot shinier. However, it leaves streaks. I reapplied it a few times to try to wipe it all off, but it still streaked. Windex leaves a dull, even finish. I like the shine, but dislike the streaks. So I’ll probably do the whole car with Simple Green for now, but when it runs out, I’ll go back to Windex.

Cost: $5.97 (If you didn’t catch that)

5-19-2007 Maintenance

Sharp eyed members of the DeLorean community might notice in pictures that my car was in Ken Koncelik’s shop. Well that’s because I bought my car from Ken. For those that don’t know, Ken organizes the DeLorean car show every two years, and also refurbishes DeLoreans. Needless to say, Ken is well respected in the DeLorean community, so when I saw his post that VIN 16908 was for sale, I jumped at the chance to own it.

After I bought the car, I found a few other things that needed attention, and a few things I needed some help with. Ken invited me over to his shop so we could tackle everything. This meant driving 300+ miles to Cincinnati, Ohio. So on Saturday morning at 5:20am, I headed out.

I arrived in Cincinnati without incident, and found Ken’s shop to be like being in a DeLorean Candy Store. Here’s pictures from the day:


This is Pilot 21. Ken purchased it not to long ago, and plans to restore it. Pilot Car Info


It says Pilot 21 somewhere on there


The doors of Pilot 21, and some other body panels


This is Ken’s project car. Ken says when it is done, it will look like no other DeLorean.


This car is being refurbished. Ken says my car used to look like this car.


Some of the shop


A DeLorean and a Bricklin!


The 2008 DeLorean Car Show Raffle Car, and some body panels from Ken’s project car


Fascias

A tellus carrier and a frame


Various interior pieces


Ken showing me a DeLorean’s PRV V6


Onto another shop. My car about to go up the lift


Three other DeLoreans in the shop


My cracked axle boots

New axles


Behold, my limber self insulating an air conditioner tube.
(The first pic I’ve posted of myself with the car in this blog. I guess I’m camera shy…)


A DeLorean with EFI!


Check out this DeLorean’s clean engine compartment


A virgin never-been-used 0 mile Eagle Premier 3.0 liter PRV V6


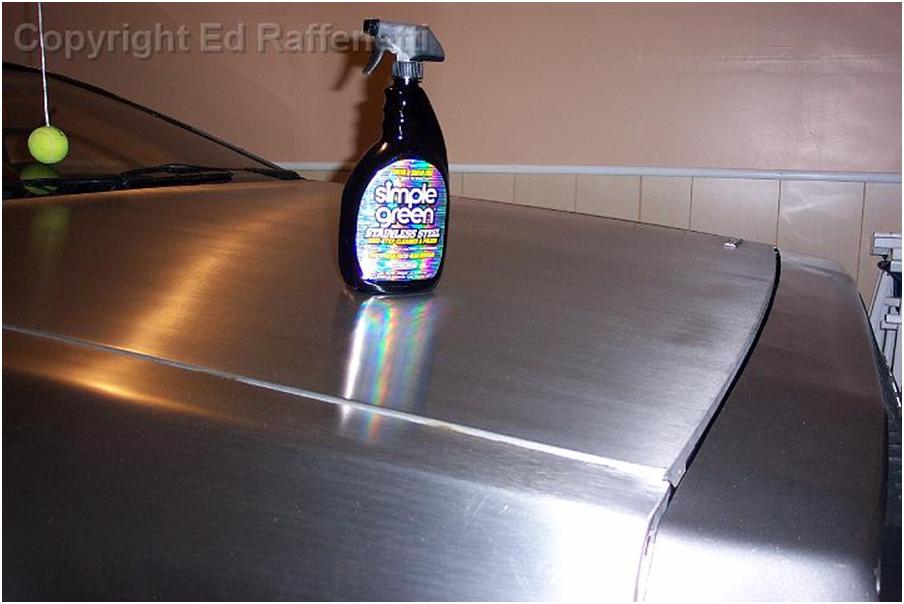
Ken, regraining the tops of my doors


About to pressure wash the engine


Engine cleaning

That’s it! Work done:

  • Replaced axles
  • Replaced front main seal
  • Realigned drivers window
  • Regrain tops of doors
  • Insulate air conditioner tube
  • Install new engine cover slide bracket
  • Pressure wash engine compartment

I drove over 600 miles in my round trip in one day. On my way home, the car hit 25,000 miles… almost 25 years after being built (and rebuilt).

Window Support Velcro

The window supports need some padding so the windows don’t get scratched. The easiest way to do this is to use some Velcro, preferably the soft side. My diver’s door had the hard plastic hook side of the Velcro. While I’m sure it won’t scratch the glass, I wanted to be consistent with the passenger door, and prefer the felt-like appearance. So I bought some Velcro and replaced it:

Bad picture. Anyway, it was easy since I already had the upper door panel removed for the door launchers install.

Used almost all 6 ft of the soft part. Anyone need some of the hard plastic hook side of Velcro?

Cost: $5.84 at Wal-Mart

Door LEDs

I didn’t like the idea of the stock incandescent bulbs in my doors draining my battery. I’d like to leave the doors open when showing off the car, and not have to disconnect the wiring each time. So I bought some LEDs as recommended.


Not the greatest photo. Anyway, they’re easy to install, and they look good too. Now I can leave my doors open for long amounts of time.

I bought the LEDs from superbrightleds.com as recommended:

(4) T13 Wedge Base Amber LED bulb $ 1.99 (each)
(2) T13 Wedge Base Red LED bulb $ 1.99 (each)
SUBTOTAL:      11.94
SHIPPING:      5.00 USPS Ground
TOTAL:         16.94

Then I found out DMC offers a whole LED kit that seems to be a much better value. Crud… especially since I now want to replace the incandescent bulbs behind the console, and in the binnacle. Probably could have bought it at one of my DMC (Midwest) visits, and saved on shipping. Oh well.

DMC Midwest Connection Tech Session

This event was held at DMC Midwest in Crystal Lake on May 12th, 2007


A car being refurbished or restored….


My car, about to go on the lift


Got my alternator belt replaced, and some nuts tightened


Under my car


Clean, rust free undercarriage, an oil leak, and some boots need replacing.


Some spent frames


Closeup of frame rust


Cars awaiting work


My car on the middle lift


A Bricklin! Never saw one in person


http://en.wikipedia.org/wiki/Bricklin_SV-1


My boots need replacing


Can you tell which car has been lowered?


A new stainless steel frame from http://www.pearce-design.com/


Plans

I’m already planning out several upgrades/updates for The D. I’ve got two categories, definitely and maybe.

Definitely:

  • 3rd brakelight
  • Replace door lights with LEDs
  • Install remote door launchers
  • Gray vinyl bumper letter inserts
  • Dynamat or other sound insulation 

Maybe:

  • Lowering springs
  • Side stripe kit
  • Subwoofer